Custom operator basics
Summary
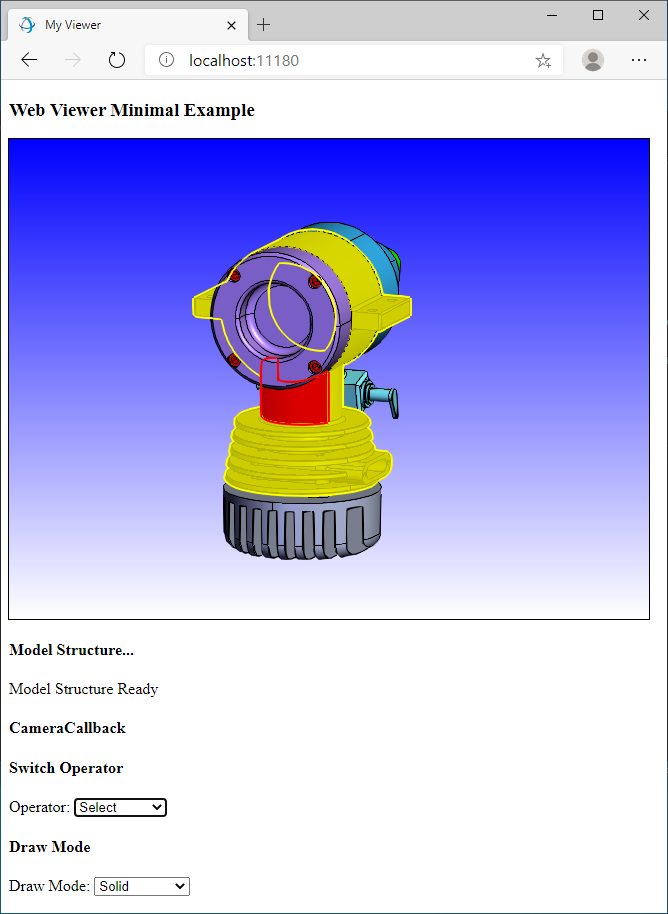
In this example, we will be introducing you to the concept of custom operators and how to respond to events by creating a simple operator that highlights entities under the mouse cursor. Operators allow you to hook into various events provided by the web browser and perform well-defined actions based on user input.
Concepts
Create a basic operator skeleton
Respond to events
Use picking to find entity under cursor
Select entities via the SelectionManager
Operator class skeleton
We start by creating another empty JS document called SelectOperator.js which will contain the JS code for the operator we are about to create. We will only be handling onMouseDown events, so we have created only a single event handler for now.
class SelectOperator {
        constructor(hwv) {
                this._hwv = hwv;
        }

        onMouseDown(event) {
                // mouseDown logic goes here
        }
}
Add functionality from SelectOperator.js to your application by including it in your HTML page:
<script type="text/javascript" src="js/hoops/hoops_web_viewer.js"></script>
<script type="text/javascript" src="js/Menu.js"></script>
<script type="text/javascript" src="js/SelectOperator.js"></script>
onMouseDown action
The next step is to perform some action on onMouseDown. In this example, we want to highlight the geometry under the mouse cursor. To accomplish this we are using the pickFromPoint() function which is on the view object.
Note
The pickFromPoint() function performs a ray-based collision with the geometry under the pick location within a given radius and returns the nodeid of the “best candidate” which is usually the entity closest to the camera on the pick location. This function requires a configuration object which determines which geometry types it should consider for performing the pick operation (faces, edges, points).
We also want to make sure that any existing selection is cleared out.
Note
The pickFromPoint() function returns a promise. More information on promises and their usage in conjunction with the HOOPS Web Viewer API can be found here.
In this case, we are checking if the selection object has a valid NodeId and if so, we highlight the element via the SelectionManager.
onMouseDown(event) {
        var config = new Communicator.PickConfig(Communicator.SelectionMask.Face | Communicator.SelectionMask.Line);
        this._hwv.selectionManager.clear();
        this._hwv.view.pickFromPoint(event.getPosition(), config).then((selection) => {
                if (selection.getNodeId() != null) {
                        this._hwv.selectionManager.set(selection);
                }
        });

        super.onMouseDown(event);
}
DOM element for operator switching
In order to activate this new operator, we need to push it on the stack. The first step is to add another option in our DOM Select element:
<select id="operatorType">
        <option value="Orbit">Orbit</option>
        <option value="Area Select">Area Select</option>
        <option value="Select">Select</option>
</select>
Instantiating an operator
A new operator must be first instantiated and then registered with the HOOPS Web Viewer before it can be used. Let’s do this in the initEvents() function from the Menu.js file we set up in the previous section. Registering only makes the operator available to be used but does not activate it yet. It also returns a unique ID that we will use to activate the operator when the user switches to it.
_initEvents() {
        this.selectOperator = new SelectOperator(this._hwv);
        this.selectOperatorId = this._hwv.registerCustomOperator(this.selectOperator);
        ...
When an operator is placed on the stack, user interaction with the Web Viewer will prompt the event to evaluate the stack. If the user action matches an operator on the stack, the corresponding event handler will be invoked. The traversal of the stack will stop once an action has been matched to an operator. By default, HOOPS Communicator enables the Selection and Navigate operators.
Switching to a new operator
To switch to the new operator, we can activate it just like any of the standard operators by providing its ID to the OperatorManager. Let’s modify the conditional code at the end of customOperatorSelect.onclick() (in Menu.js) so it supports the select operator:
if (customOperatorSelect.value === "Area Select") {
        this._hwv.operatorManager.push(Communicator.OperatorId.AreaSelect);
}
else if (customOperatorSelect.value === "Select") {
        this._hwv.operatorManager.push(this.selectOperatorId);
}
Now you should be able to switch to your new operator via the menu and see the default highlighting in action.
Operators are a convenient programming paradigm for code in your application related to user interactions with the 3D window, but keep in mind that you can make calls to the HOOPS Web Viewer API from anywhere in your application and write your own operator-like functionality outside of the operator framework discussed here. The OperatorManager just exists to make your life easier - it is not required.
