SpinFire Publish runs reliably on the Windows. This allows organizations to run with Windows as a database server or run an entire instance on a single system.
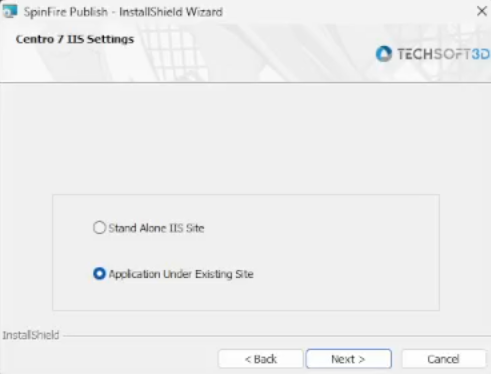
Keep option as Applicaiton under Existing Site and click Next.
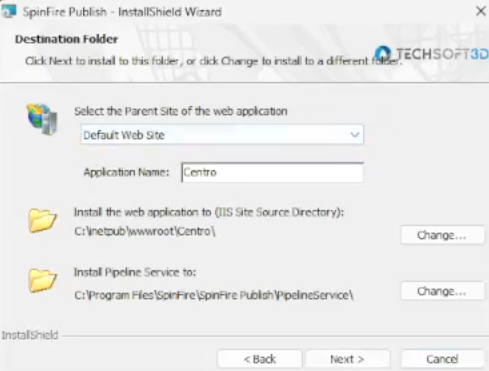
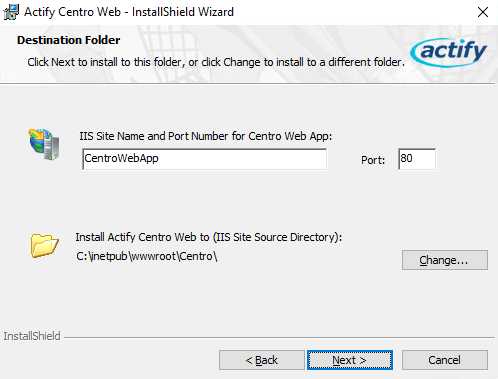
For Destination Folder Screen, select the dropdown menu and choose Default WebSite and then Click Next.
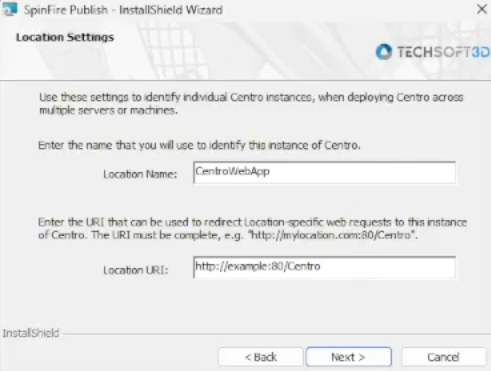
For Location Settings Screen, leave the CentroWebApp as it is and then Click Next.
For Application Credentials screen keep using Parent Site’s Application pool as it is, then Click Next.
For Email Settings screen, Click Next (This can be configured after the installation)
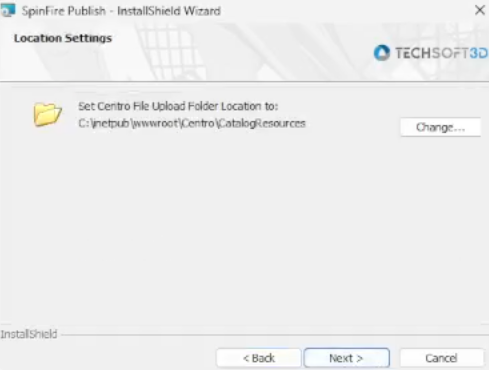
For Location Settings screen Click Next.
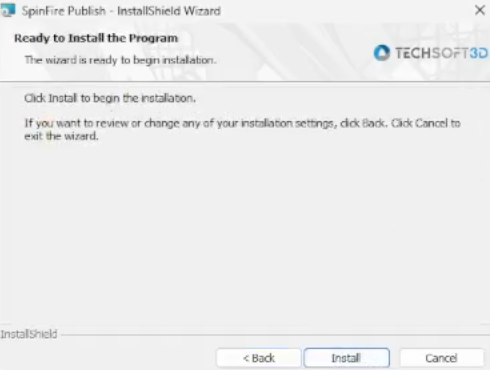
Click Install to finish the installation
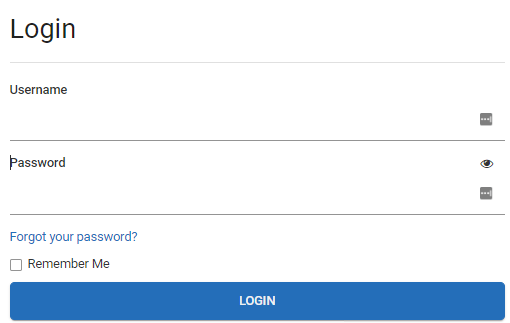
Go to the login page. Verify the site is accessible.
Complete the database setup, by running SpinFire Publish’s database deploy script
To run the SpinFire Publish database deploy script
Extract the C7-deploy-2025.x.xxxxx.xxxx.zip file
In the Power Shell, navigate to the deploy folder.
Run the Setup.bat file.
Follow the script instructions.
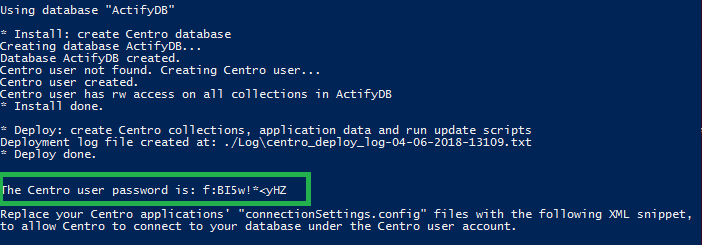
The SpinFire Publish deployment script creates a “SpinFire Publish” user to use when setting up the web application and services rather than using the database root user.
Make note of the random password created for the remainder of the installation. If you use this user/password combination, you can skip the Step 5.
Conversation saved
SPINNY BETA
Hello! I'm SPINNY
Your Docs generative AI assistant. Ask me anything about SpinFire Publish or choose a sample question below to start a conversation:
What is SpinFire Publish?
What are the latest release notes for SpinFire Publish?
How do I start evaluating SpinFire Publish?
How can I get assistance?
SPINNY may store conversations according to OpenAI's policy. Responses may not always be accurate.