
Migrating to SQLite mode (SpinFire Publish 2025.2.0+)
Starting with SpinFire Publish 2025.2.0, customers MUST now use an embedded SQLite database instead of ArangoDB, as ArangoDB is no longer supported.
This is called SQLite mode.
SQLite mode makes it easier to install or update SpinFire Publish as there is no need to deploy ArangoDB.
Migrating an existing installation
An existing installation of SpinFire Publish (CAD Publisher) based on ArangoDB must be migrated before it can use SQLite mode. This is a one-time operation done by running a migration program called CadPublisherArangoMigrator.exe.
The program connects to ArangoDB using the same network settings as Centro Web App. It turns off the applications, deploys the ArangoDB database and migrates its content to an SQLite database.
Follow the steps below BEFORE installing the new version of SpinFire Publish to perform the migration:
Create a backup of the ArangoDB database.
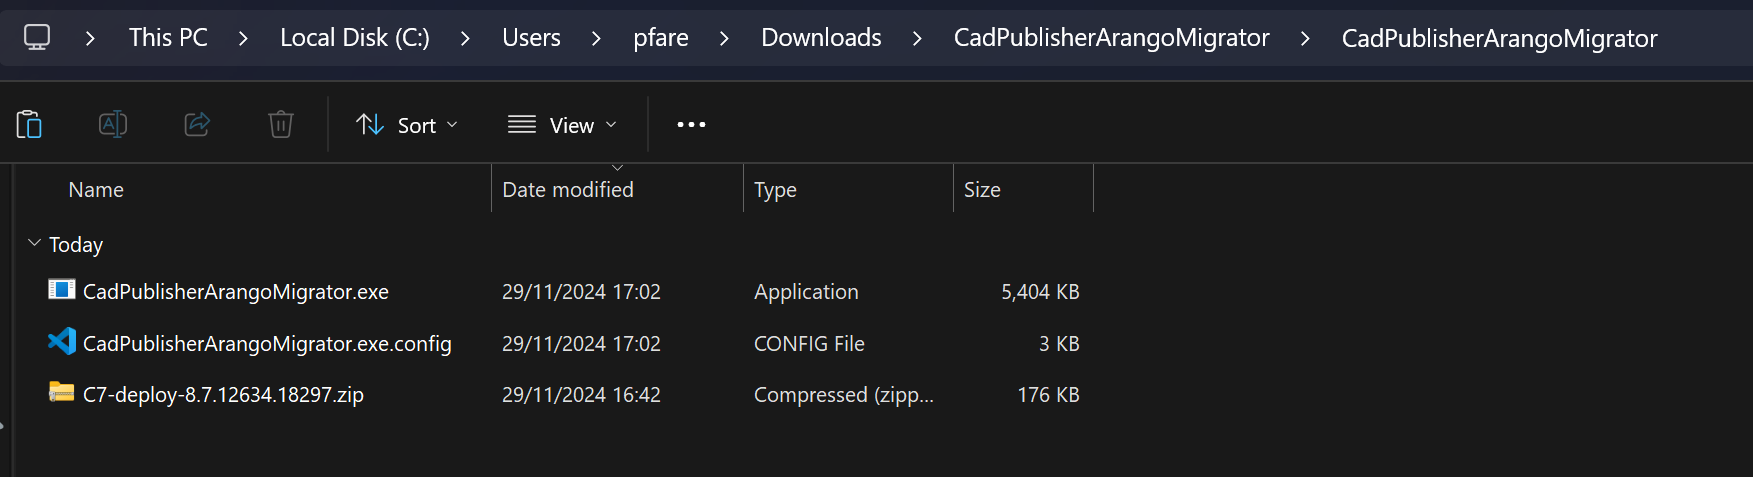
Download and extract the ZIP file
CadPublisherArangoMigrator.zip.Download
C7-deploy-2025.1.x.x.zipand place it next toCadPublisherArangoMigrator.exe.You don’t need to extract the zip file, the migration program will do it automatically.
If you have installed Centro Web App in a different folder than the default
C:\inetpub\wwwroot\Centro, openCadPublisherArangoMigrator.exe.configand updateCentroConfigPathsetting with the correct value.Open an administrator Command Prompt in the folder that contains
CadPublisherArangoMigrator.exe.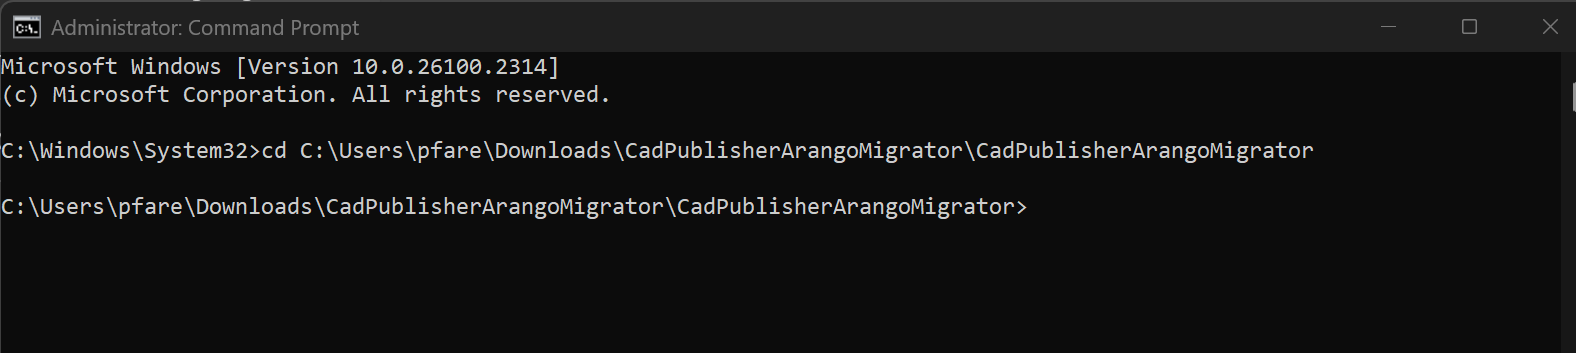
Run
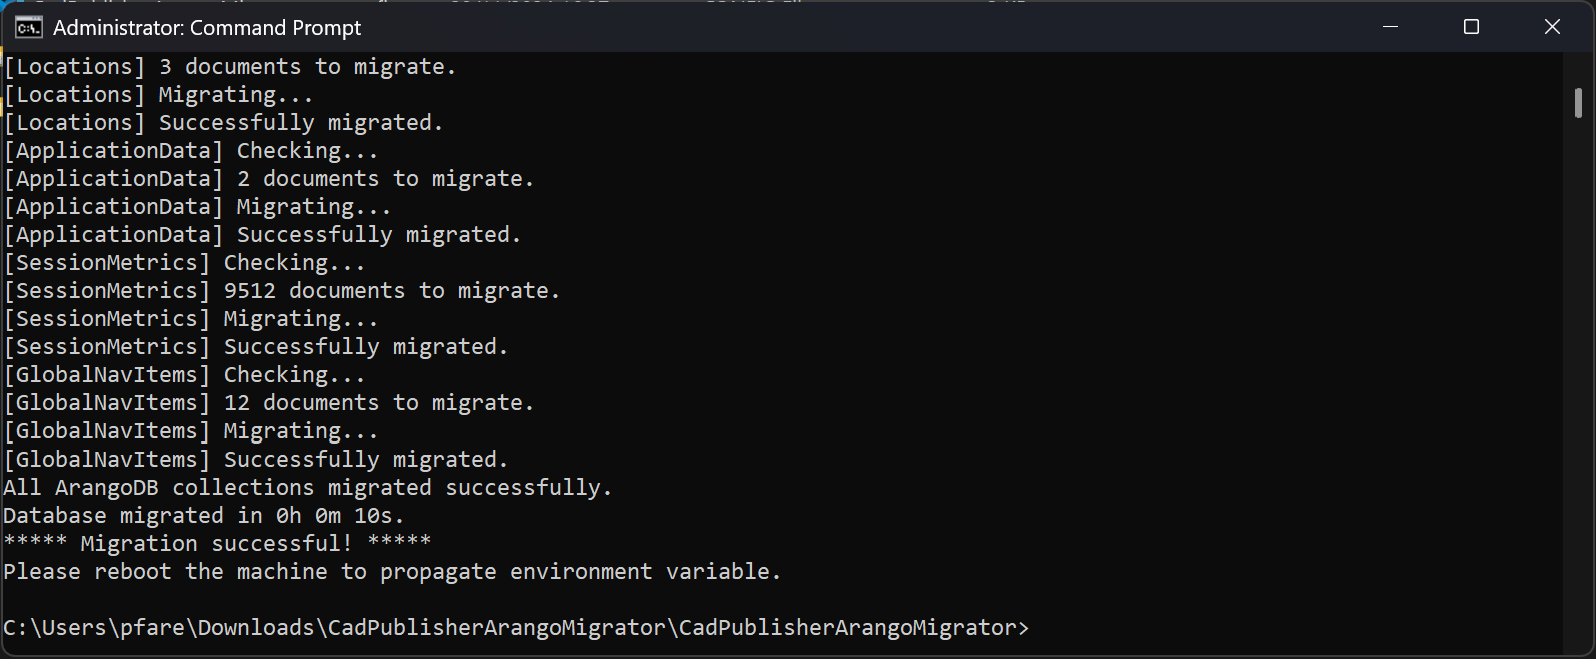
CadPublisherArangoMigrator.exefrom the command prompt.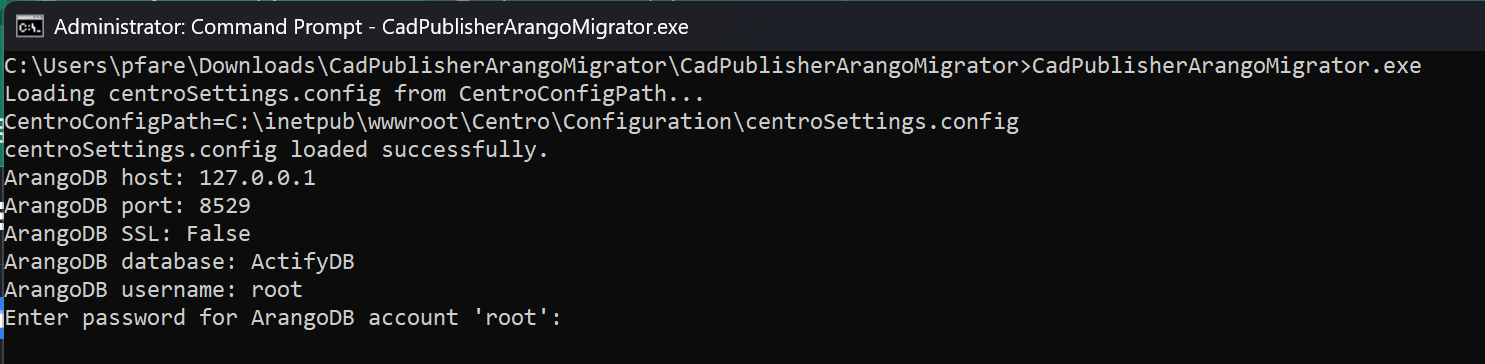
Enter the password for ArangoDB root user and press Enter.
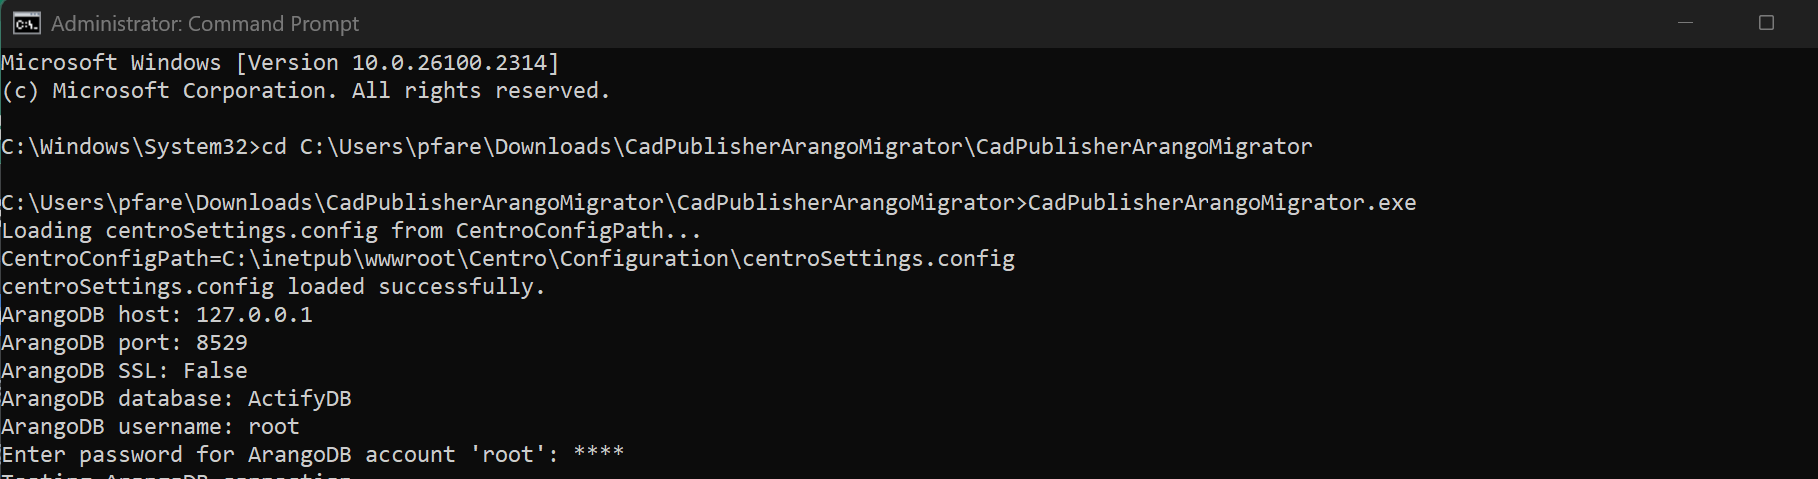
Wait for the migration to complete. If successful, you will see “Migration Successful!”. If an error occurs, refer to the troubleshooting section below.
(Optional) Turn off or uninstall the ArangoDB service.
Run
SpinFirePublish.exeand follow the installation steps.Navigate to your SpinFire Publish instance to make sure it is running correctly.
Note
You may need to re-set the Log On As credentials for the Centro Pipeline Service (now replacing Pipeline Host and Pipeline Manager).
New installation
For a new installation of SpinFire Publish 2025.2.0 or later, simply run SpinFirePublish.exe and follow the installation steps.
Troubleshooting
Failed to deploy database
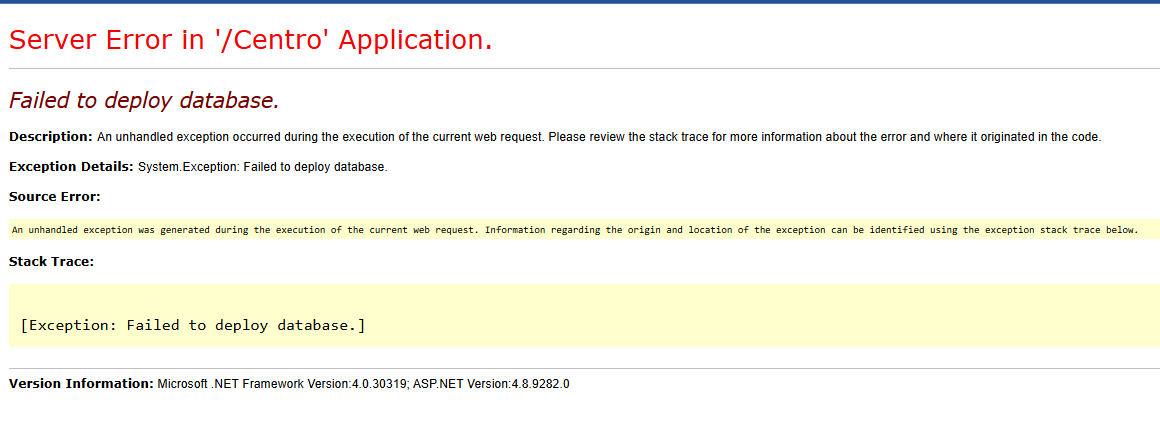
Check the log files for more information:
CentroWebApp00.loganddeploy_log_<appVersion>_<dd-MM-yyyy-HHmmss>.txt.Make sure that the IIS application pool (usually
CentroPool) has write access to the folder that contains the database file:<ProgramDataRoot>. The default isC:\ProgramData\SpinFire\SpinFire Publish\.
Attempt to write a readonly database

Make sure that the IIS application pool (usually
CentroPool) has write access to the folder that contains the database file:<ProgramDataRoot>. The default isC:\ProgramData\SpinFire\SpinFire Publish\.
HTTP Error 500.0 - Internal Server Error
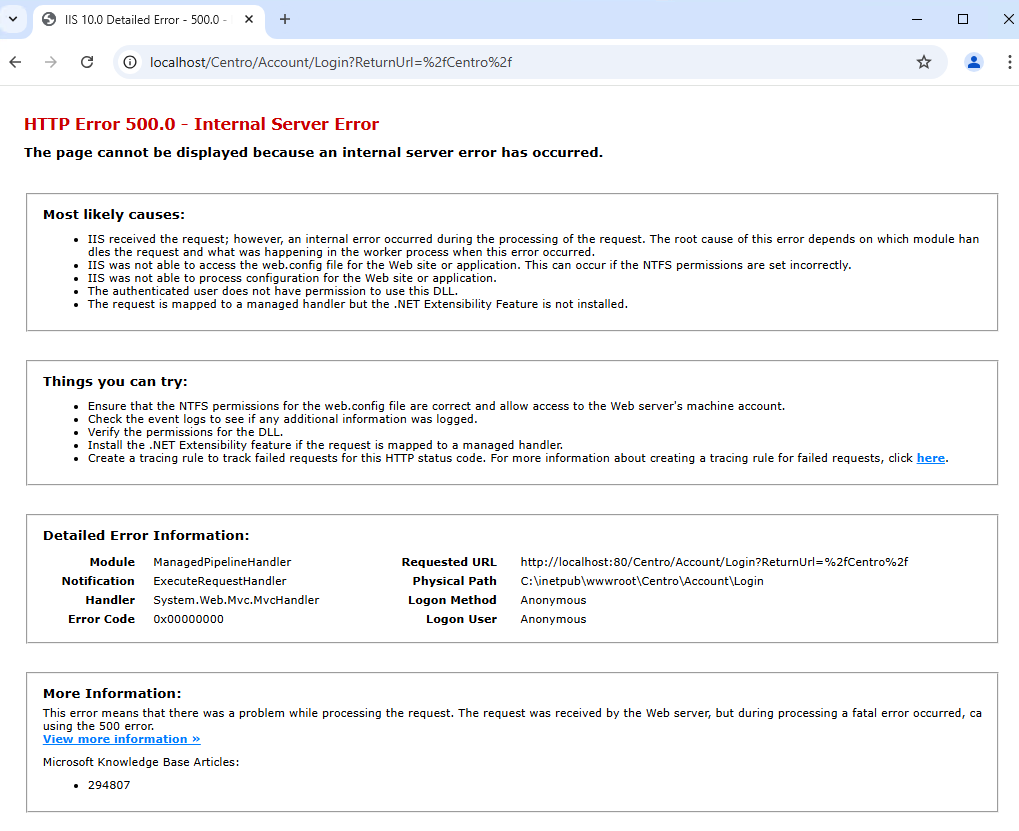
Ensure that the IIS application pool
CentroPoolis started.