Note - These instructions are for versions 2025.1.0 or later.
The SpinFire Manage installer is a single executable that installs one product with two applications: Web App and Pipeline Service.
Double click the executable, select a language and wait for the installer to load.
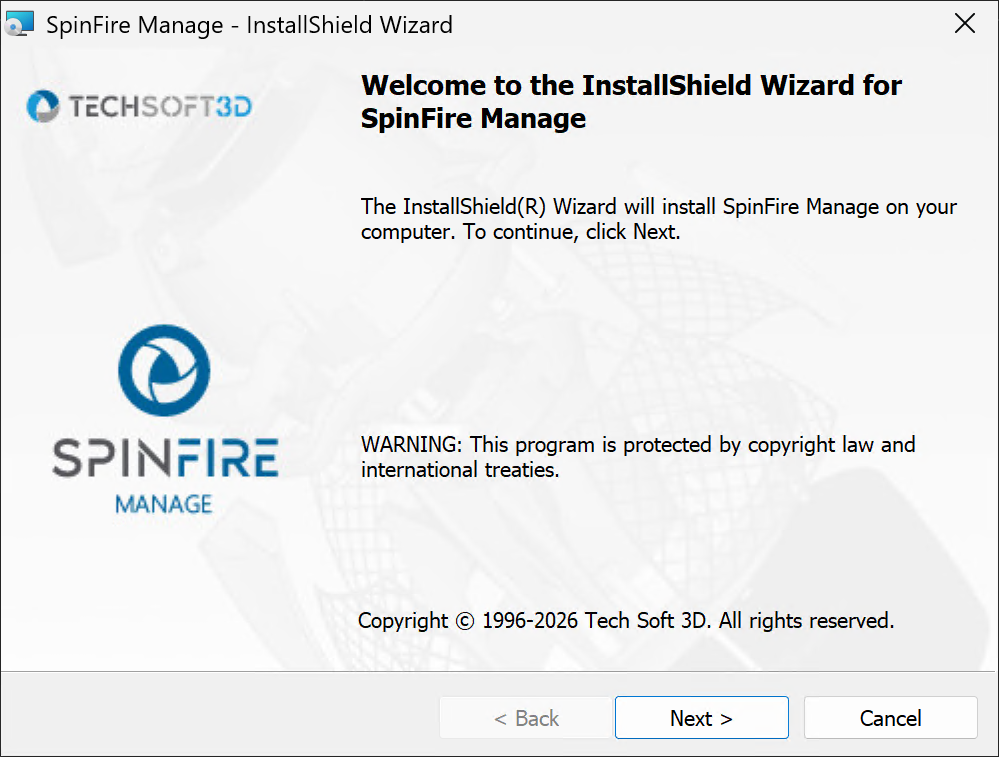
On the welcome screen click Next.
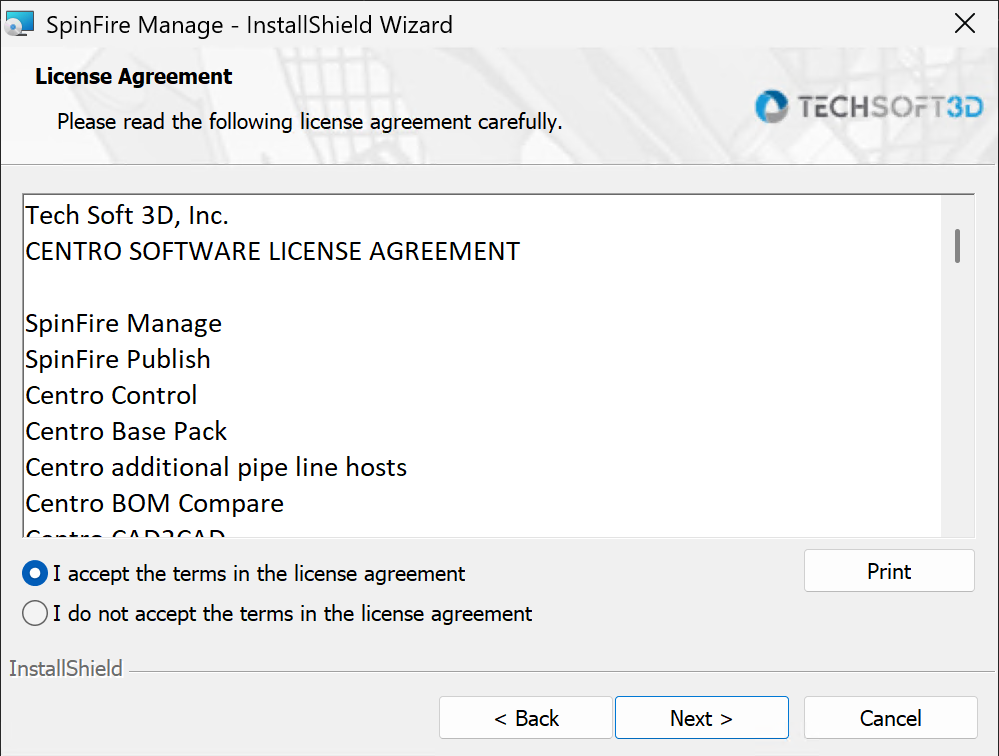
Review and accept the License Agreement, then click Next.
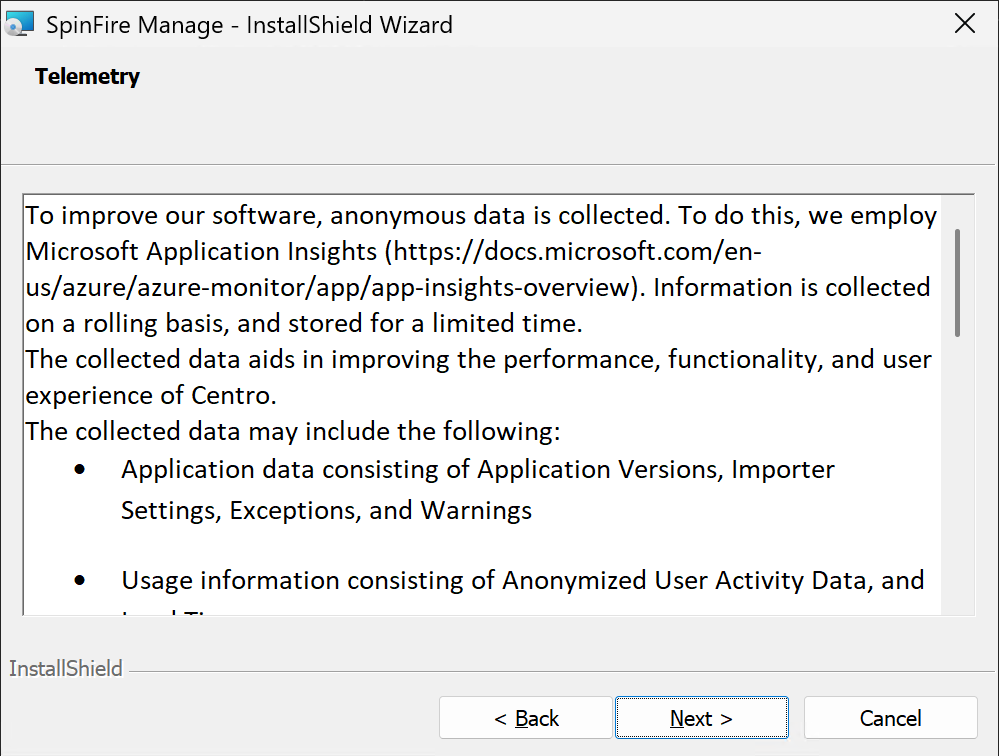
Review the Telemetry notice and click Next.
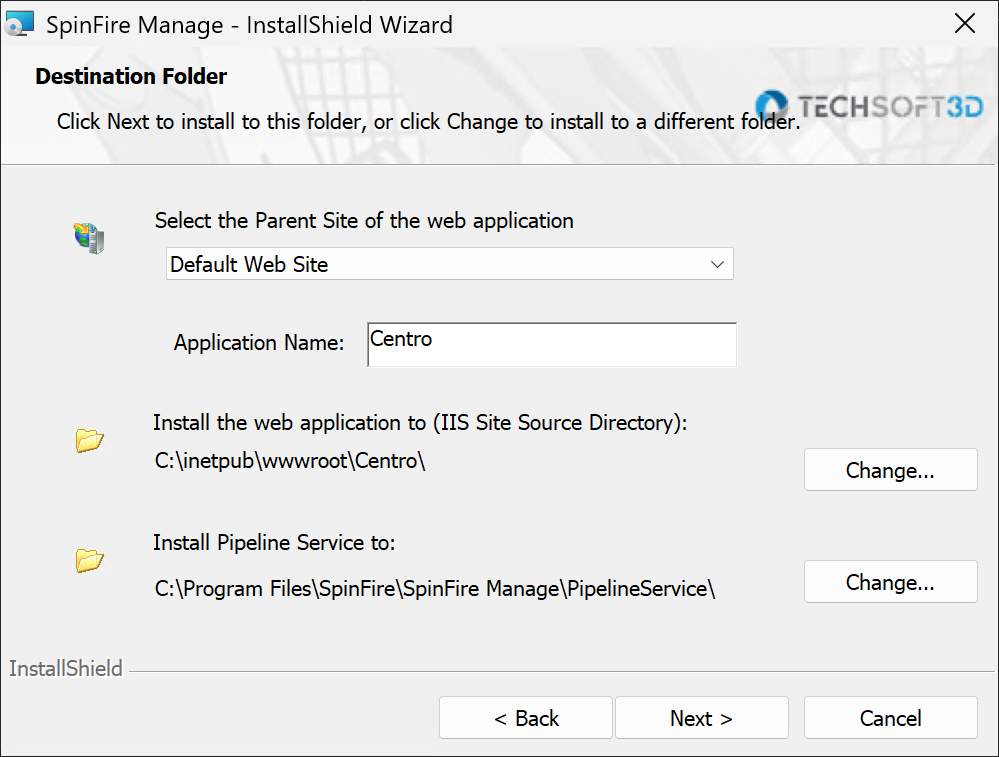
Select the dropdown menu and choose Default Web Site, then click Next.
Important
*If you change the IIS Application Name, then the address of the WebApp_JobEventHandler endpoint in the WCF client configuration of Pipeline Service must be changed as well.
In “C:\Program Files\SpinFire\SpinFire Manage\PipelineService\Configuration\WCF” edit,
local_client.config
remote_client.config
Example,
If I install with the name “Centro-install”, then I need to change the endpoint address to “net.pipe://localhost/Centro-install/JobEventHandler_svc/JobEventHandler.svc”.
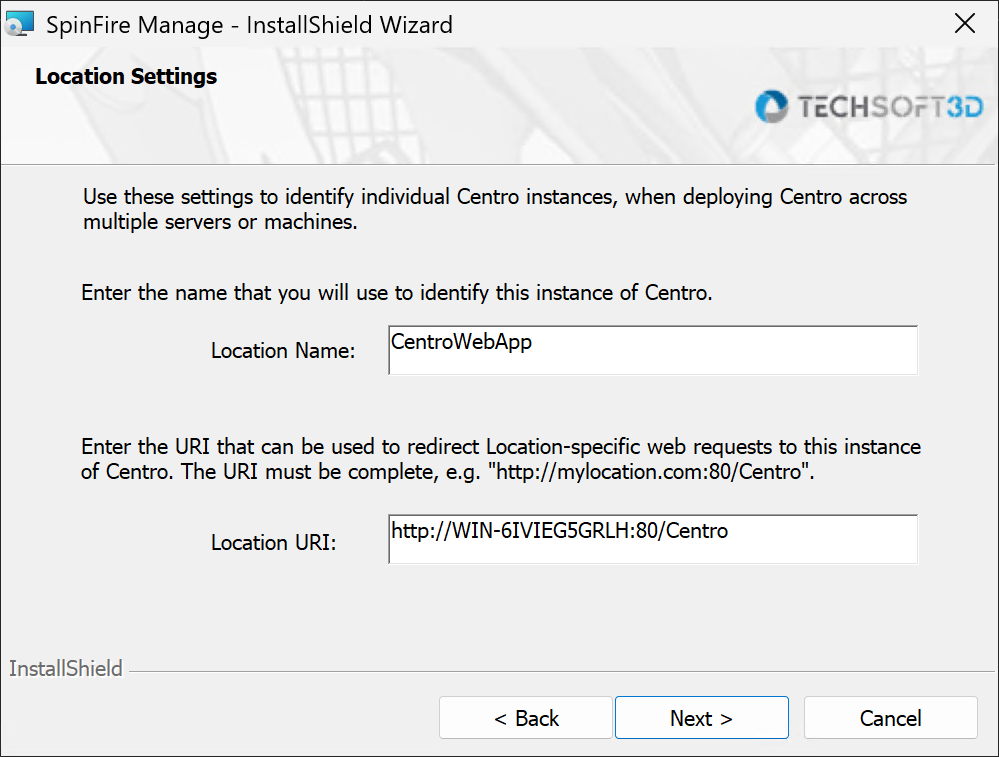
6. Set the Location name for this instance and the Location URI (how your user base will access the SpinFire Manage instance. Note: Direct IP addresses should not be used).
| Click Next.
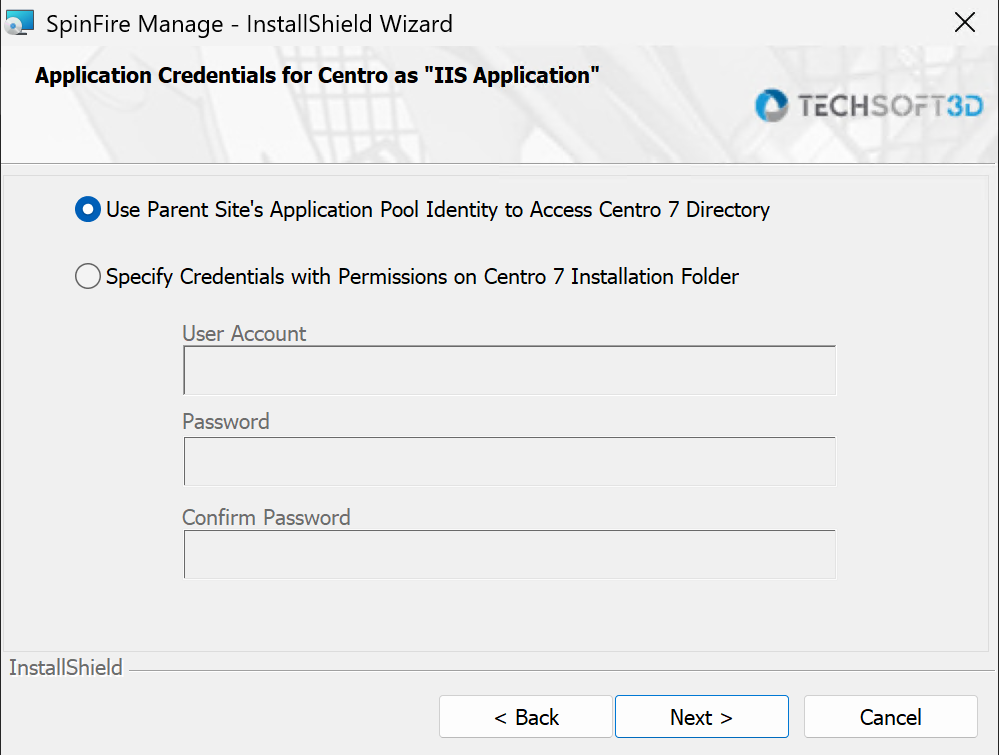
For applications under an existing site, use the default or specify credentials for the Web App directory.
Click Next.
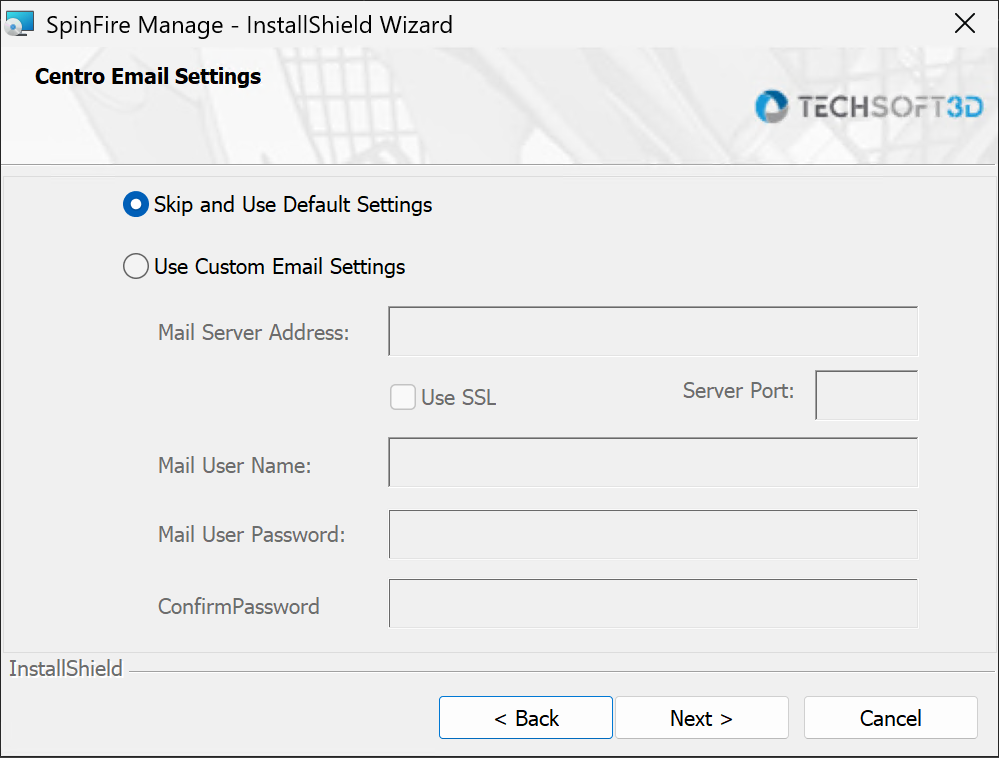
Enter email server information or choose to skip. Click Next. (This can be configured after the installation).
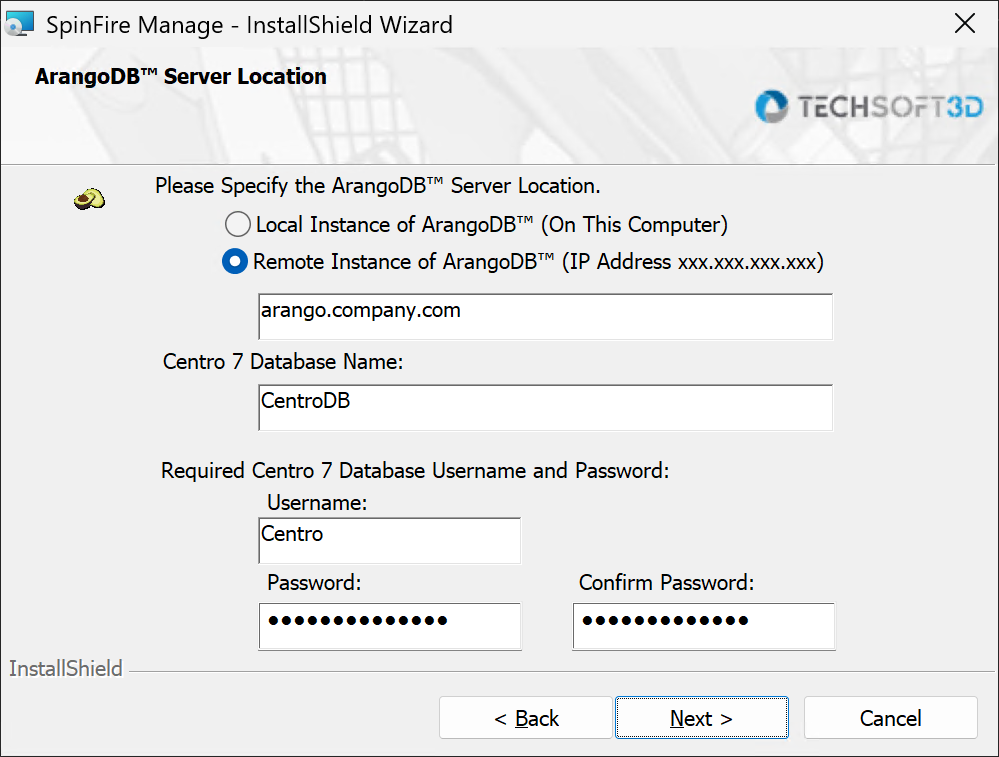
Enter the IP address or hostname of the system containing the ArangoDB database.
Enter the database user name and password that the application uses to connect to the database.
Hint
We recommend using a database user other than root.
Click Next.
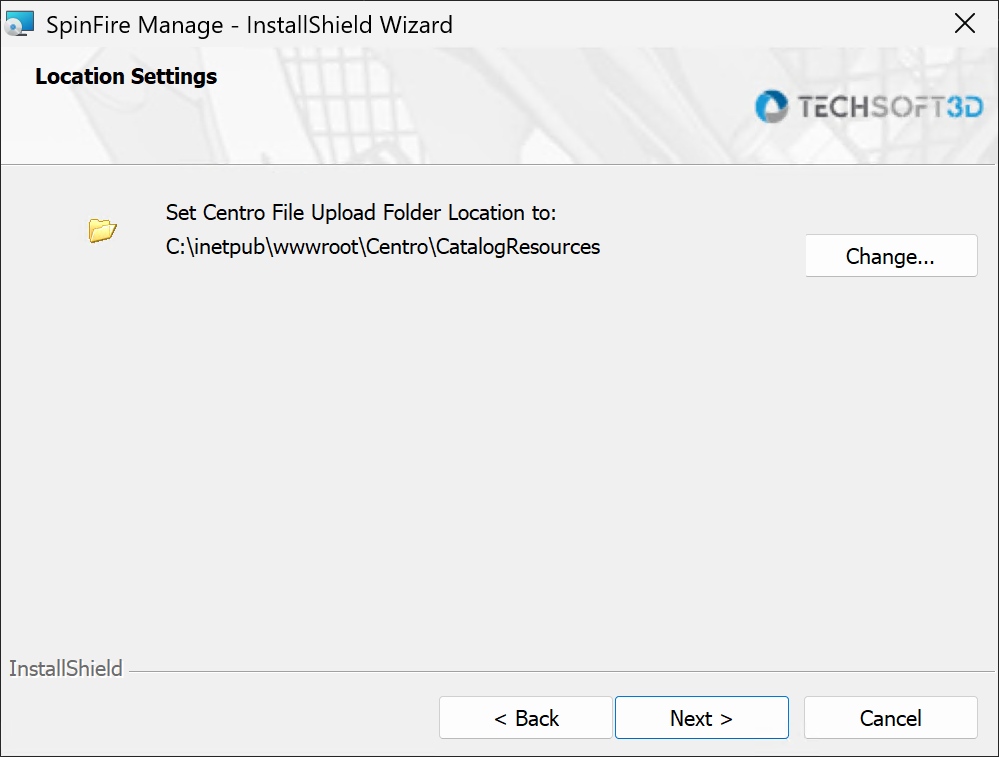
Select the location where uploaded catalog resource files will be stored and click Next.
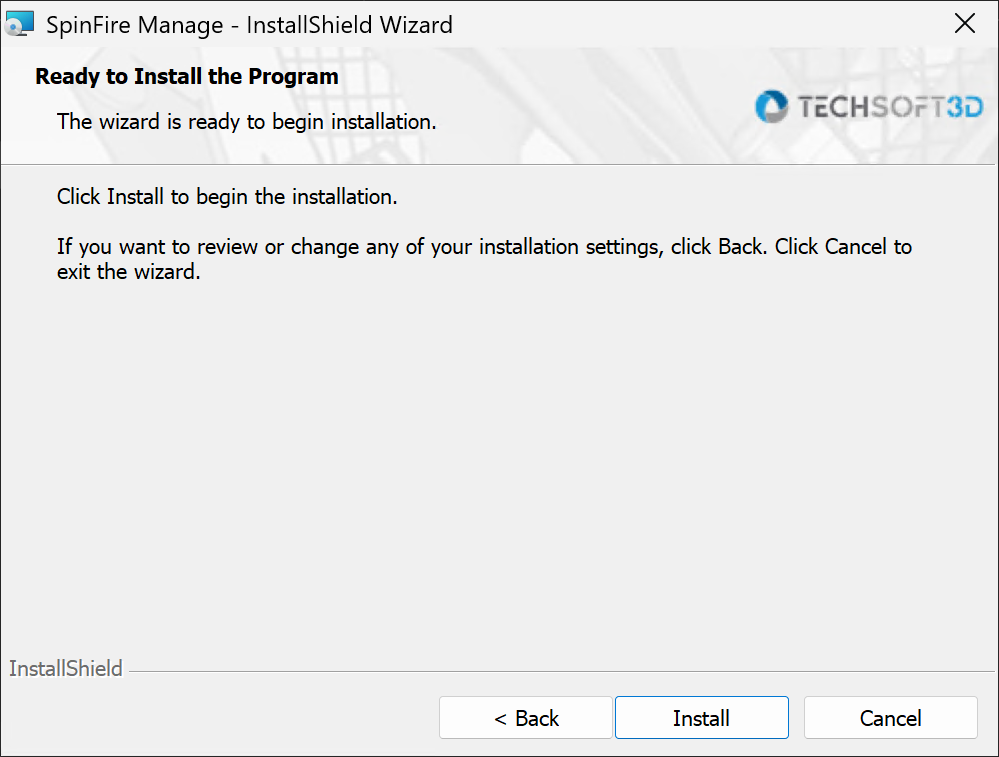
Click Install to finish the installation.
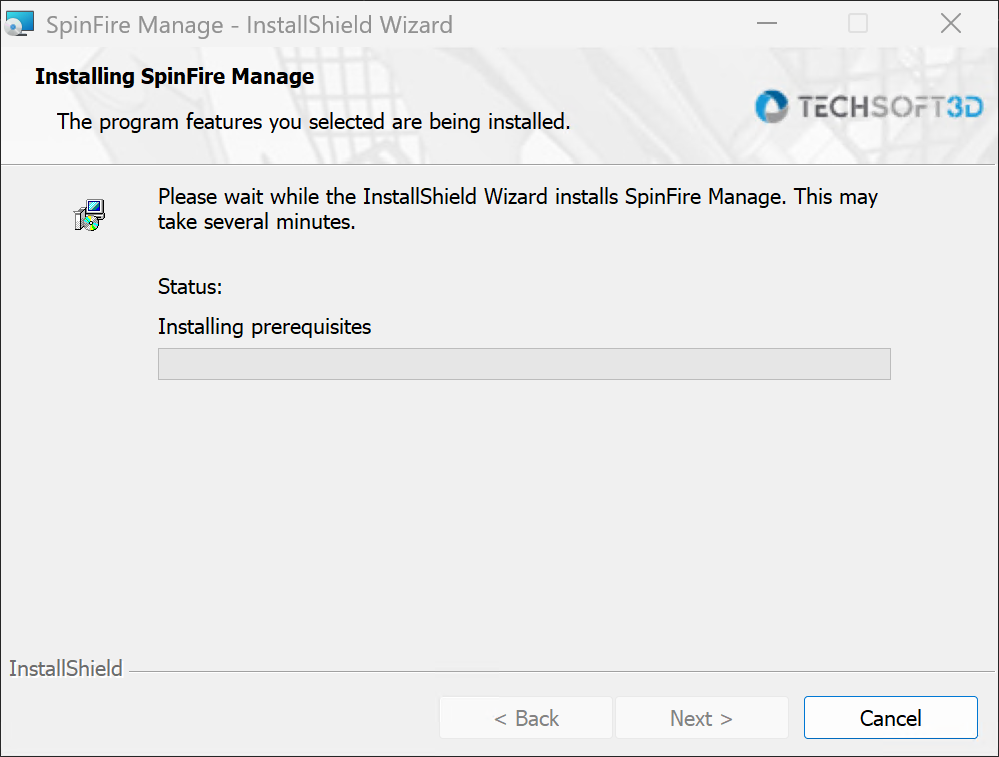
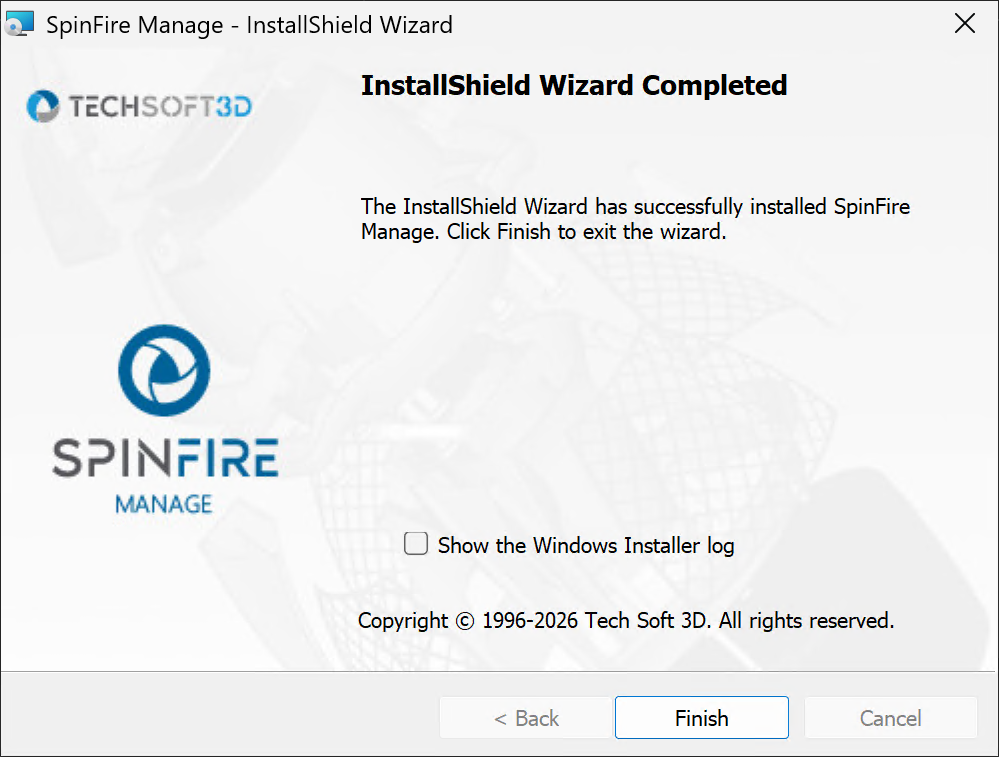
Wait for the application to finish installing, then click Finish.
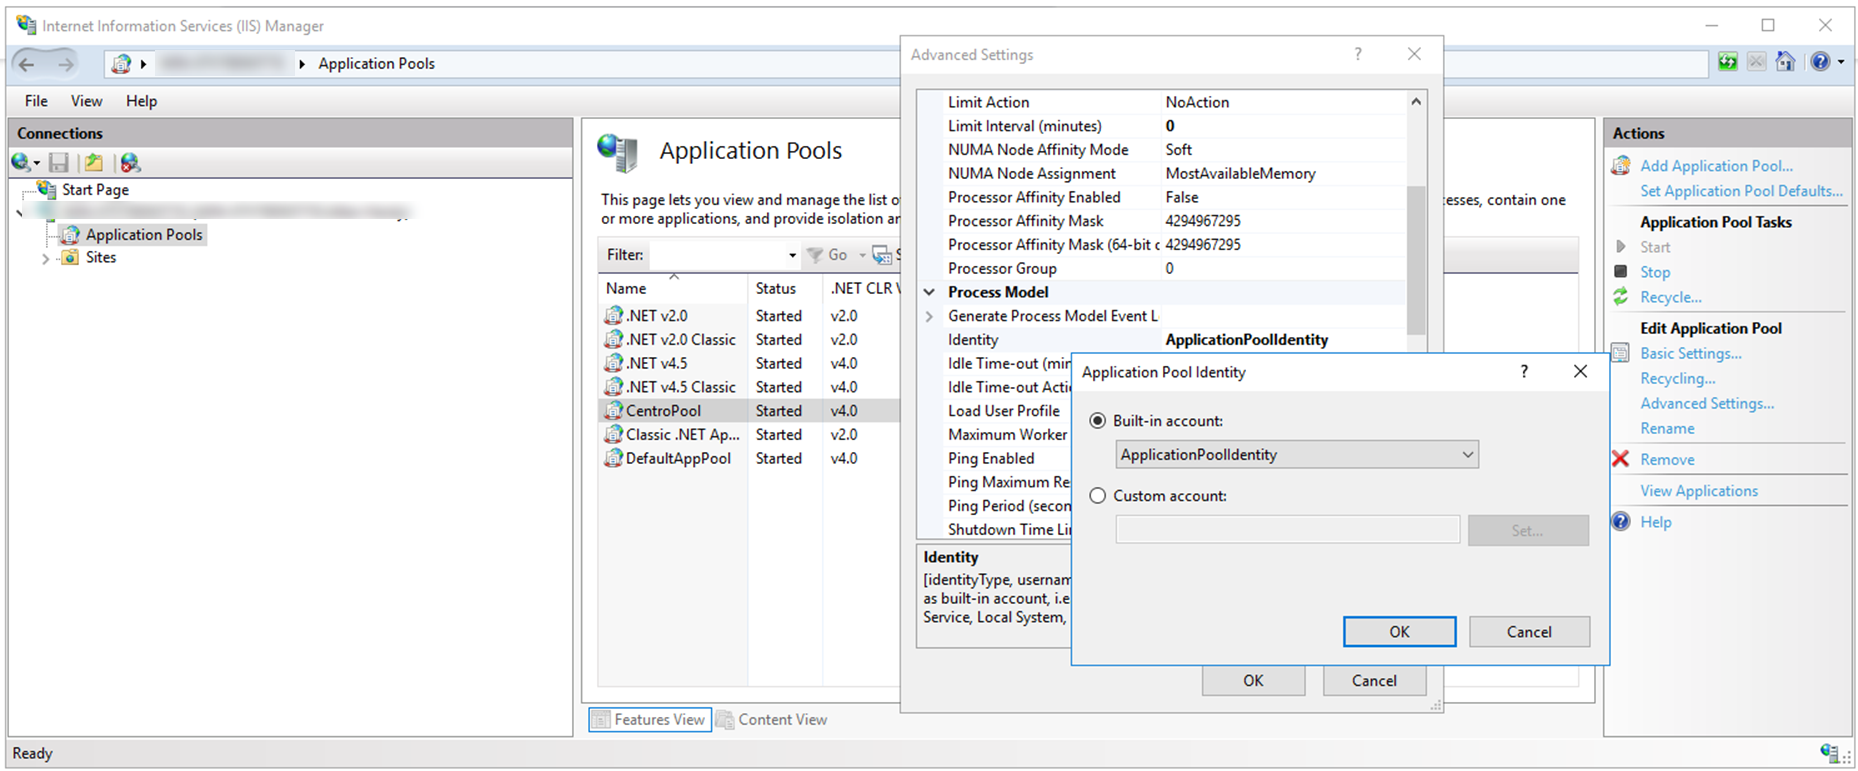
If this is the first time installing SpinFire Manage, the CentroPool user credentials must be updated. (Updating SpinFire Manage version will retain the user credentials.)
This step is necessary for SpinFire Manage to have Read/Write access permission to network locations relating to Centro.
Go to the login page. Verify the site is accessible.
Conversation saved
SPINNY BETA
Hello! I'm SPINNY
Your multilingual generative AI assistant for documentation. Ask me anything about SpinFire Manage in your own language, or choose a sample question below to start a conversation:
What is SpinFire Manage?
What are the latest release notes for SpinFire Manage?
How do I start evaluating SpinFire Manage?
How can I get assistance?
SPINNY may store conversations according to OpenAI's policy. Responses may not always be accurate.