
Model Compare
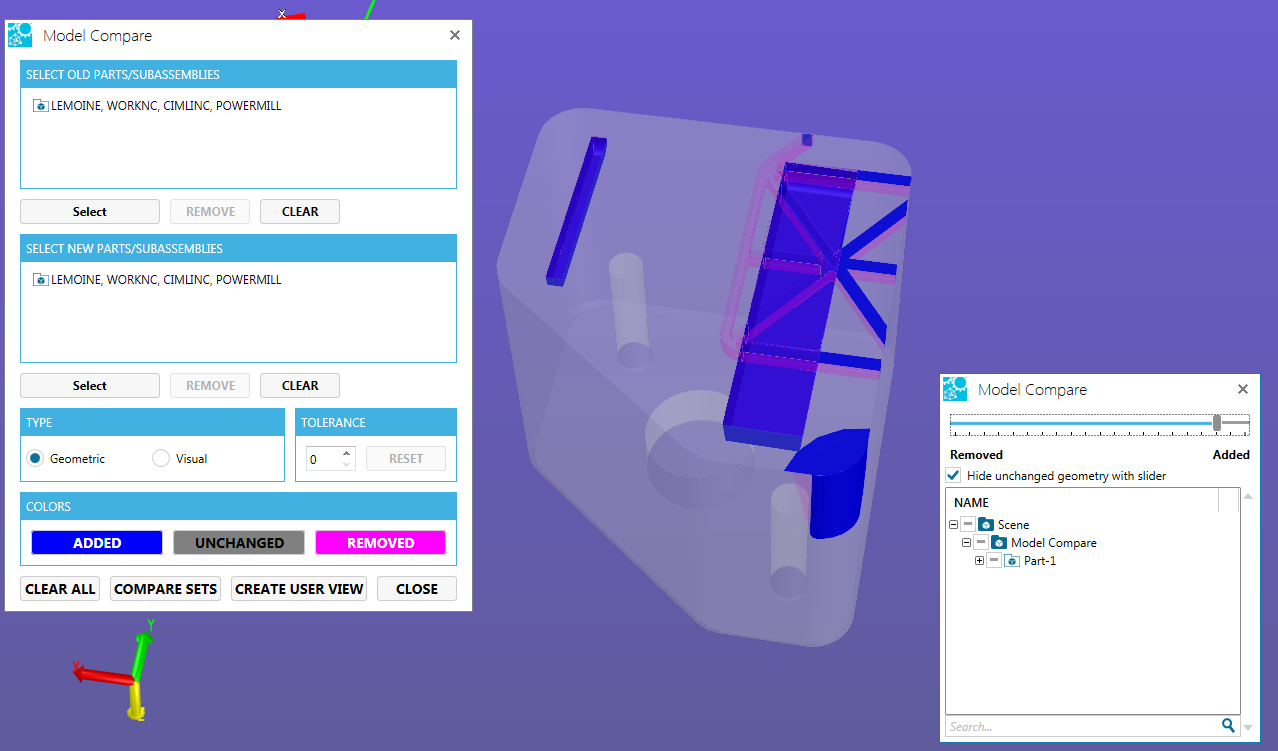
The Model Compare functionality takes two similar parts and displays what is the same and different through the use of coloring the parts.
To compare models:
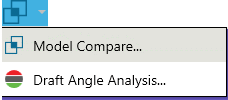
- Select Model Compare from the Analysis icon menu.
- From the Model Compare dialog, select the old revision of the part(s).
You can select as many parts as needed
As you select the parts, the geometry will be hidden to make further selections easier
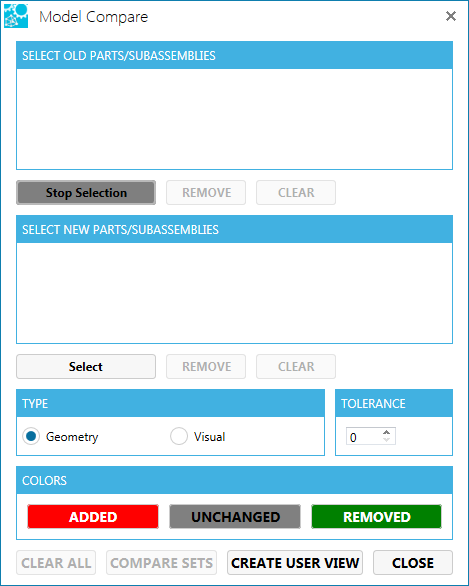
Click Select for the new parts/sub-assemblies
Select the new revision of the part(s).
Set the type of comparison (geometric or visual).
Set the Tolerance.
Change the added, unchanged, or removed color coding as needed.
Select Compare Sets
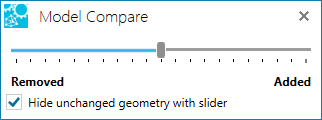
B-Rep comparison If your models contain B-Rep data, a Model Compare dialog appears for you to control:
- A slider to between the removed portions and the added portions.As the slider is moved towards the “removed” side, added portions will visually fade.As the slider is moved towards the “added” side, removed portions will visually fade.
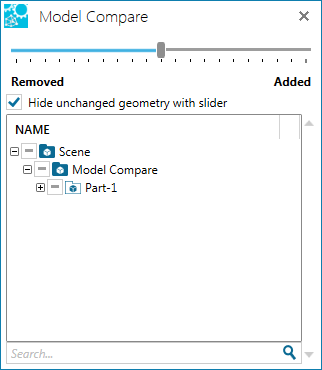
Hide/show unchanged geometry with the slider
Show and allow one to visually enable or disable parts from the tree.
Tessellation comparison If a comparison based on tessellation is produced, a Model Compare dialog appears for you to control:
- A slider to between the removed portions and the added portionsAs the slider is moved towards the “removed” side, added portions will visually fade.As the slider is moved towards the “added” side, removed portions will visually fade.
Hide/show unchanged geometry with the slider
Visual comparison Visual comparison do not allow any control. The Model Compare dialog does not appear.
- Click Create User View to save the model compare in a user view.
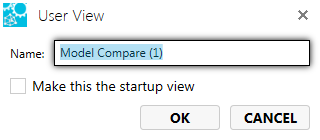 When the user view is selected, the appropriate level of the Model Compare dialog box appears.