2D Markup Tools
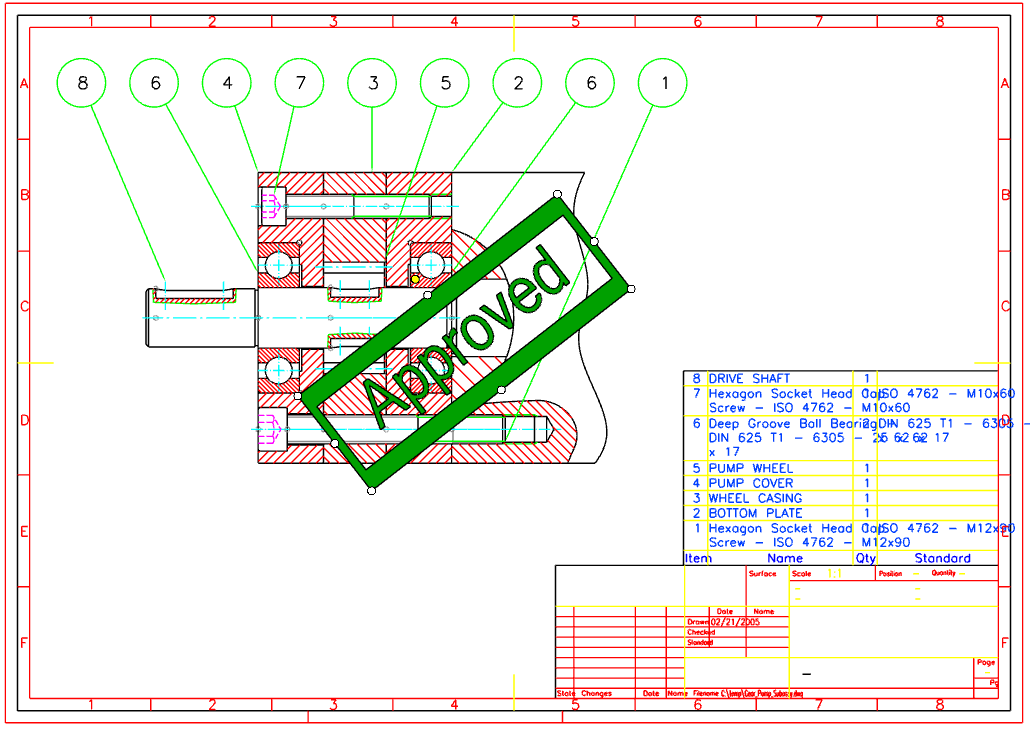
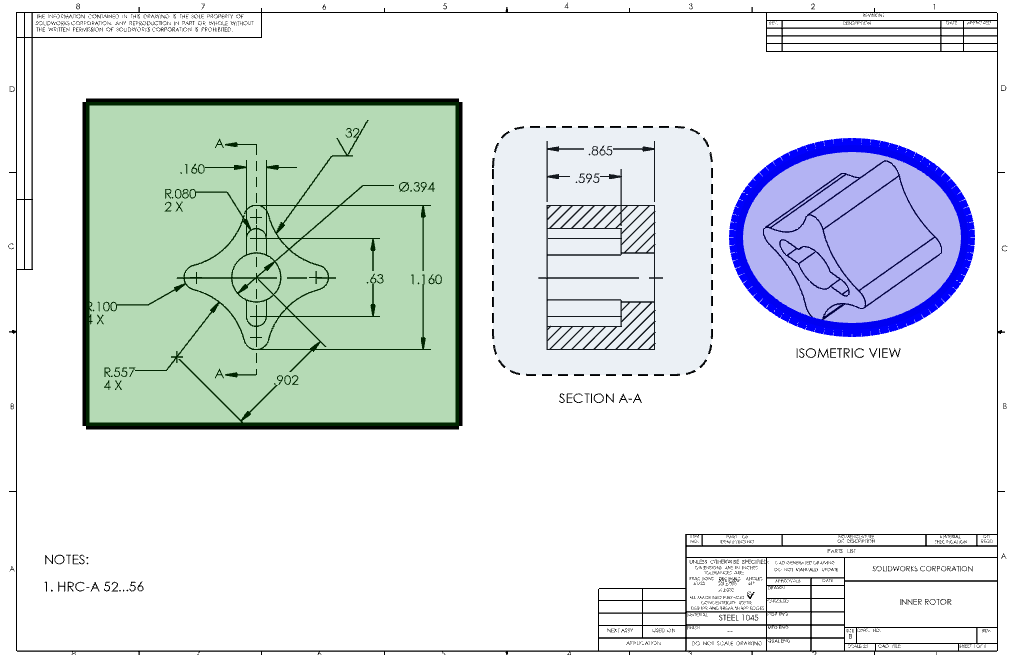
Use the markup tools on the 2D Document Toolbar to add shapes, lines, callouts, and stamps to a 2D document.
2D Shape Tools
Add and edit 2D shapes in the 2D work space to mark and draw attention to specific portions of your document.
Create a Rectangle
Create a rectangle around information or drawings to highlight them using a transparent or opaque fill.
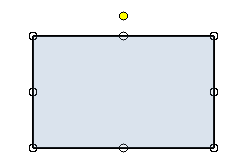
To create a rectangle:
- Select the Rectangle tool from the 2D toolbar.

Click a first location to select the start point.
Click a second location to select the end point.
Create a Rounded Rectangle
Create a rounded rectangle around information or drawings to highlight them using a transparent or opaque fill.
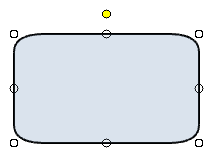
To create a rounded rectangle:
- Select the Rounded Rectangle tool from the 2D toolbar.

Click a first location to select the start point.
Click a second location to select the end point.
Create an Oval
Create an oval around information or drawings to highlight them using a transparent or opaque fill.
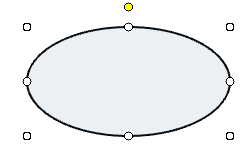
To create an oval:
- Select the Oval tool from the 2D toolbar.

Click a first location to select the start point.
Click a second location to select the end point.
Editing 2D Shapes
Moving
To move a shape:
Place the mouse over the shape.
While holding the left mouse button down, drag the shape into the new location.
Release the mouse when finished.
Rotating
To rotate a shape:
Left mouse click on the shape to select it.
- White resize grips and a yellow rotation grip should appear.
Hover the mouse over the yellow rotation grip until it turns red.
Holding down the left mouse button, drag the rotation grip, rotating the shape around its center.
Release the mouse when finished.
Resizing
To resize a shape:
Left mouse click on the shape to select it.
- White resize grips and a yellow rotation grip should appear.
Hover the mouse over one of the white resize grips until it turns red.
Holding down the left mouse button, drag the resize grip until the desired size is achieved. Note: top and bottom grips resize vertically; left and right grips resize horizontally; corner grips resize both vertically and horizontally.
Release the mouse when finished.
Hiding
To hide a shape:
Right mouse click the shape.
Select Hide (shape).
To show:
Find the shape in the Markups panel.
Check the associated check box or right mouse click on it and select Show (shape).
Changing Line Width
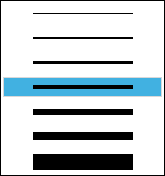
To change the shape’s border width:
Right mouse click the shape.
Hover over Width.
- Select the desired width.
Changing Line Pattern
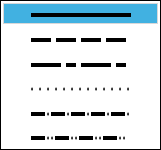
To change the shape’s border pattern:
Right mouse click the shape.
Hover over Pattern.
- Select the desired pattern.
Changing Line Color
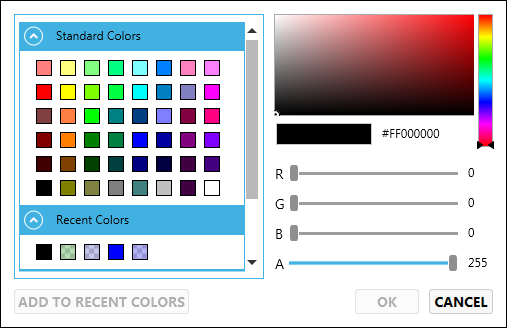
To change the shape’s border color:
Right mouse click the shape.
Hover over Line Color.
Select the desired line color.
Changing Fill Color
Use fill colors to highlight, encode, or simply cover over parts of your drawing.
To change the shape’s fill color:
Right mouse click the shape.
Hover over Fill Color.
Select the desired fill color.
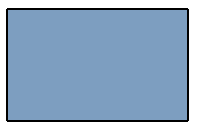
Use the Alpha channel to change the opacity of the fill color.
Alpha Value |
Example |
255 |
|
200 |
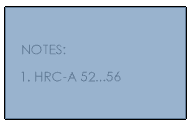
|
100 |
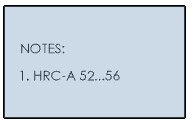
|
0 |
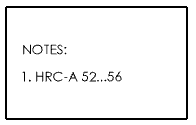
|
Locking Position
Lock the shape so it cannot be moved unless unlocked.
To lock a shape:
Right mouse click the shape.
- Select Lock Position.
This prevents the shape from being moved, resized, or rotated.
Deleting
Delete the shape if it is not desired.
To delete a shape:
Right mouse click the shape.
- Select Delete.

Note
Use Undo to restore a deleted 2D shape.
Adding/Editing Text
You may want to put text within a shape to label or describe what it’s highlighting.
To add/edit text within a shape:
Right mouse click the shape.
Select Properties.
Edit the Title field.
Click OK.
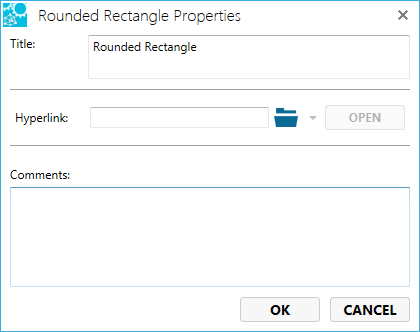
Text appears as:
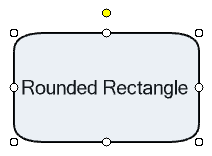
Adding a Hyperlink
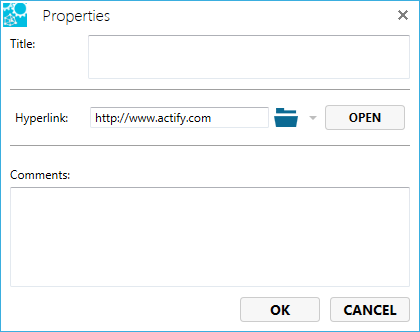
Adding a hyperlink to the shape allows a user to click on the shape to be sent to another location.
To add a hyperlink to a shape:
Right mouse click the shape.
Select Properties.
- Enter a valid link in the Hyperlink field.
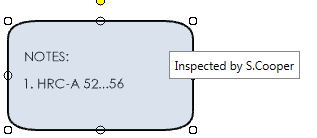
Adding a Comment
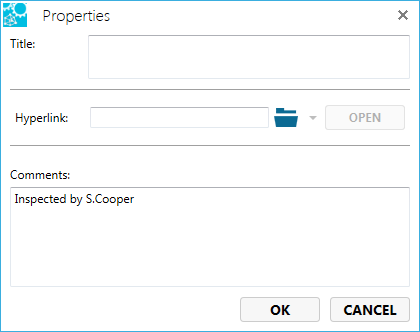
Adding a comment to the shape appears as a tool tip when hovering the mouse over the shape.
To add a comment to a shape:
Right mouse click the shape.
Select Properties.
- Enter text into the Comments field.
2D Line Tools
Create a Line
Create a straight line between two points within a 2D work space.
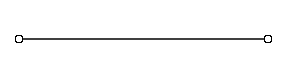
To create a line:
- Select the Line tool from the 2D toolbar.

Click a first location to select the start point.
Click a second location to select the end point.
Create a Polyline
Create a series of straight lines between chosen points (polyline) within a 2D work space.
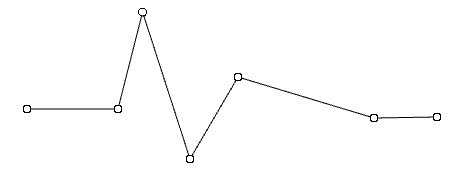
To create a polyline:
- Select the Polyline tool from the 2D toolbar.

Click a first location to select a start point.
Continue to click new locations to continue the multi-jointed line.
Double click the final point to end.
Create a Curve
Create a line made up of curves at the points (curve) within a 2D work space.
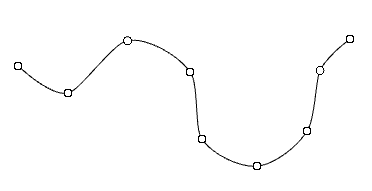
To create a curved line:
Select the Curve tool from the 2D toolbar.

Click a first location to select a start point.
Continue to click new locations to continue the multi-jointed curved line. Each new point represents a curve. The amount of curve is dependent on the placement of the following point.
Double click the final point to end.
Create a Closed Polyline
Create a closed polyline within a 2D work space.
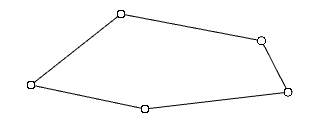
To create a closed polyline:
- Select the Closed Polyline tool from the 2D toolbar.

Click an initial starting point.
Continue to click to add points in the polyline.
Double click to add the final point and to connect the end point with the starting point.
Move a Line
To move a line:
Select the line by right or left mouse clicking on the line in the graphic area or on the line in the Markups browser.
Left mouse drag the line in the graphic area to the new location.
Release the mouse to set the new position.
Note
Use the undo/redo feature to undo or redo line movements.
Edit a Line
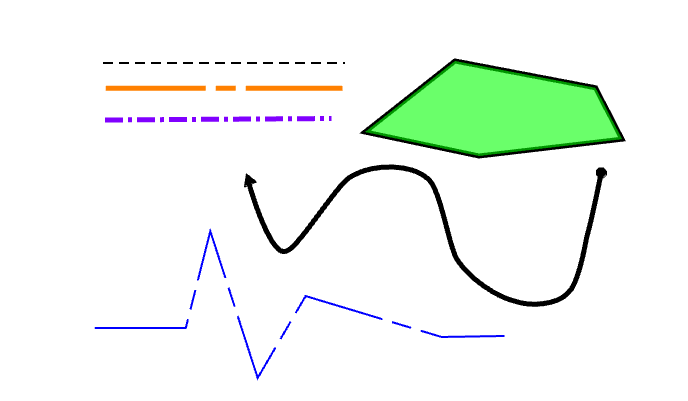
Change the color, width, and pattern of 2D lines to make them more visible or distinct.
Points
All points in a line can be moved.
To move points:
Select the line.
Left mouse drag a point to the desired location.
Width
Right mouse click on a line.
- Select a width from the Width menu.
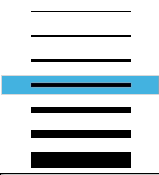
Pattern
Right mouse click on a line.
Select a pattern from the Pattern menu.
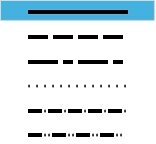
Color
Right mouse click on a line.
- Select a color from the color dialog.
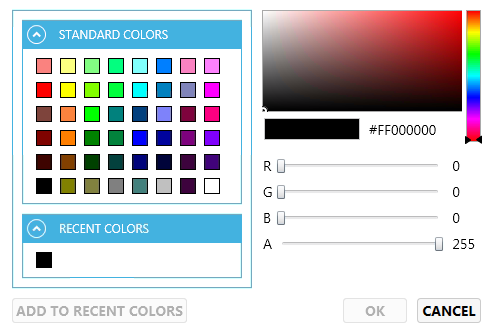
Click the OK button.
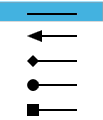
Caps
Right mouse click on a line (line, polyline or curved line).
- Select a Start Cap or End Cap from the cap menu.
Properties
Right mouse click on a line.
Select Properties.
Set the hyperlink or comment field.
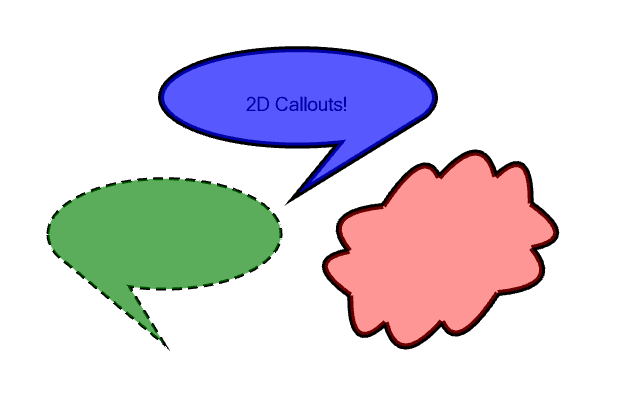
2D Callouts
Add and edit 2D callouts in the 2D work space to make comments on the document.
Create a 2D Right Callout
Create a 2D right callout to point to a specific item in your 2D document and add comments about it.
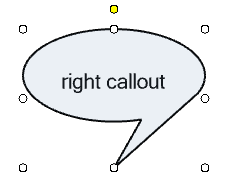
To create a 2D right callout:
- Select the Right Callout tool from the 2D toolbar.

Click a first location to select the start point.
Click a second location to select the end point.
Enter text in the Title field.
Add a hyperlink, if desired.
Add a comment, if desired.
Click OK.
Create a 2D Left Callout
Create a 2D left callout to point to a specific item in your 2D document and add comments about it.
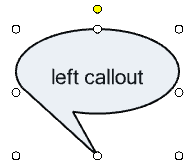
To create a 2D left callout:
- Select the Left Callout tool from the 2D toolbar.

Click a first location to select the start point.
Click a second location to select the end point.
Enter text in the Title field.
Add a hyperlink, if desired.
Add a comment, if desired.
Click OK.
Create a 2D Cloud Callout
Create a 2D cloud callout to point to a specific item in your 2D document and add comments about it.
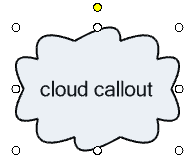
To create a 2D cloud callout:
- Select the Cloud Callout tool from the 2D toolbar.

Click a first location to select the start point.
Click a second location to select the end point.
Enter text in the Title field.
Add a hyperlink, if desired.
Add a comment, if desired.
Click OK.
Editing 2D Callouts
Moving
To move a callout:
Place the mouse over the callout.
While holding the left mouse button down, drag the callout into the new location.
Release the mouse when finished.
Rotating
To rotate a callout:
Left mouse click on the callout to select it.
- White resize grips and a yellow rotation grip should appear.
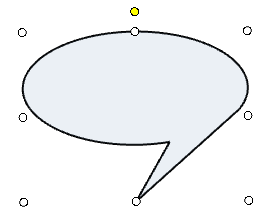
Hover the mouse over the yellow rotation grip until it turns red.
Holding down the left mouse button, drag the rotation grip, rotating the callout around its center.
Release the mouse when finished.
Resizing
To resize a callout:
Left mouse click on the callout to select it.
- White resize grips and a yellow rotation grip should appear.
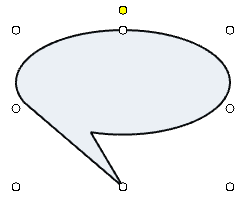
Hover the mouse over one of the white resize grips until it turns red.
Holding down the left mouse button, drag the resize grip until the desired size is achieved. Note: top and bottom grips resize vertically; left and right grips resize horizontally; corner grips resize both vertically and horizontally.
Release the mouse when finished.
Hiding
To hide a callout:
Right mouse click the callout.
Select Hide (callout).
To show:
Find the callout in the Markups panel.
Check the associated check box or right mouse click on it and select Show (callout).
Changing Line Width
To change the callout’s border width:
Right mouse click the callout.
Hover over Width.
- Select the desired width.
Changing Line Pattern
To change the callout’s border pattern:
Right mouse click the callout.
Hover over Pattern.
- Select the desired pattern.
Changing Line Color
To change the callout’s border color:
Right mouse click the callout.
Hover over Line Color.
Select the desired line color.
Changing Fill Color
Use fill colors to highlight, encode, or simply cover over parts of your drawing.
To change the callout’s fill color:
Right mouse click the callout.
Hover over Fill Color.
Select the desired fill color.
Use the Alpha channel to change the opacity of the fill color.
Alpha Value |
Example |
255 |
|
200 |
|
100 |
|
0 |
|
Locking Position
Lock the callout so it cannot be moved unless unlocked.
To lock a callout:
Right mouse click the callout.
- Select Lock Position.
This prevents the callout from being moved, resized, or rotated.
Deleting
Delete the callout if it is not desired.
To delete a callout:
Right mouse click the callout.
- Select Delete.
Note
Use Undo to restore a deleted 2D callout.
Adding/Editing Text
You may want to put text within a callout to label or describe what it’s highlighting.
To add/edit text within a callout:
Right mouse click the callout.
Select Properties.
Edit the Title field.
Click OK.
Text appears as:
Adding a Hyperlink
Adding a hyperlink to the callout allows a user to click on the callout to be sent to another location.
To add a hyperlink to a callout:
Right mouse click the callout.
Select Properties.
- Enter a valid link in the Hyperlink field.
Adding a Comment
Adding a comment to the callout appears as a tool tip when hovering the mouse over the callout.
To add a comment to a callout:
Right mouse click the callout.
Select Properties.
- Enter text into the Comments field.
2D Stamps
Add a Stamp to a 2D Document
- Open the Stamp menu on the 2D toolbar and select a stamp.
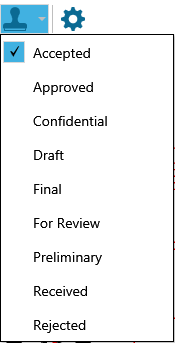
Click on the 2D document area to place the stamp.
Click the Copy button to copy the stamp text to the clipboard.
- Or click Close.

Resize a stamp
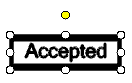
Click the stamp to select it.
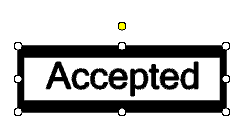
Drag any of the eight white re-sizing grips to re-size the stamp.
- Release the mouse when complete.
Rotating a stamp
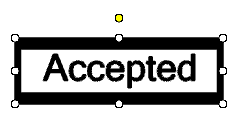
Click the stamp to select it.
Drag the yellow rotation grip and turn the stamp in the desired direction.
- Release the mouse when complete.

Context Menu
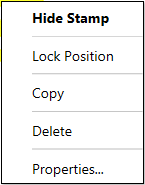
Right mouse click on a stamp to open the context menu:
Hide Stamp - hides the stamp from view. Use the 2D Markups panel to show hidden stamps.
Lock Position - prevents the stamp from being moved by locking its position.
Copy - copies the stamp text to the clipboard.
Delete - permanently removes the stamp from the document.
Properties - configures a hyperlink and comment.
Configuring Stamps
Setting default stamp
Click Options > Settings > 2D Viewer.
In the Stamps section, set the Selected Stamp field to the desired default.
Click Apply Settings.
Creating/editing stamps
Click Options > Settings > 2D Viewer.
In the Stamps section, click DEFINE STAMPS…
Click on a stamp name to edit the name.
Click on a stamp font to alter the font type and size.
- Click on the stamp color to change the stamp color.
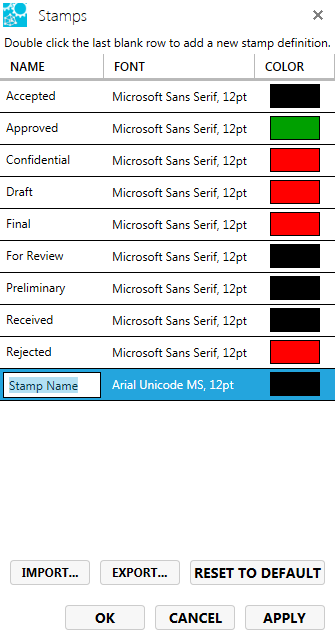
Click on the bottom row to add new stamps.
Click Apply or OK to save changes.
Import/Export Stamps
Use Export… to save stamps to XML files. Likewise, use the Import… to import stamps into SpinFire Ultimate.
Tip
Use the Export and Import stamp features to share stamp additions and edits in your organization to maintain consistency.