Install Guide
Latest Release: Version 27.0
Installation and Configuration Guide
Installation
The installation process is run from the .msi which can be downloaded, refer to the release notes which can be found at Product Release Notes.
Please double click this file to begin the process after download. The installation will be similar to the process shown in this document. The following shows an installation for CADVerter r23.2
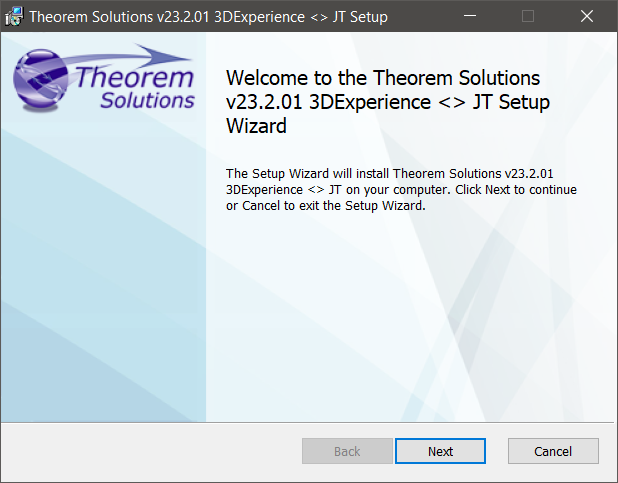
Once started, the Theorem installation will confirm the software to be installed. Please select ‘Next’.
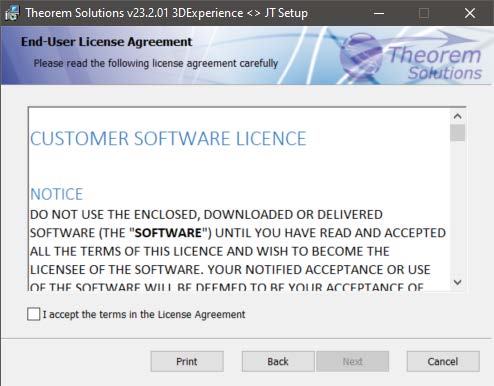
This will be followed by the License Agreement. Please read the agreement carefully, check the ‘I accept…’ box and then select ‘Next’.
The next step is to declare who the software is to be installed for. There are two possibilities here, the default option is to install for all users or to install for just the user running the installation.
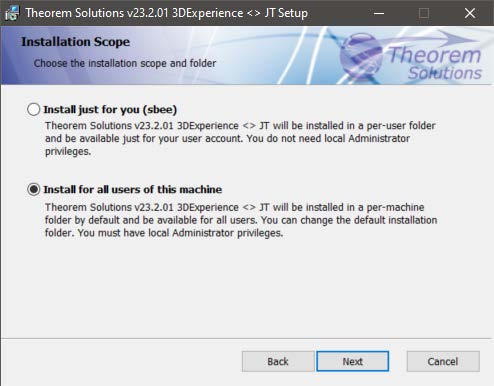
If the option ‘Install just for you (user)’ is selected then by default the software will set the install into your local user %TEMP% directory.
If the option ‘Install for all users of this machine’ is selected then by default the software will set the install into C:\Program Files\Theorem\20.2\
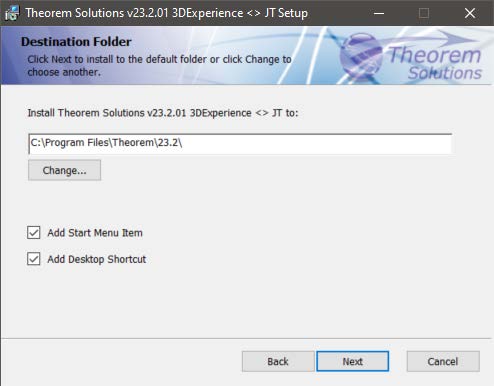
In either case the installation directory can be changed by pressing the ‘Change…’ button and selecting a new directory.
There are also options to create Start Menu items and Desktop items from both of these pages. These are set to be created by default however simply deselect the options based on your requirement.
Once the installation directory has been set then the translators to be installed must be selected.
If there are some extended options available then a + symbol will be available next to the product group. To view the available options select this symbol and a list of options are presented.
By default, all of the CATIA V5 versions installed on the machine will be checked by the Theorem installation. To change this, choose the options relevant to your requirements.
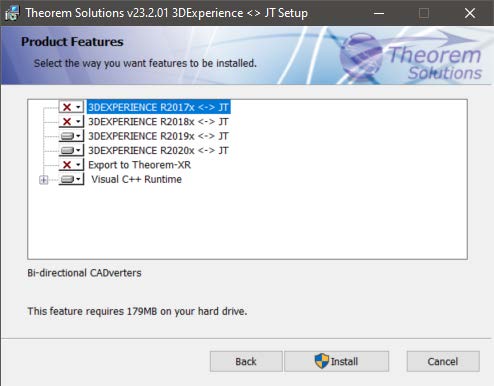
In addition to the existing CAD installations that are detected. It is also possible to search for other installations which are not found locally.
At this release two extra options are available
Export to Theorem-VR is a new product currently in beta test. For more information on Theorem XR products please contact
sales-usa@theorem.com USA and the Americas
sales@theorem.com UK, Europe and Asia Pacific
Visual C++ Runtime. This will copy the Visual Studio libraries into a folder VCredist in the Theorem installation. They can be used if a tailored installation is to be carried on several clients copied from an installation on the initial machine. If the software is installed directly from the Theorem .msi then these will be installed as part of that process.
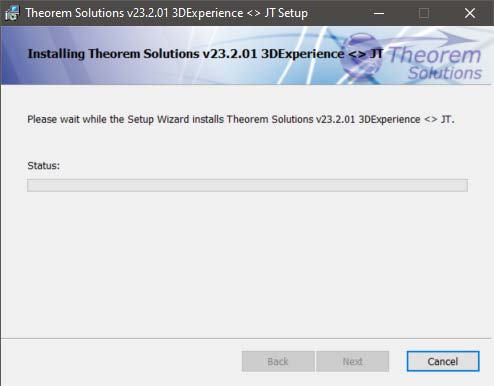
Once complete, select ‘Install’ to begin the installation.
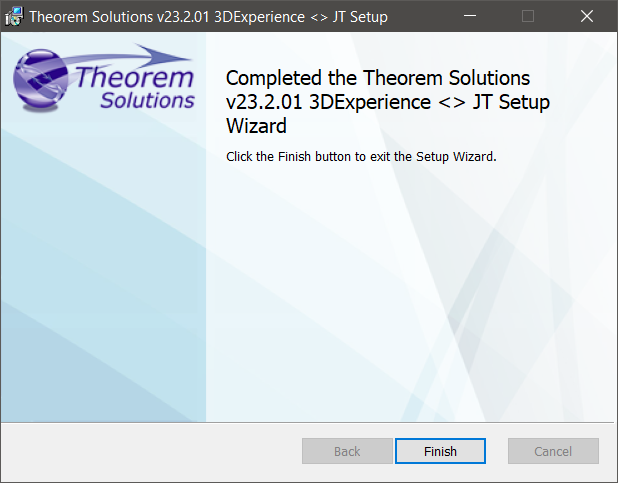
When the product installation has finished, this window is presented. Please press ‘Finish’.
Product Configuration
After the product installation has completed the Theorem installation must be configured.
This window allows you to configure the installation directories of your CATIA V6 installation(s), provide the license details and also provide any additional settings that may be required.
To select a configuration option, choose from the panel on the left hand side of the window.
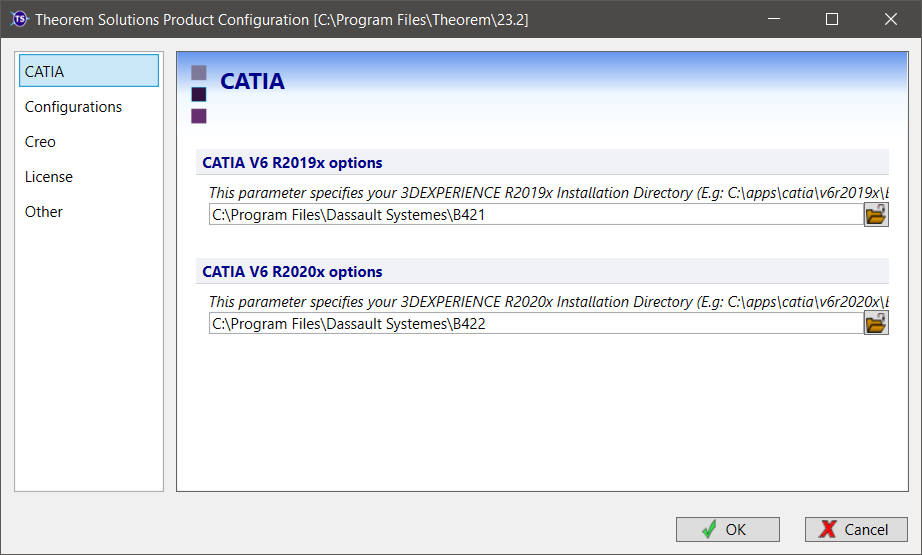
The CATIA panel will display all of the CATIA installation directories for the products installed in the previous steps. This will be pre-populated with an installation path detected on the PC, however, if this is incorrect please use the Folder button to the right hand side and select the correct installation path. If you have other remote CATIA installations you will need to browse to select the path.
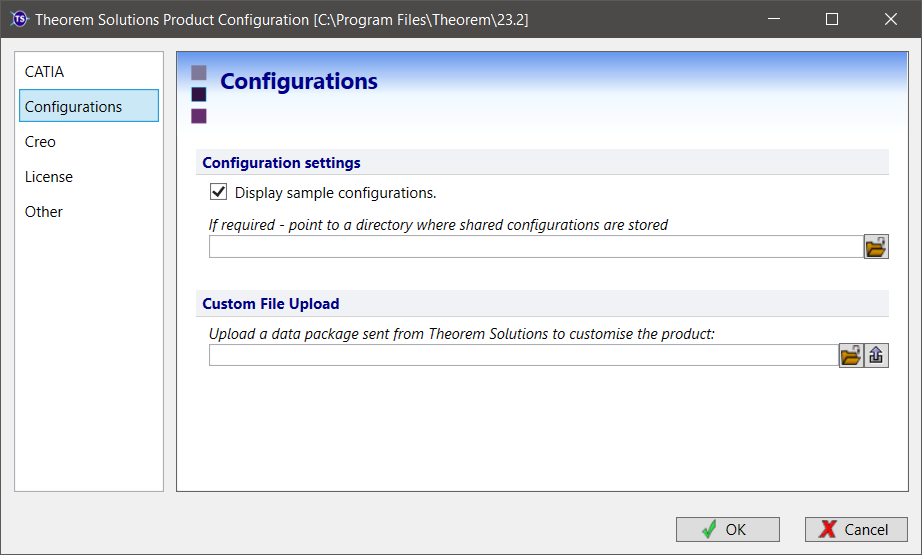
The ‘Configurations’ panel allows you to set configuration options. It allows you to display the samples in the interactive and UUI modes. Additionally it allows a shared configurations folder to be specified if you want users to access common configurations.
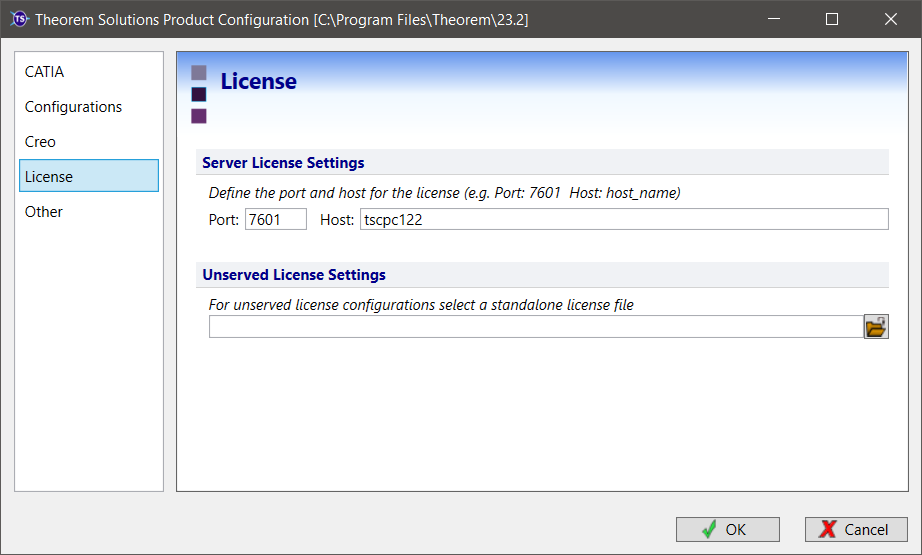
The ‘License’ panel allows you to set your license server information so that the translator can detect the correct license. The port will be pre-populated with the default port number of 7601. Please add in the Host ID of your license server.
For demonstration/evaluation purposes you may be given a ‘static’ license file. This will only be given in agreement with the sales/support team that you receive the license from. This should normally be left blank.
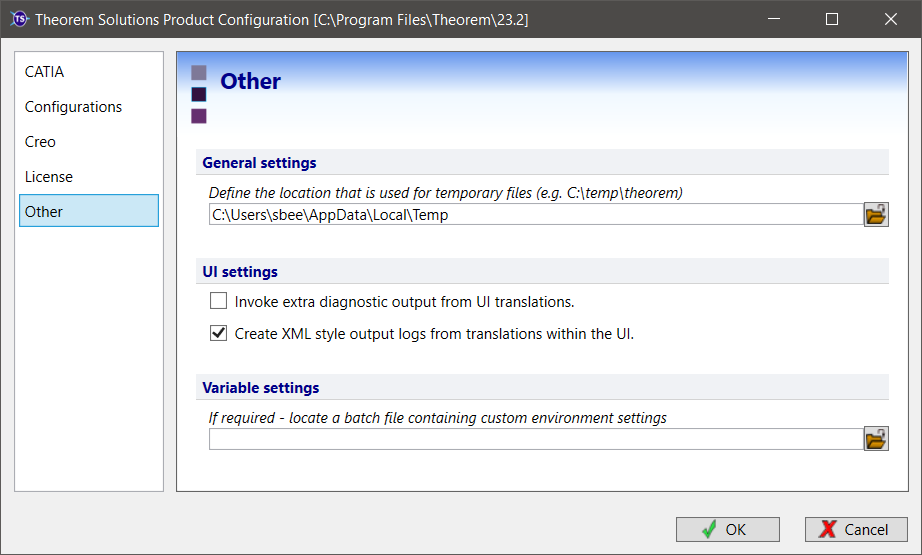
The ‘Other’ panel allows you to change the location used for temporary files, use the folder button to the right hand side and select a new directory.
There are UI settings for extra diagnostics and the log file format of asci or xml formats.
The Variable settings are for advanced users only and should only be used under instruction from Theorem Support. If you need assistance with this please contact support@theorem.com
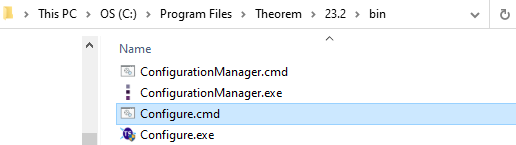
If, at any time, these settings need to be adjusted the, this can be achieved by running the Configure.cmd, which is found in the bin folder in the Theorem Installation.