User Guide
Getting Started
Installation & License Configuration
An installation and license configuration tutorial video can be found at MEVEA Creo Exporter.
Alternatively, you can follow the steps below. The installation is run from the .msi file download provided. To run any product a valid license file is required. Theorem will provide a node locked license.
Product Installation
To begin the installation, double click on the .msi file that you have downloaded.

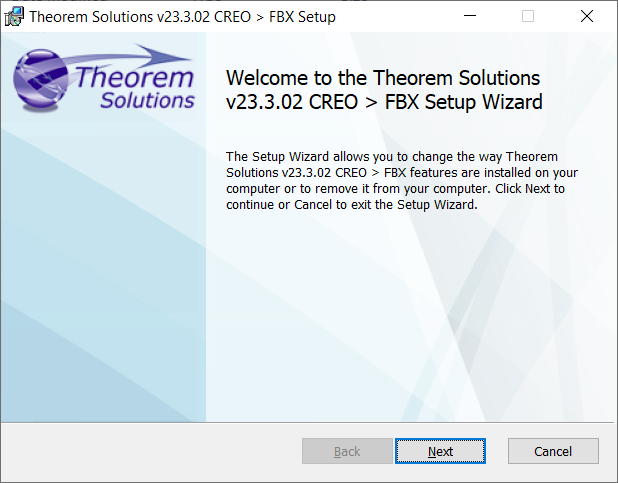
Begin the installation by selecting ‘Next’
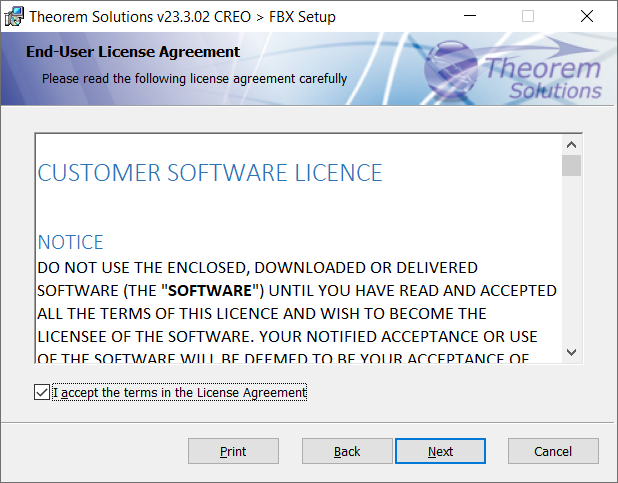
Read and accept the Terms & Conditions and select ‘Next’
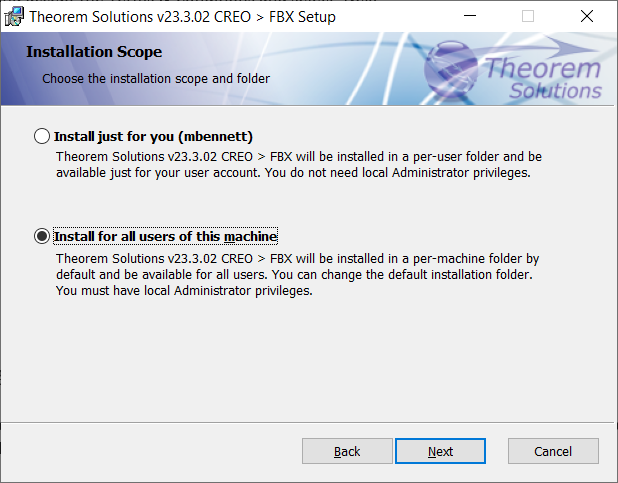
Select the Users to install for and select ‘Next’
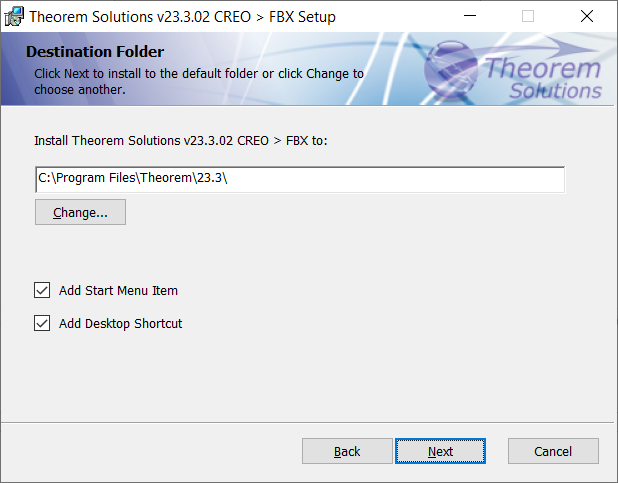
Choose your installation directory and whether Start Menu & Desktop shortcuts should be created
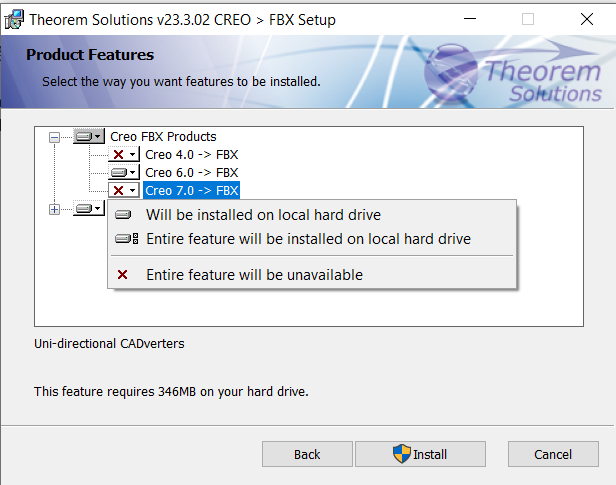
Select the versions of Creo to install for by expanding the list. Any versions that are installed should be selected automatically if the version of Creo was installed directly on the machine (pre-packaged products won’t be found).
Select ‘Install’ to begin
License Configuration
Once complete, the ‘Product Configuration’ window will appear. The License settings will be visible.
The Mevea Creo Exporter will require a local, node locked license that should have already been provided. To configure this, remove the ‘7601’ value if populated and then use the file explorer to select your license file
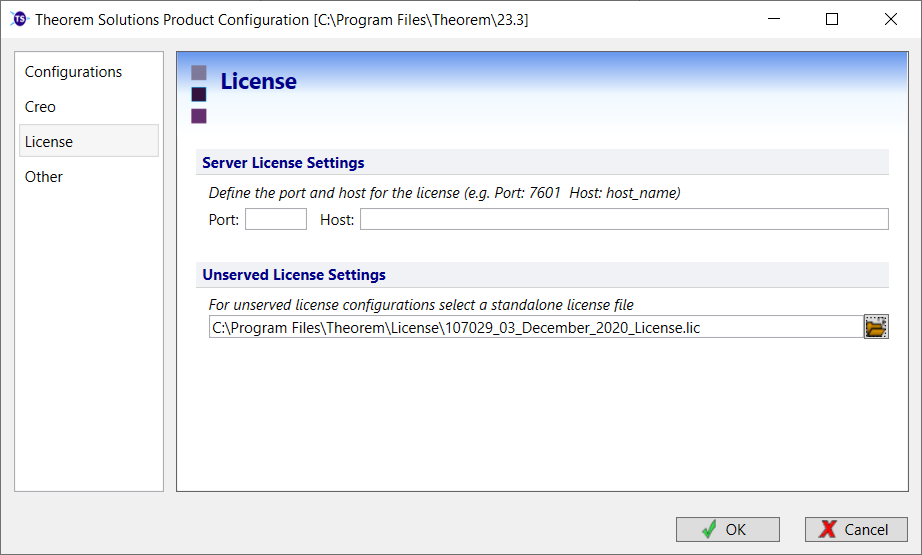
Select OK to confirm these options.
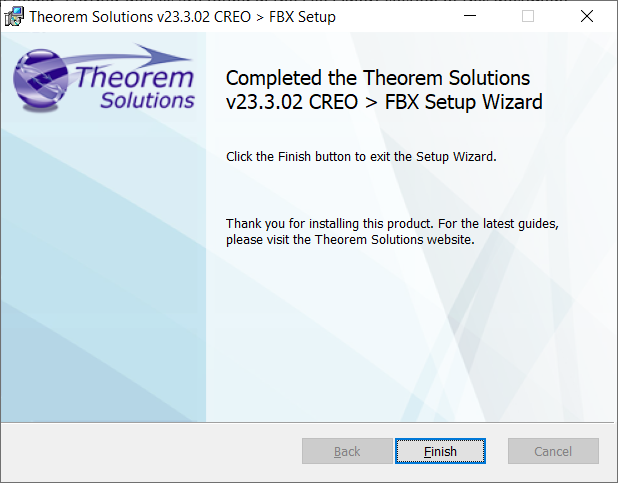
Your installation and license configuration is now complete. Select ‘Finish’ on the installer window.
Creo FBX Export
Launching Creo
Creo Parametric can be launched via the Theorem Desktop icon created during the installation process or by running the file %Theorem_Install%\bin\protk_start_crX.cmd (where X is your version of Creo e.g. 6).
This will launch Creo with Theorem’s toolkit application.
Using the Theorem Creo Toolkit
Once Creo is open, load a file into the window.
Under the ‘Tools’ tab, locate the Toolkit menu:

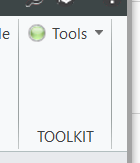
Select ‘Tools’ and locate the Theorem Menu. Select Theorem > Theorem Export > Theorem Mevea Export Process
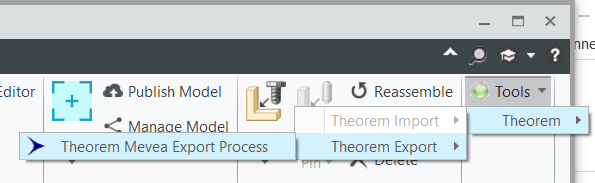
Once selected, a new Menu will appear:
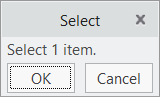
Select the required Sub-Assembly for processing.
Once selected, another menu will appear as below:
Select the required CSYS to be process.
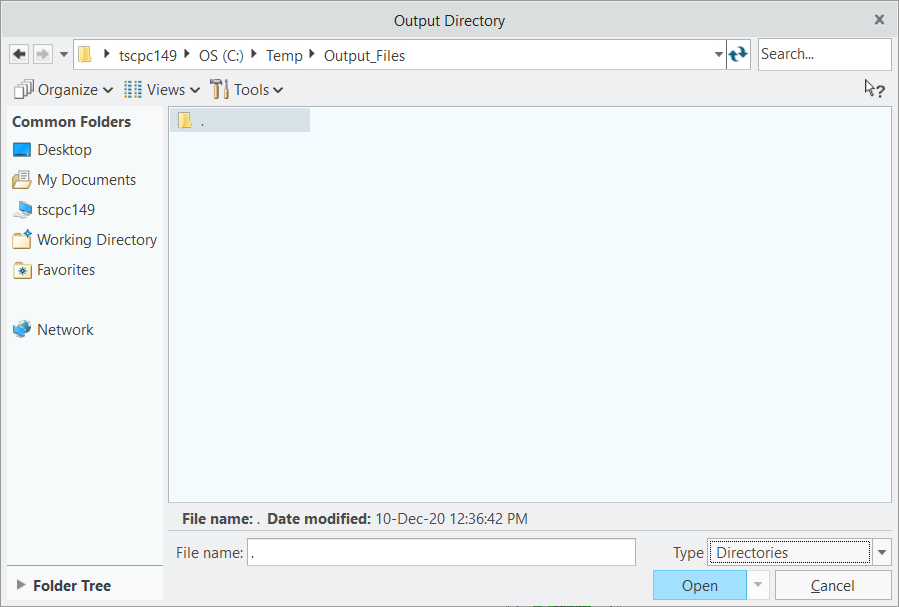
Now you will be asked to provide the export directory for the data. Select the desired folder and select ‘Open’
Once both the Assembly and CSYS are selected, a confirmation will appear:
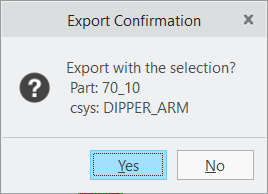
Select ‘Yes’ to process and export this data.
Once completed, the user will be presented with a new window showing where the output files have been exported:
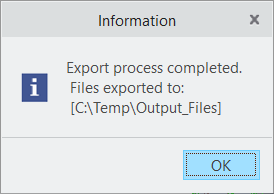
Notes
A User must select a CSYS that is at the same level in the structure as the required geometry. If not, an error will be presented:
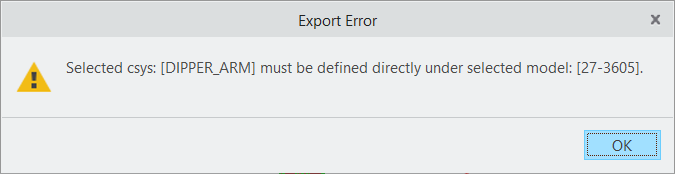
The process will also be cancelled and a message confirming this presented in Creo

Troubleshooting
License Failure
If your license file has not been set correctly, you will see this pop up message when you try the Creo Export:
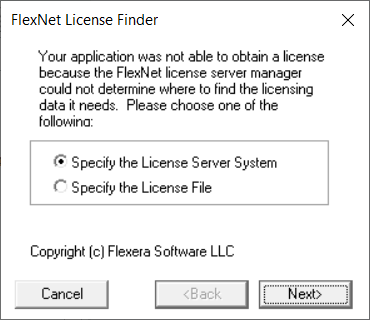
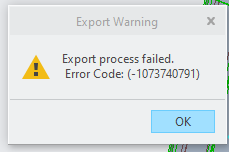
This means that your Node Locked license has not been defined, please ensure that your license is set by running the ‘v23.3 Product Configuration’ shortcut from the Desktop (as image below) or by running C:\Program Files\Theorem\23.3\bin\Configure.cmd and ensuring the license file is correctly selected as seen in License Configuration.
Once set, restart Creo and try the Export process again.
Other error message:
If you receive this error:
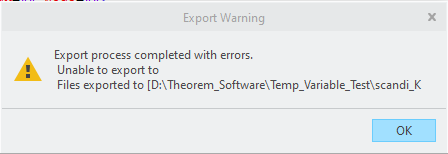
This may be an error due to unrecognised characters being defined in the temporary path.
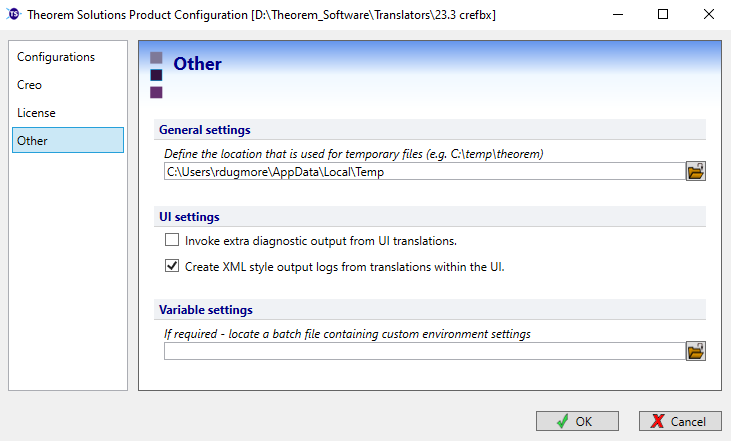
Please run the ‘v23.3 Product Configuration’ shortcut from the Desktop or by running
your_install_path\\bin\\Configure.cmd and ensure the following path is defined to a path
only containing ASCII characters, then try your export again.