
Meshes
A mesh is a collection of faces, lines, and points. Faces can contain geometry attributes including points, normals, UVs, etc. Lines consist of pairs of positions. Points consist of a position. The MeshData class is a blueprint for instances of a mesh that allow the reuse of the underlying geometry.
Creating meshes
To add a mesh to the scene several functions must be used. First, use the createMesh function which accepts a MeshData object and returns a MeshId. Next, use the MeshInstanceData constructor with the MeshId returned from createMesh to create a MeshInstanceData object. Finally, use the MeshInstanceData object with the createMeshInstance function to insert the mesh into your scene and make it visible.
Sample code demonstrating the use of createMesh can be seen below, and a snippet demonstrating the use of the MeshInstanceData constructor with createMeshInstance can be seen here.
MeshId
A MeshId is a pair of numbers that is a unique identifier to a mesh object. It can be used to create a MeshInstanceData object. The replaceMesh function can be used to change the MeshData geometry identified by the MeshId. If the geometry for any mesh changes, all instances of that mesh in the scene will update accordingly.
MeshData
MeshData is used to represent mesh geometry and is passed into createMesh.
Face data contains an array of floating-point data describing the points in space for the faces to be added to the mesh and is defined by calling addFaces. This function will add one face element. To add multiple faces, call addFaces for each face. Face data can also contain normals, colors, or texture parameters for the corresponding vertex data points.
The snippet below contains createTriangleMeshData, which creates a MeshData object representing a triangle with vertex coordinates (0,0,0), (0,1,0), and (1,0,0). Note that the MeshData FaceWinding is set to Clockwise, and the normal for each vertex is (0, 0, 1). If the MeshData FaceWinding was set to CounterClockwise, the normal for these coordinates would be (0, 0, -1). If the normal does not match the specified MeshData FaceWinding, the face lighting will not be correct. With backface visibility off (the default setting), the triangle will only be visible when the camera direction is facing towards the front. Changing MeshData FaceWinding will change which side the triangle is visible from. To update the MeshData's FaceWinding, use setFaceWinding.
    function createTriangleMeshData() {
        const vertexData = [
            0, 0, 0,
            0, 1, 0,
            1, 0, 0
        ];

        const normalData = [
            0, 0, 1,
            0, 0, 1,
            0, 0, 1
        ];

        const meshData = new Communicator.MeshData();
        meshData.setFaceWinding(Communicator.FaceWinding.Clockwise);
        meshData.addFaces(vertexData, normalData);

        return meshData;
    }

Triangle face mesh instance
Polyline data contains an array of floating-point data describing the points on the line and is defined by calling addPolyline.
createPolylineMeshData creates a MeshData object representing a polyline containing the coordinates (0,0,0), (0,1,0), (1,0,0):
    function createPolylineMeshData() {
        const polylineData = [
            0, 0, 0,
            0, 1, 0,
            1, 0, 0
        ];

        const meshData = new Communicator.MeshData();
        meshData.addPolyline(polylineData);

        return meshData;
    }
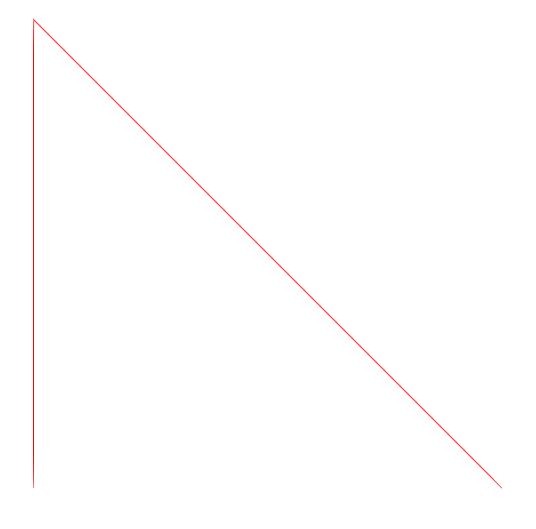
Polyline mesh instance
Point data contains an array of floating-point data describing the points and is defined by calling addPoints.
createPointMeshData returns a MeshData object representing the points at the coordinates (0,0,0), (0,1,0), (1,0,0):
    function createPointMeshData() {
        const pointData = [
            0, 0, 0,
            0, 1, 0,
            1, 0, 0
        ];

        const meshData = new Communicator.MeshData();
        meshData.addPoints(pointData);

        return meshData;
    }
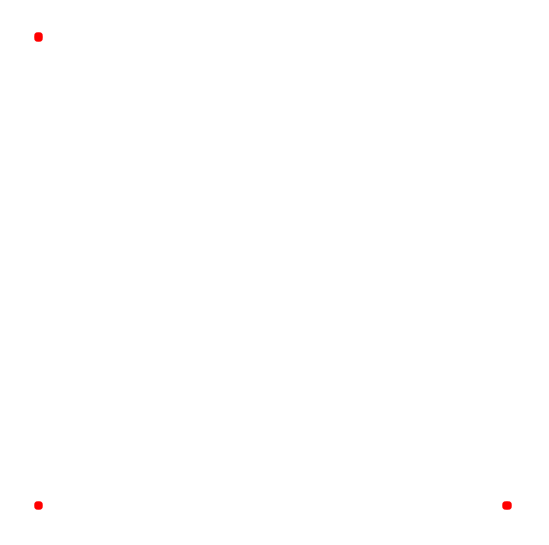
Point mesh instance
Create meshData
The code snippet below creates a function which generates MeshData for a cube. We will use this function to create three cube instances.
    function createCubeMeshData (size: number): Communicator.MeshData {
        const cubeMeshData = new Communicator.MeshData();
        cubeMeshData.setFaceWinding(Communicator.FaceWinding.Clockwise);

        const p1 = new Communicator.Point3(-size, size, size);
        const p2 = new Communicator.Point3(size, size, size);
        const p3 = new Communicator.Point3(-size, -size, size);
        const p4 = new Communicator.Point3(size, -size, size);
        const p5 = new Communicator.Point3(size, size, -size);
        const p6 = new Communicator.Point3(-size, size, -size);
        const p7 = new Communicator.Point3(-size, -size, -size);
        const p8 = new Communicator.Point3(size, -size, -size);

        const points = [
            p1, p2, p3, p2, p4, p3,     // front (Z)
            p5, p6, p7, p5, p7, p8,     // back (-Z)
            p6, p5, p2, p6, p2, p1,     // top (Y)
            p7, p4, p8, p7, p3, p4,     // bottom (-Y)
            p6, p1, p7, p1, p3, p7,     // left (-X)
            p2, p5, p8, p2, p8, p4,     // right (X)
        ];

        const normals = [
            new Communicator.Point3(0,0,1),     // front (Z)
            new Communicator.Point3(0,0,-1),    // back (-Z)
            new Communicator.Point3(0,1,0),     // top (Y)
            new Communicator.Point3(0,-1,0),    // bottom (-Y)
            new Communicator.Point3(-1,0,0),    // left (-X)
            new Communicator.Point3(1,0,0),     // right (X)
        ];

        const verticexData = [];
        points.forEach((p) => {
            verticexData.push(p.x);
            verticexData.push(p.y);
            verticexData.push(p.z);
        });

        const normalData = [];
        normals.forEach((p) => {
            for (let i = 0; i < 6; ++i) {
                normalData.push(p.x);
                normalData.push(p.y);
                normalData.push(p.z);
            }
        });

        cubeMeshData.addFaces(verticexData, normalData);

        return cubeMeshData;
    }
Create mesh
Below we use createCubeMeshData to create a MeshData object. We then use the MeshData to create a mesh. The createMesh function returns a MeshId which will be used to instantiate the mesh.
        const size = 20;
        const cubeMeshData = createCubeMeshData(size);
        const cubeMeshId = await hwv.model.createMesh(cubeMeshData);
MeshInstanceData
MeshInstanceData is an object representing a mesh instance. This class allows for specifying properties of a mesh instance. Examples of instance properties that can be set are Color and transformation Matrix. The function createMeshInstance takes a MeshInstanceData object and returns a NodeId that references that instance.
NodeId
A NodeId is a number that references an assembly tree node. To get the type of node referenced by a NodeId, you can use the getNodeType function. A NodeId can be used to interact with, and retrieve properties about a node. For example, the NodeId can be used to: get the parent node’s NodeId, get the node’s matrix, etc.
Create mesh instance
The following code uses the mesh we created createMeshData to instance the cube in the scene. The createMeshInstance function returns a NodeId that can be used to reference the instance.
        let meshInstanceData = new Communicator.MeshInstanceData(cubeMeshId);
        meshInstanceData.setFaceColor(Communicator.Color.blue());
        const nodeId = await hwv.model.createMeshInstance(meshInstanceData);
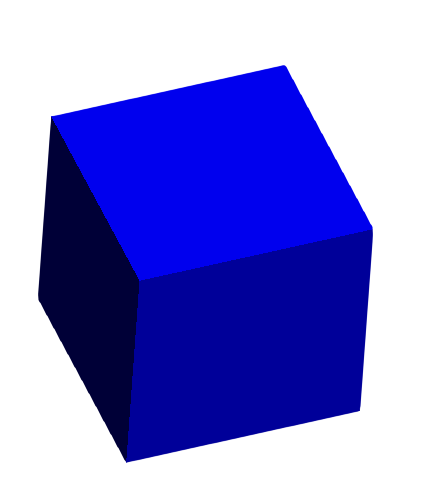
Cube mesh instance
In the snippet below we create another mesh instance in the scene. Note that the same MeshId is used. A translation is also applied to move the cube along the X axis.
        meshInstanceData = new Communicator.MeshInstanceData(cubeMeshId);

        const translationScale = size * 3;
        const translationMatrix = new Communicator.Matrix();
        translationMatrix.setTranslationComponent(translationScale, 0, 0);

        meshInstanceData.setMatrix(translationMatrix);
        meshInstanceData.setFaceColor(Communicator.Color.green());

        const nodeId2 = await hwv.model.createMeshInstance(meshInstanceData);
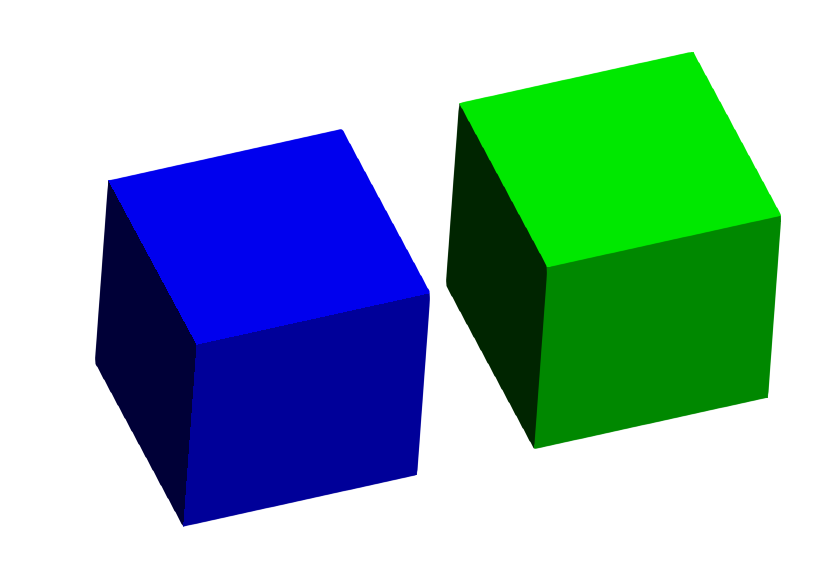
Second cube mesh instance
The following code snippet will create a third cube mesh instance. Note that for the previous two cubes the same MeshId was used. In this snippet, we create a new MeshId.
        const cubeMeshId2 = await hwv.model.createMesh(cubeMeshData);
        meshInstanceData = new Communicator.MeshInstanceData(cubeMeshId2);
        translationMatrix.setTranslationComponent(0, translationScale, 0);
        meshInstanceData.setMatrix(translationMatrix);
        meshInstanceData.setFaceColor(Communicator.Color.yellow());

        const nodeId3 = await hwv.model.createMeshInstance(meshInstanceData);
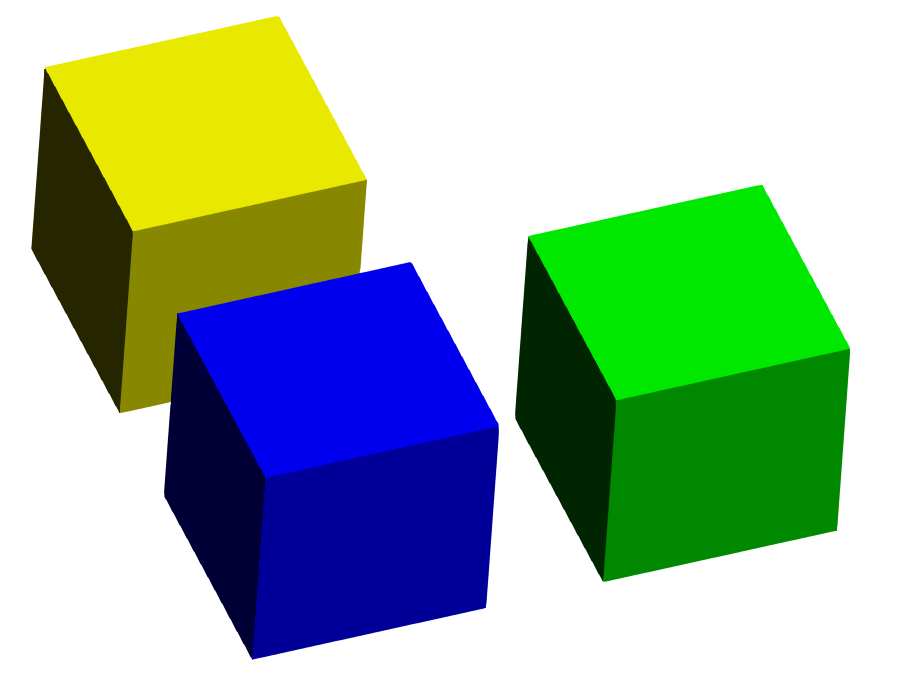
Third cube mesh instance
Replacing meshes
Using the replaceMesh function, we can change the MeshData for all instances of a mesh. Here, we replace the MeshData for the first two cubes that we instanced. The new MeshData created is a smaller cube. In the scene, there will now be one large cube and two smaller cubes. Note that replacing mesh data for dynamically created meshes works the same as replacing mesh data loaded from a SC model.
        const newSize = 10;
        const newMeshData = createCubeMeshData(newSize);
        await hwv.model.replaceMesh(cubeMeshId, newMeshData);
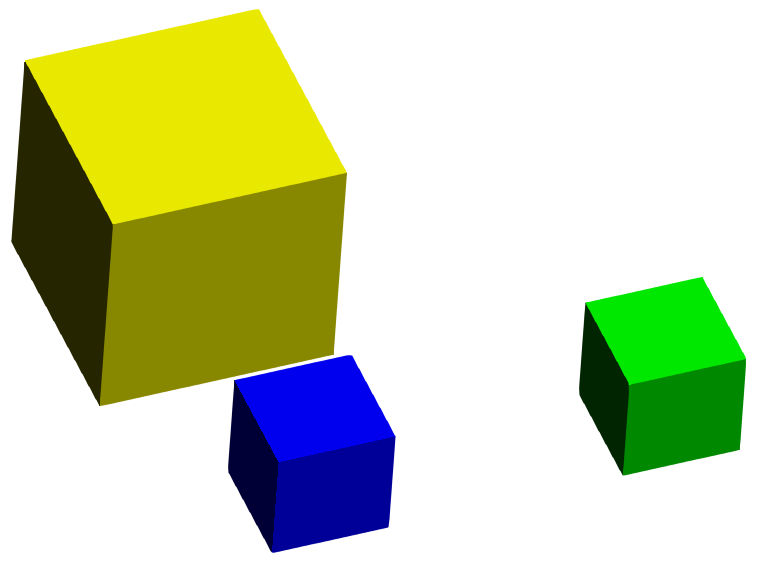
One large cube, two smaller cubes
Level of detail (LOD)
Utilizing a lower level of detail for a mesh will reduce the geometric complexity of its instance. This is available for models that have either been converted from BREP data, or authored with mesh levels. Additionally, LODs must be authored before the model is loaded. LODs do not exist for models that have been authored in the viewer. The default mesh level can be set with the parameter defaultMeshLevel when the viewer is started.
        hwv.model.setMeshLevel([nodeId], 0); // standard
        hwv.model.setMeshLevel([nodeId], 1); // low
        hwv.model.setMeshLevel([nodeId], 2); // extra low
Miscellaneous
- There is no way to save meshes that are authored in the web viewer to a file.
- Meshes authored in the web viewer are generally used for geometry that cannot be created in advance or is not meant to be part of the model file.
- When interacting with meshes once a model is loaded, there is no difference between dynamically created meshes and ones loaded from a SC model.

