Anti-Aliasing
As a hybrid engine, HOOPS Luminate offers several anti-aliasing methods. This page reviews all the possible controls an application may have over using anti-aliasing in a HOOPS Luminate application.
Anti-Aliasing on the GPU
HOOPS Luminate has three main anti-aliasing techniques that can be used on the GPU:
| Method | Activation | Quality | Performance | Comments |
|---|---|---|---|---|
| Hardware AA | RED::WindowRenderInfo::SetHardwareAntiAlias |
Average | Good | May consume a lot of memory. Not available on offscreen VRLs. Quality may vary with hardware generation. |
| Engine AA No Superscale | RED::IViewpointRenderList::SetEngineAntiAlias |
Good | Average | Do not consume any memory. |
| Engine AA with Superscale | RED::IViewpointRenderList::SetEngineAntiAlias |
Good | Good | Consumes memory in relation with the AA value. |
| FXAA | RED::RenderShaderAAFilter |
Low | Very good | Is a post-processing effect, not a true anti-aliasing, so it will never capture originally missed details. |
Anti-Aliasing on the CPU
| Method | Activation | Quality | Performance | Comments |
|---|---|---|---|---|
| Software AA | RED::IViewpointRenderList::SetSoftAntiAlias |
Good | Good | Has a significant effect on render time |
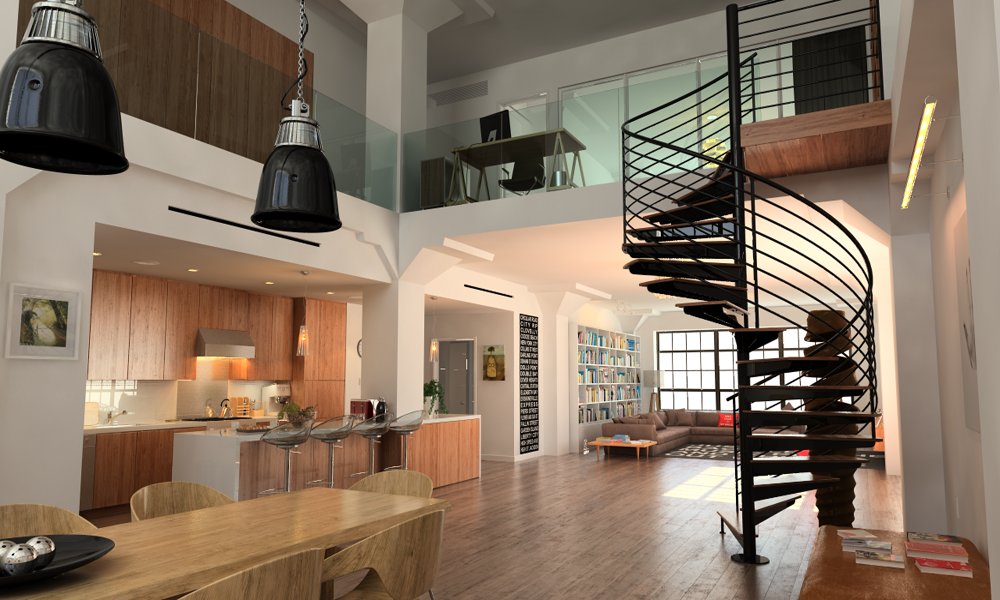
On the example scene below:

The example scene used to measure software AA performances
We get the following numbers, on a standard Core i7 computer, rendering a 1000 x 600 pixels image with average quality settings:
| AA Value | Render Time |
|---|---|
| x 1 | 1 mn 15 sec. |
| x 4 (= 16 AA samples per pixel) | 2 mn 24 sec. |
| x 8 (= 64 AA samples per pixel) | 6 mn 20 sec. |
| x 16 (= 256 AA samples per pixel) | 19 mn 10 sec. |
We can see that increasing the AA value does not increase the render time linearly: on multiplying the AA value by x4, we get roughly two to three times the render time. This is important to be aware of, as using a high AA value is often a must have for high quality images.
Note
Increasing the image quality accordingly will reduce the AA overhead ratio, as primary rays will account for less in the rays being propagated to compute the image.

