Denoising an Image
Well, this might be one of the shortest tutorials in HOOPS Luminate: we use the scene that was setup in Using Skylight Portals. Then, we turn on the Adaptive Sampling and turn the Denoising on using the code sequence below:
// Set the HM sampler with adaptive ray-tracing:
RC_TEST( iresopt->SetOptionValue( RED::OPTIONS_SAMPLER, 1, iresmgr->GetState() ) );
RC_TEST( icamopt->SetOptionValue( RED::OPTIONS_RAY_ADAPTIVE_SAMPLING_THRESHOLD, 0.1, iresmgr->GetState() ) );
RC_TEST( icamopt->SetOptionValue( RED::OPTIONS_RAY_GLOSSY_SAMPLING_RATE, 16, iresmgr->GetState() ) );
RC_TEST( icamopt->SetOptionValue( RED::OPTIONS_RAY_LIGHTS_SAMPLING_RATE, 16, iresmgr->GetState() ) );
RC_TEST( ivrl->SetSoftAntiAlias( 8, iresmgr->GetState() ) );

// Turn on the denoiser. Use a mild denoiser setup:
RC_TEST( icamopt->SetOptionValue( RED::OPTIONS_RAY_ENABLE_DENOISER, true, iresmgr->GetState() ) );
RC_TEST( icamopt->SetOptionValue( RED::OPTIONS_RAY_DENOISER_STRENGTH, 1.0, iresmgr->GetState() ) );
RC_TEST( icamopt->SetOptionValue( RED::OPTIONS_RAY_DENOISER_RADIUS, 5, iresmgr->GetState() ) );
And we get the results below:
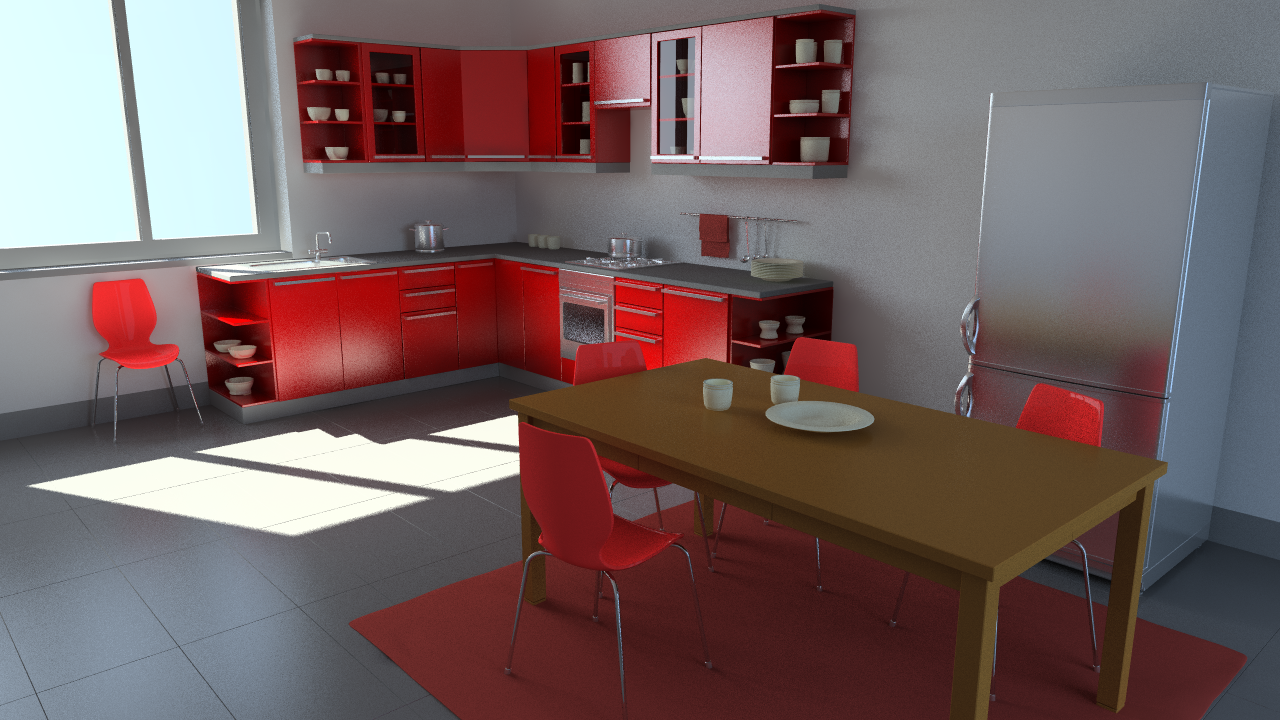
Image prior to the denoiser being applied

Image after the denoiser is applied
Here, since our noise is quite homogeneous thanks to the adaptive sampling, we don’t need a large denoiser radius. See the doc Denoising in the section Using the Denoiser for more explanations on the denoiser parameters.
While the denoiser blurs some features such as shadows falloffs, mirrored reflections, it remains interesting as it offers a way to quickly get rid of any noise in an image.

