Writing a Custom Software Rendering Shader
This tutorials illustrates the software shading API of HOOPS Luminate. It defines a simple material, suited exclusively for the CPU and containing three render shaders:
- an ambient shader in the pre-lighting pass
- a lighting shader in the lighting pass
- a reflection shader in the post-lighting pass
The scene is very simple:
- the familiar ground plane and spot light
- a cylinder created with the RED::IMeshShape::Cylinder function
Declaration of a Software Shader
As explained in the ‘The CPU Programming Pipeline’ page, the software shaders are just simple callbacks. In the tutorial, the ambient shader callback is:
RED_RC AmbientSoftwareShader( RED::SoftFrameBufferSample&       ioSample,
                            const RED::ISoftRayContext&       iRayContext,
                            const RED::ISoftShaderContext&    iShaderContext,
                            const RED::ISoftRenderingContext& iRenderContext,
                            const RED::Version&               iVersion,
                            void*                             iUserData )
{
  // Simply output the color parameter.
  iShaderContext.GetProgramLocal( ioSample._out_color, 0, iRayContext, iRenderContext );
  return RED_OK;
}
The shading method must be visible in the dll or exe export symbols. This is easily performed by adding a ‘.def’ file to the build with the list of symbols to export. Our ‘.def’ file contains the three symbols for the three shading callbacks:
EXPORTS
  AmbientSoftwareShader       @1
  LightingSoftwareShader      @2
  ReflectionSoftwareShader    @3
In addition to this, the shader program itself sent to HOOPS Luminate must point to the export function. The next sample of code is used to bind the ambient software shader:
RED::ShaderProgramID sshid;
RED::ShaderString ssh;
RED::Version version;

ssh.SoftShaderStart( "WritingCustomSoftwareShader.exe", "AmbientSoftwareShader", version );
ssh.ShaderEnd();

RC_TEST( iresmgr->LoadShaderFromString( sshid, ssh ) )

RED::RenderCode code;
code.BindChannel( RED_VSH_VERTEX, RED::MCL_VERTEX );

RC_TEST( ioShader.SetRenderCode( code, RED_L0, RED::HW_SOFT_TRACER ) );
RC_TEST( ioShader.SetVertexProgramId( sshid, RED_L0, resmgr, RED::HW_SOFT_TRACER ) );
RC_TEST( ioShader.SetPixelProgramId( sshid, RED_L0, resmgr, RED::HW_SOFT_TRACER ) );
This sequence of code tells HOOPS Luminate that the shader string whose id is ‘sshid’ is used as vertex / pixel shader for the RED::RenderShader named ‘ioShader’ and that for the RED::HW_SOFT_TRACER hardware platform, we’ll load the ‘AmbientSoftwareShader’ method from the ‘WritingCustomSoftwareShader.exe’ module.
Writing Software Ambient Shader
We’ll start the tutorial by defining a CPU ambient shading term. Defining the ambient term is important because of the default blending equations that are additive for the RED::MTL_LIT and RED::MTL_POSTLIT passes. If we don’t start by painting the back color of our object, we’ll get wrong transparent objects. Our shader produces the following image:
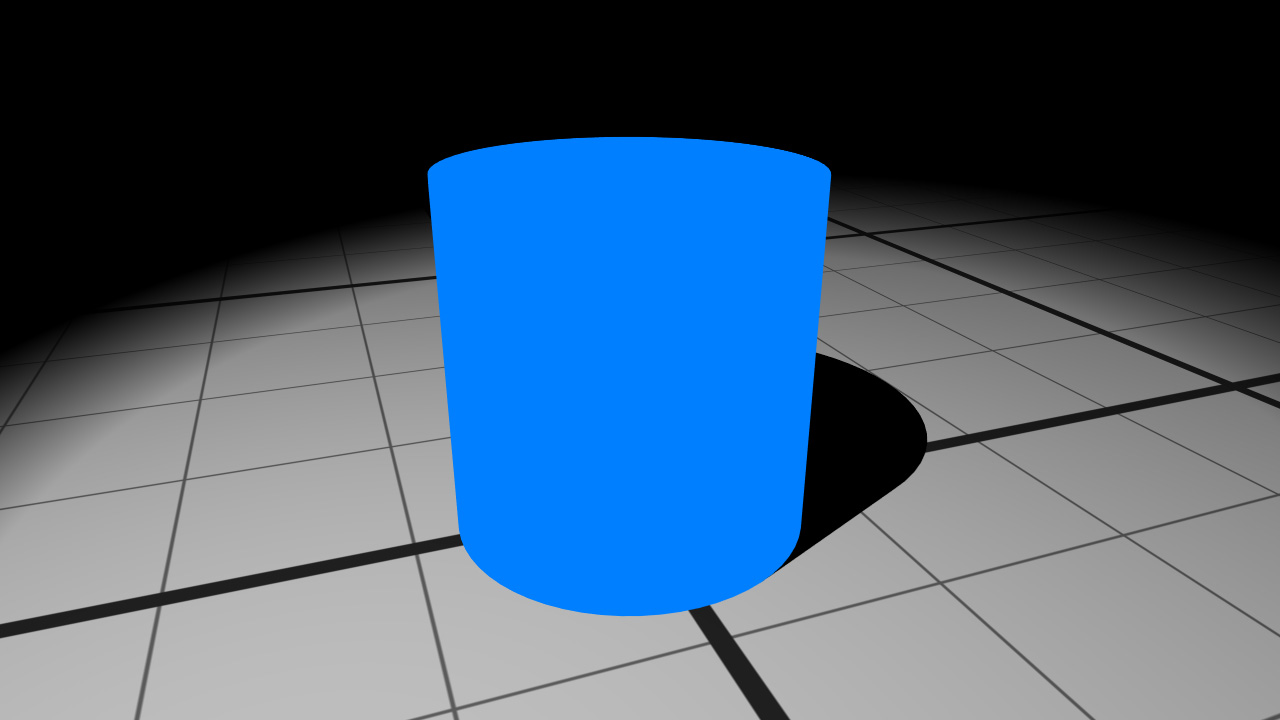
The cylinder with ambient shader
The ambient shading is really simple:
- there is a binding part targeting the
RED::HW_SOFT_TRACERplatform identifier- there is a program part that uses the software shading method prototype
Both code samples for the ambient shading are in the previous paragraph.
The color is defined by creating a color parameter during the binding part:
RED::RenderShaderParameter param( "color", 0, RED::RenderShaderParameter::PSH );
param.SetValue( RED::Color( 0.0, 0.5, 1.0, 1.0 ) );

RC_TEST( ioShader.AddParameter( param, RED_L0, RED::HW_SOFT_TRACER ) );
This parameter could then be accessed in the shading function using the RED::ISoftShaderContext::GetProgramLocal method.
RED_RC AmbientSoftwareShader( RED::SoftFrameBufferSample&       ioSample,
                            const RED::ISoftRayContext&       iRayContext,
                            const RED::ISoftShaderContext&    iShaderContext,
                            const RED::ISoftRenderingContext& iRenderContext,
                            const RED::Version&               iVersion,
                            void*                             iUserData )
{
  // Simply output the color parameter.
  iShaderContext.GetProgramLocal( ioSample._out_color, 0, iRayContext, iRenderContext );
  return RED_OK;
}
As you can see, the ambient shading function is really simple: it just gets the color parameter and copies it into the output color of the RED::SoftFrameBufferSample.
Writing Software Lighting Shader
There are differences between the CPU and GPU lighting passes:
- The GPU lighting pass is cumulative and all shaders in the
RED::MTL_LITpass are executed once per light- The CPU lighting pass is additive and the software shading method is called once
Therefore, the software shading method must do a loop to cumulate the contribution of all lights
RED_RC LightingSoftwareShader( RED::SoftFrameBufferSample&       ioSample,
                             const RED::ISoftRayContext&       iRayContext,
                             const RED::ISoftShaderContext&    iShaderContext,
                             const RED::ISoftRenderingContext& iRenderContext,
                             const RED::Version&               iVersion,
                             void*                             iUserData )
{
  // Access interpolated mesh parameters:
  double hit[4];
  double normal[4];
  iRayContext.GetWCSHit( hit );
  iRayContext.GetWCSNormal( normal, iShaderContext.GetRenderCode(), RED_VSH_NORMAL );

  // Access shading parameters:
  double color[4];
  iShaderContext.GetProgramLocal( color, 0, iRayContext, iRenderContext );

  int nb_samples;
  double ldir[4], lcolor[4], lshadows[4], dot;
  double ldif[4], lsum[4], latt[4];
  double contrib[4], indirect[4];
  const RED::ISoftLight* light;

  // Initialize the output color:
  ioSample._out_color[0] = 0.0;
  ioSample._out_color[1] = 0.0;
  ioSample._out_color[2] = 0.0;
  ioSample._out_color[3] = 0.0;

  // If the lighting can be approximated, do it:
  if( iRayContext.CanApproximateLighting( contrib, indirect, hit, normal, iRenderContext ) )
  {
    ioSample._out_color[0] += contrib[0] * color[0];
    ioSample._out_color[1] += contrib[1] * color[1];
    ioSample._out_color[2] += contrib[2] * color[2];
  }
  else
  {
    // A call to this function is mandatory before accessing the lights for shading:
    RC_TEST( iRayContext.PrepareLights( hit, normal, false, iRenderContext ) );

    // Calculate the lighting for each light:
    while( ( light = iRayContext.GetLight( iRenderContext ) ) != NULL )
    {
      // Perform light culling:
      if( !light->GetAttenuation( latt, iRayContext.GetThreadID() ) )
        continue;

      lsum[0] = 0.0;
      lsum[1] = 0.0;
      lsum[2] = 0.0;
      lsum[3] = 0.0;

      light->GetDiffuseIntensity( ldif );

      // Does the light have to be sampled?
      if( light->NeedSampling() )
      {
        nb_samples = 0;

        // Do the light sampling until their are no more samples.
        bool moresamples = true;
        do
        {
          RC_TEST( light->GetNextWCSSample( moresamples, ldir, lcolor, lshadows, hit, normal, iRayContext, iRenderContext ) );
          if( !moresamples )
            break;

          ++nb_samples;

          // Calculate the sample lighting:
          dot = normal[0] * ldir[0] + normal[1] * ldir[1] + normal[2] * ldir[2];
          if( dot > 0.0 )
          {
            lsum[0] += lshadows[0] * dot * lcolor[0];
            lsum[1] += lshadows[1] * dot * lcolor[1];
            lsum[2] += lshadows[2] * dot * lcolor[2];
            lsum[3] += lshadows[3] * dot * lcolor[3];
          }
        }
        while( true );

        // Normalize the sampling result:
        if( nb_samples )
        {
          lsum[0] /= nb_samples;
          lsum[1] /= nb_samples;
          lsum[2] /= nb_samples;
          lsum[3] /= nb_samples;
        }

        // Store the lighting term:
        lsum[0] = color[0] * ldif[0] * lsum[0];
        lsum[1] = color[1] * ldif[1] * lsum[1];
        lsum[2] = color[2] * ldif[2] * lsum[2];
      }
      else
      {
        // If the light does not need sampling, just calculates the lighting term.
        light->GetWCSLightDir( ldir, hit, NULL );

        dot = normal[0] * ldir[0] + normal[1] * ldir[1] + normal[2] * ldir[2];
        if( dot > 0.0 )
        {
          // Unlike sampled lights, the shadow term need to be get manually:
          iRayContext.GetShadowColor( lshadows, light, iRenderContext, NULL );

          // Store the lighting term:
          lsum[0] = color[0] * ldif[0] * lshadows[0] * latt[0] * dot;
          lsum[1] = color[1] * ldif[1] * lshadows[1] * latt[1] * dot;
          lsum[2] = color[2] * ldif[2] * lshadows[2] * latt[2] * dot;
        }
      }

      // Cumulate the lighting for each light:
      ioSample._out_color[0] += lsum[0];
      ioSample._out_color[1] += lsum[1];
      ioSample._out_color[2] += lsum[2];
    }
  }

  ioSample._out_color[3] = 1.0;

  return RED_OK;
}
Don’t be afraid of the size of the function, it is quite simple. The code is pretty self-explanatory. However, a few remarks of importance have to be raised:
- It’s up to the method writer to choose it’s sampling method. In this implementation, we follow the HOOPS Luminate standards: the lights may require sampling or not (
RED::ISoftLight::NeedSampling), and we have implemented both strategies- Light source culling must be performed manually: the engine does not make any assumption here, hence call to the
RED::ISoftLight::GetAttenuationmethod to early skip the useless sampling- The built-in
RED::ISoftLight::StartSampling/RED::ISoftLight::GetNextWCSSamplemethods are already taking shadows and light source attenuation into consideration
The lighting function follows the basic lambertian reflectance:
material_diffuse * light_diffuse * shadows * light_attenuation * dot( light_direction, normal )
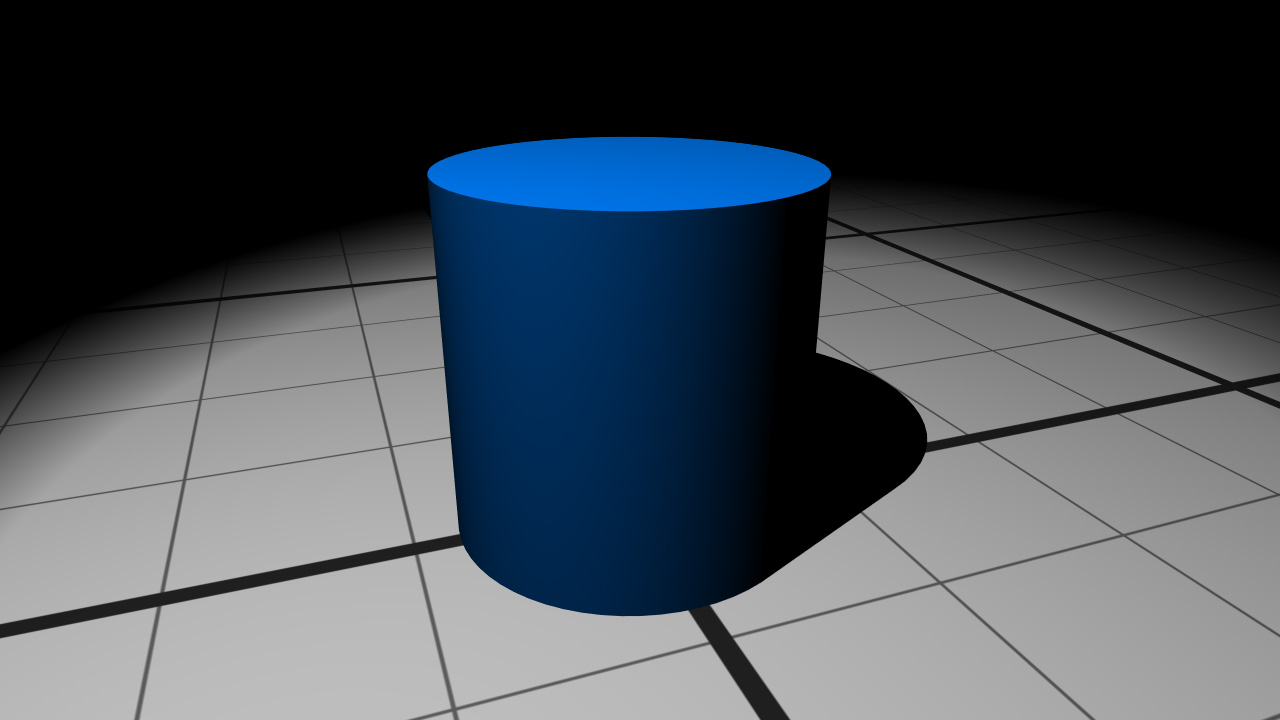
The cylinder with ambient and lighting shaders
To obtain the previous image, the ambient color have been changed to full black (no ambient lighting):
// Get the ambient shader:
RED::Shader* sh;
RC_TEST( imat->GetShader( RED::Object::GetIDFromString( "Ambient" ), RED::MTL_PRELIT, sh, RED::LayerSet::ALL_LAYERS, state ) );
RED::RenderShader* ambient = sh->As< RED::RenderShader >();

// Get the ambient color parameter and set it black:
RED::RenderShaderParameter* ambientcolor;
RC_TEST( ambient->GetParameter( ambientcolor, "color", RED_L0, RED::HW_SOFT_TRACER ) );
ambientcolor->SetValue( RED::Color::BLACK );
Writing Software Reflection Shader
We’ll complete this tutorial by the addition of a RED::MTL_POSTLIT shader, which is easy to understand:
RED_RC ReflectionSoftwareShader( RED::SoftFrameBufferSample&       ioSample,
                               const RED::ISoftRayContext&       iRayContext,
                               const RED::ISoftShaderContext&    iShaderContext,
                               const RED::ISoftRenderingContext& iRenderContext,
                               const RED::Version&               iVersion,
                               void*                             iUserData )
{
  // Accessing context parameters
  double reflect[4];
  iRayContext.GetReflectionColor( reflect );

  // Accessing shading parameters
  double color[4];
  iShaderContext.GetProgramLocal( color, 0, iRayContext, iRenderContext );

  ioSample._out_color[0] = reflect[0] * color[0];
  ioSample._out_color[1] = reflect[1] * color[1];
  ioSample._out_color[2] = reflect[2] * color[2];
  ioSample._out_color[3] = reflect[3] * color[3];

  return RED_OK;
}
The reflection is easily get using the RED::ISoftRayContext::GetReflectionColor function. The reflection term is then modulated by the input color.
In addition to the custom reflection shader, a RED::RayReflectionShader must be added in the RED::MTL_RAYTRACE material pass in order to setup HOOPS Luminate to handle reflections.
// Add a RED::RayReflectionShader to configure the software reflections:
RED::StateShader shstate;
RED::RayReflectionShader rayreflect;
RC_TEST( rayreflect.Setup( NULL, RED::Matrix::IDENTITY, RED::MCL_TEX0, RED::MCL_USER0,
                          shstate, 1.0f, true, 0.0f, 1, resmgr ) );

RC_TEST( imat->RegisterShader( rayreflect, state ) );
RC_TEST( imat->AddShaderToPass( rayreflect.GetID(), RED::MTL_RAYTRACE, RED::LIST_LAST, RED::LayerSet::ALL_LAYERS, state ) );
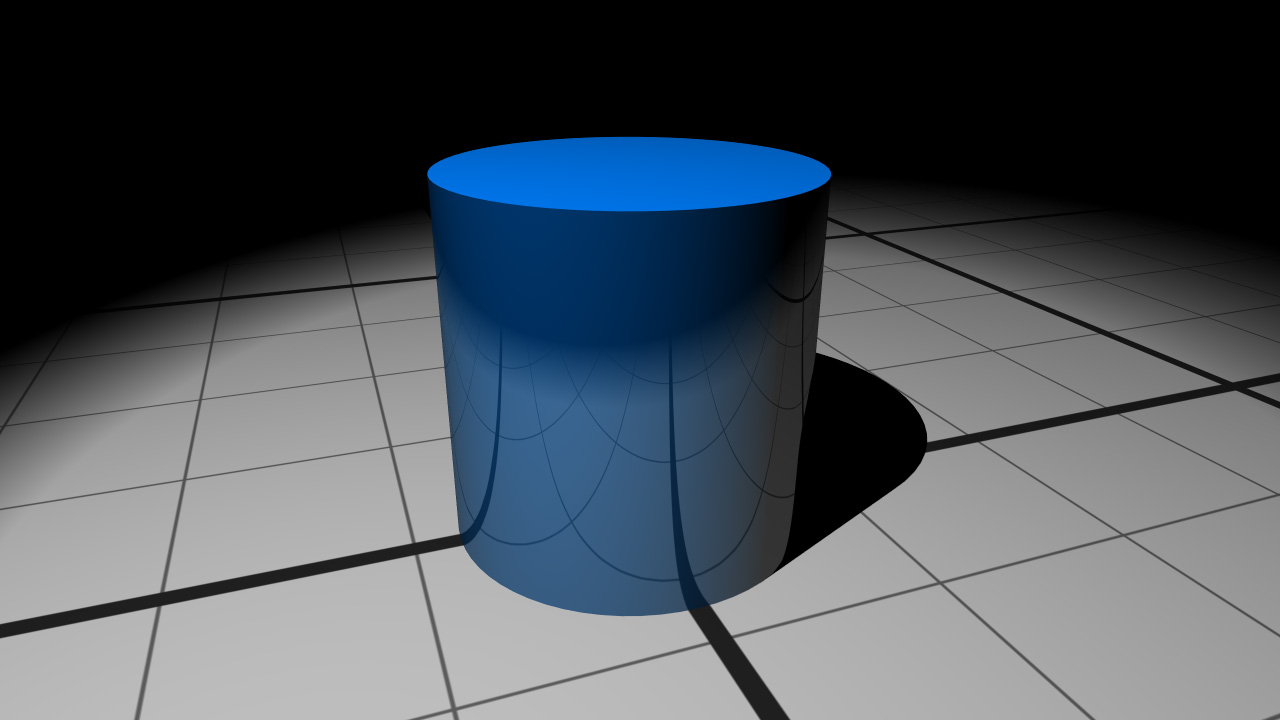
The cylinder with ambient, lighting and reflection shaders
Finally, we have added a performance shader called RED::RayCutoffShader in the RED::MTL_RAYTRACE material pass. Its purpose is to early terminate the ray propagation if the ray’s importance for the scene can be neglected after reflections and refractions.
// Add a performance cutoff shader
RED::RayCutoffShader raycut( RED::Color( 0.3f ), NULL, RED::Matrix::IDENTITY, RED::MCL_TEX0,
                            RED::Color::WHITE,  NULL, RED::Matrix::IDENTITY, RED::MCL_TEX0,
                            1, NULL,
                            RED::Color::WHITE,  NULL, RED::Matrix::IDENTITY, RED::MCL_TEX0,
                            1, shstate, resmgr, rc );
RC_TEST( rc );
RC_TEST( imat->RegisterShader( raycut, state ) );
RC_TEST( imat->AddShaderToPass( raycut.GetID(), RED::MTL_RAYTRACE, RED::LIST_LAST, RED::LayerSet::ALL_LAYERS, state ) );

