Using the Realistic Material
This tutorial will teach you how to create a realistic material and how to assign it to shapes in a scene graph. Then, we’ll access the built-in material controller of the material and modify some of its properties. The method used to create a realistic material is RED::IMaterial::SetupRealisticMaterial. A concrete usage example is below:
RC_TEST( imaterial->SetupRealisticMaterial(

    false,                                                         // Double sided
    true,                                                          // Fresnel
    RED::Color::RED, NULL, RED::Matrix::IDENTITY, RED::MCL_TEX0,   // Diffusion
    RED::Color::WHITE, NULL, RED::Matrix::IDENTITY, RED::MCL_TEX0, // Reflection
    RED::Color::WHITE, FLT_MAX,                                    // Reflection fog
    false, false, NULL, RED::Matrix::IDENTITY,                     // Environment
    RED::Color::BLACK, NULL, RED::Matrix::IDENTITY, RED::MCL_TEX0, // Transmission
    0.0f, NULL, RED::Matrix::IDENTITY, RED::MCL_TEX0,              // Transmission glossiness
    2.3f, NULL, RED::Matrix::IDENTITY, RED::MCL_TEX0,              // IOR
    RED::Color::WHITE, 1.0f,                                       // Transmission scattering
    false, false,                                                  // Caustics
    RED::Color::BLACK, NULL, RED::Matrix::IDENTITY, RED::MCL_TEX0, // Reflection anisotropy
    0.0f, NULL, RED::Matrix::IDENTITY, RED::MCL_TEX0,              // Reflection anisotropy orientation
    NULL, RED::Matrix::IDENTITY, RED::MCL_TEX0, RED::MCL_USER0,    // Bump
    0.0f, 0.0f, NULL, RED::Matrix::IDENTITY, RED::MCL_TEX0,        // Displacement
    NULL, &RED::LayerSet::ALL_LAYERS,                              // Layersets
    resmgr, state ) );                                             // Engine stuff
The realistic material can be used to mimic a variety of materials. All details on the method parameters can be found here: Using the Realistic Material.
Then, before we start with our scene, We’ll activate some the rendering options so that we can see the effects on our materials.
// Turn on x16 anti aliasing:
RC_TEST( ivrl->SetClearColor( RED::Color::WHITE, iresmgr->GetState() ) );
RC_TEST( ivrl->SetSoftAntiAlias( 4, iresmgr->GetState() ) );

// Turn on some rendering options (shadows, reflections, refractions, transparency):
RED::IOptions* iresopt = resmgr->As< RED::IOptions >();
RC_TEST( iresopt->SetOptionValue( RED::OPTIONS_RAY_SHADOWS, 5, iresmgr->GetState() ) );
RC_TEST( iresopt->SetOptionValue( RED::OPTIONS_RAY_REFLECTIONS, 4, iresmgr->GetState() ) );
RC_TEST( iresopt->SetOptionValue( RED::OPTIONS_RAY_REFRACTIONS, 4, iresmgr->GetState() ) );
RC_TEST( iresopt->SetOptionValue( RED::OPTIONS_RAY_TRANSPARENCY, 4, iresmgr->GetState() ) );
As a first result, we get the image below. As we can see, the created realistic material uses Fresnel reflections with a quite strong IOR (2.3f), and a RED diffuse color:
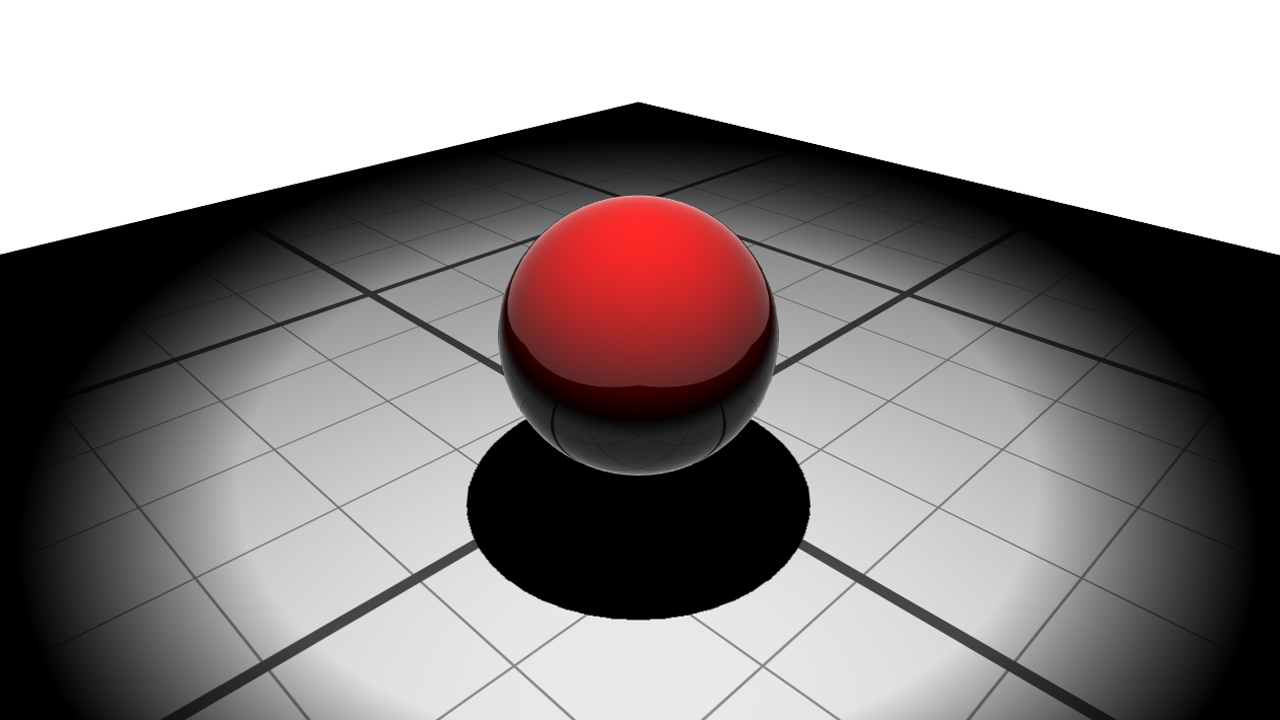
A simple sphere with a realistic material
Changing the Realistic Material Properties
To change the material properties we need to access its material controller. A RED::IMaterialController is a tool to access and update material parameters. When creating a material from scratch, the controller can be built using the RED::Factory::CreateMaterialController function and then applied to the new material using RED::IResourceManager::RegisterMaterialController.
In the case of a library material the controller is already created and is contained in the .red file and is associated to the loaded material. There is nothing to do but to access it with the function RED::IResourceManager::GetMaterialController. It returns the controller linked to the material.
In the case of a generic or realistic material, on calling RED::IMaterial::SetupGenericMaterial of RED::IMaterial::SetupRealisticMaterial, the material is automatically associated to a controller.
// Get the material controller:
RED::Object* matcontroller;
matcontroller = iresmgr->GetMaterialController( material );
if( !matcontroller )
    RC_TEST( RED_FAIL );
RED::IMaterialController* imatcontroller = matcontroller->As< RED::IMaterialController >();
Once the controller in our possession, we can change the material properties. Material properties are handled by a RED::IMaterialControllerProperty object. We access it through the RED::IMaterialController::GetProperty method. Have a look at Using the Realistic Material in the section Realistic Material Properties for a complete list of the realistic properties.
For example, diffuse, reflection, IOR and transmission are changed in the next sample of code:
// Change the diffuse color property:
RED::Object* diffuse = imatcontroller->GetProperty( RED_MATCTRL_DIFFUSE_COLOR );
RED::IMaterialControllerProperty* idiffuse = diffuse->As< RED::IMaterialControllerProperty >();
RC_TEST( idiffuse->SetColor( RED::Color( 0.0f, 1.0f, 0.0f ), state ) );

// Changing the reflection color property:
RED::Object* reflection = imatcontroller->GetProperty( RED_MATCTRL_REFLECTION_COLOR );
RED::IMaterialControllerProperty* ireflection = reflection->As< RED::IMaterialControllerProperty >();
RC_TEST( ireflection->SetColor( RED::Color( 0.8f ), state ) );

// Change the IOR property:
RED::Object* ior = imatcontroller->GetProperty( RED_MATCTRL_IOR );
RED::IMaterialControllerProperty* iior = ior->As< RED::IMaterialControllerProperty >();
RC_TEST( iior->SetFloatValue( 1.02f, state ) );

// Change the transmission color property:
RED::Object* transmission = imatcontroller->GetProperty( RED_MATCTRL_TRANSMISSION_COLOR );
RED::IMaterialControllerProperty* itransmission = transmission->As< RED::IMaterialControllerProperty >();
RC_TEST( itransmission->SetColor( RED::Color( 0.8f ), state ) );

// Change the double sided property:
RED::Object* doublesided = imatcontroller->GetProperty( RED_MATCTRL_DOUBLESIDED );
RED::IMaterialControllerProperty* idoublesided = doublesided->As< RED::IMaterialControllerProperty >();
RC_TEST( idoublesided->SetBooleanValue( true, state ) );
Duplicating the Material
Sometimes, duplicating materials is necessary. A template can be created using the material editor (Using HOOPS Luminate’s Material Editor), loaded in the application and then duplicated. Several different modifications can then be done on each instance. For example textures can be applied, colors can be changed, etc…
A copy of an existing material is made using the RED::IResourceManager::CloneMaterial function. Beware that cloning a material does not clone its material controller. The second material is associated with no controller after the operation. A new controller has to be created and associated to the new material using RED::Factory::CreateMaterialController and RED::IMaterialController::CopyFrom. The last method makes a copy of the base material controller.
// Duplicate the material:
RED::Object* material2;
RC_TEST( iresmgr->CloneMaterial( material2, material, iresmgr->GetState(), false, true ) );

// And duplicate its material controller:
RED_RC rc;
RED::Object* matcontroller2 = RED::Factory::CreateMaterialController( *resmgr, material2, "Realistic", "", "Tunable realistic material", "Realistic", "Tech Soft 3D", rc );
RC_TEST( rc );
RED::IMaterialController* imatcontroller2 = matcontroller2->As< RED::IMaterialController >();
RC_TEST( imatcontroller2->CopyFrom( *matcontroller, material2 ) );
The RED::IResourceManager::CloneMaterial method may also decide on cloning images used by shaders. Generally, this option has to be let disabled, as large user textures specified for material setups are not intended to be modified. The cloned material (and its associated duplicated controller) is then applied to the second sphere shape.
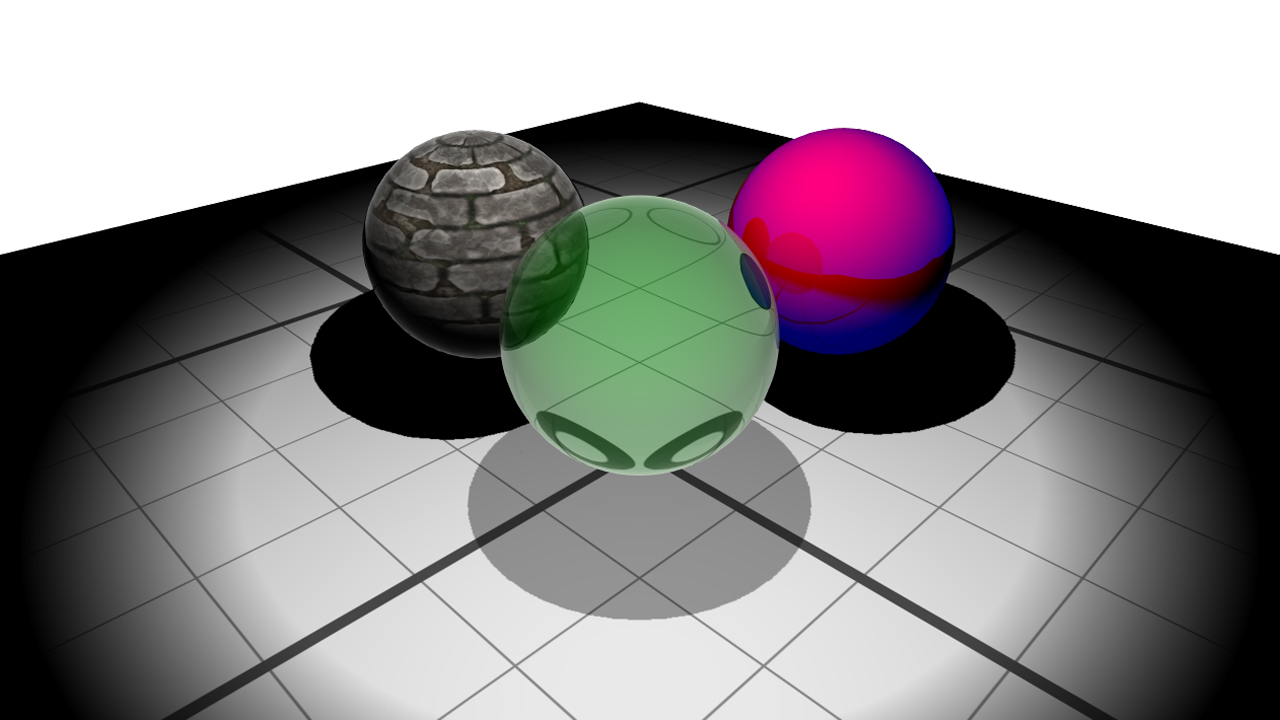
The sphere has been duplicated twice and realistic material properties have been changed
Loading a Realistic Material
We can also use realistic materials by loading them. In the code sample below, we load a realistic material that was saved using the material editor.
// Load the material from a .red file:
RED::Object* redfile = RED::Factory::CreateInstance( CID_REDFile );
if( redfile == NULL )
    RC_TEST( RED_ALLOC_FAILURE );

RED::IREDFile* ifile = redfile->As< RED::IREDFile >();

RED::StreamingPolicy policy;
RED::FileHeader header;
RED::FileInfo finfo;
RED::Vector< unsigned int > contexts;

RC_TEST( ifile->Load( "../resources/realistic_material_sample.red", iresmgr->GetState(), policy, header, finfo, contexts ) );

// Access the data manager:
RED::Object* datamgr = iresmgr->GetDataManager();
RED::IDataManager* idatamgr = datamgr->As< RED::IDataManager >();

// Get the first material:
RED::Object* material;
if( contexts.size() != 0 )
{
    unsigned int mcount = 0;
    RC_TEST( idatamgr->GetMaterialsCount( mcount, contexts[0] ) );

    if( mcount > 0 )
    {
        RC_TEST( idatamgr->GetMaterial( material, contexts[0], 0 ) );
    }
}
After load, as we did earlier in the tutorial, we’ll copy the material and its controller, to assign it to one of our sphere shapes:
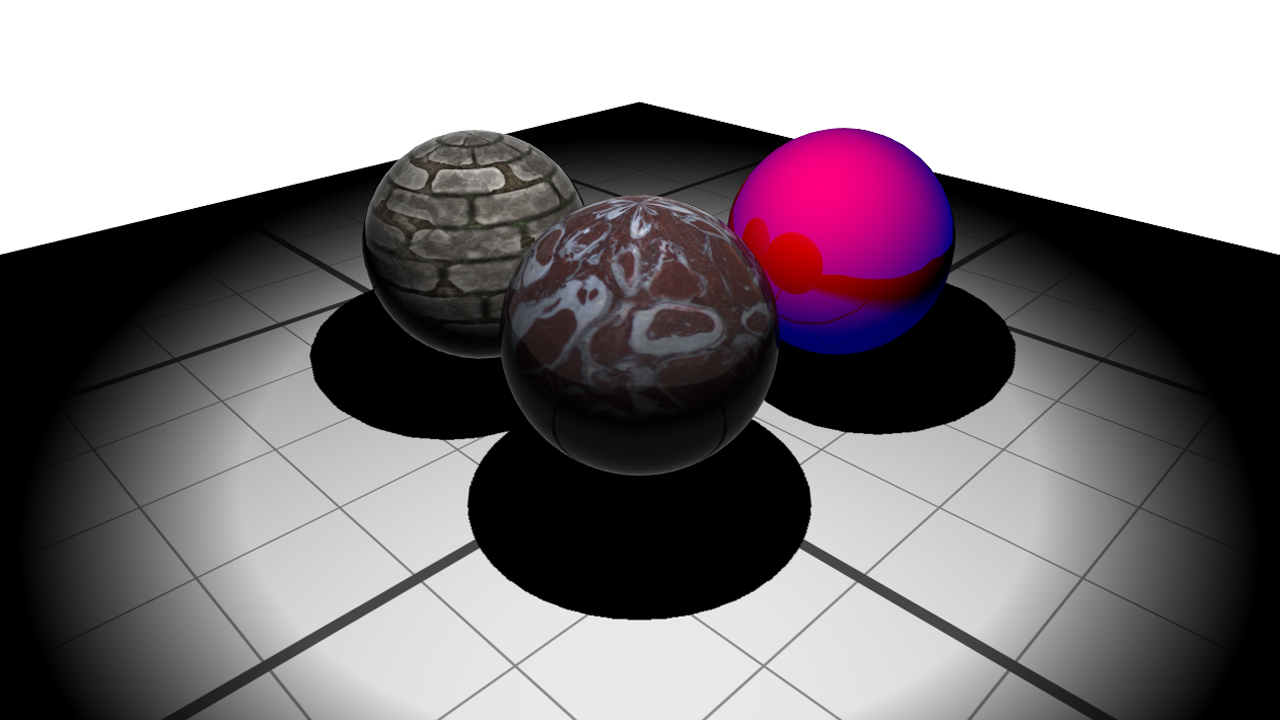
The loaded realistic material applied to a sphere

