Post Processing
Image post-processing is a very important part of the rendering pipeline. As its name says, it comes after the rendering. There are two main post-processing tasks that are generally performed after the rendering:
- Tone mapping: this part of the rendering mimics the response of the observer to the lighting intensity. The two main receivers are the human eye and a camera. It scales back the intensity of the resulting image so that it becomes plainly visible. This topic is covered in this dedicated page: Tone Mapping. A concrete exemple is also available here: Tonemapping Explained.
- Image retouching: this step covers all the retouching steps applied to a raw image to finalize it and is covered in the following sections. It is performed after the tone mapping pass.
HOOPS Luminate provides various post processes effects from filters to color adjustments. All the effects can be activated via the RED::PostProcess object contained in the RED::IViewpoint. It is accessed like this:
RED::IViewpoint* iviewpoint = viewpoint->As< RED::IViewpoint >();
RED::PostProcess& pp = iviewpoint->GetPostProcessSettings();
Color Adjustment
Brightness / Contrast
The RED::PostProcess class has two methods enabling brightness and contrast adjustment:
RED::PostProcess::SetBrightnessRED::PostProcess::SetContrast
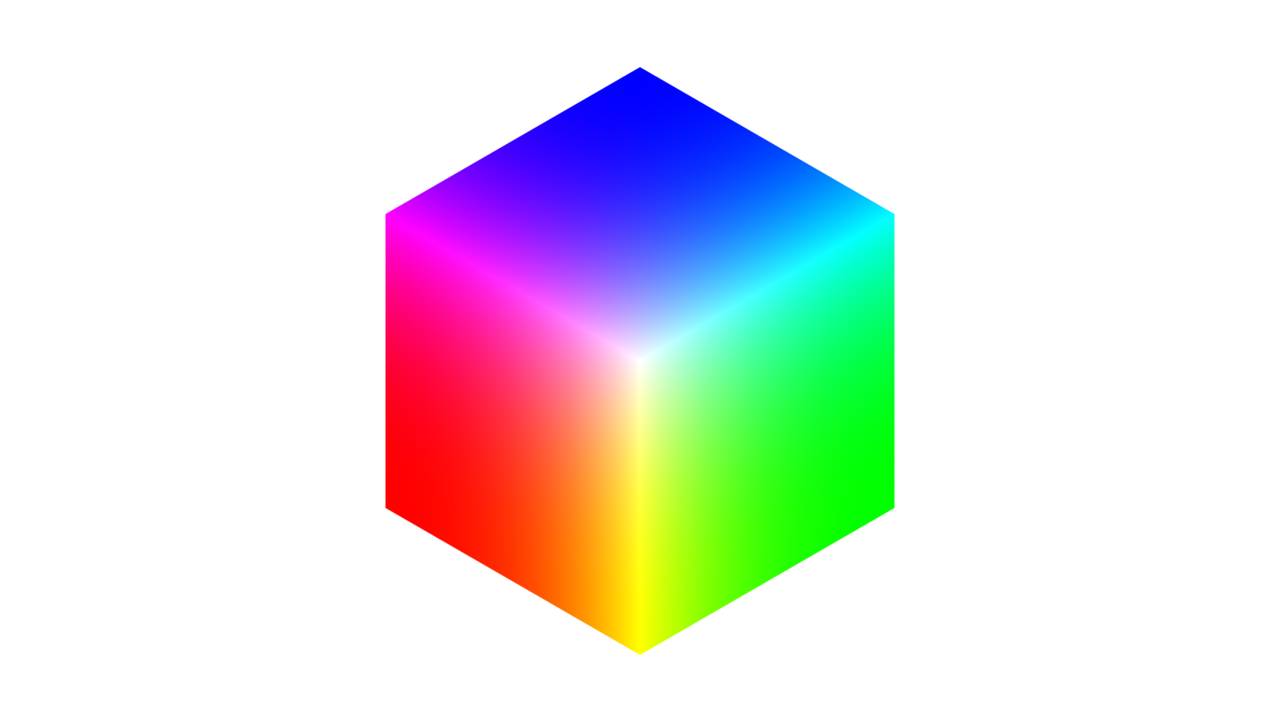
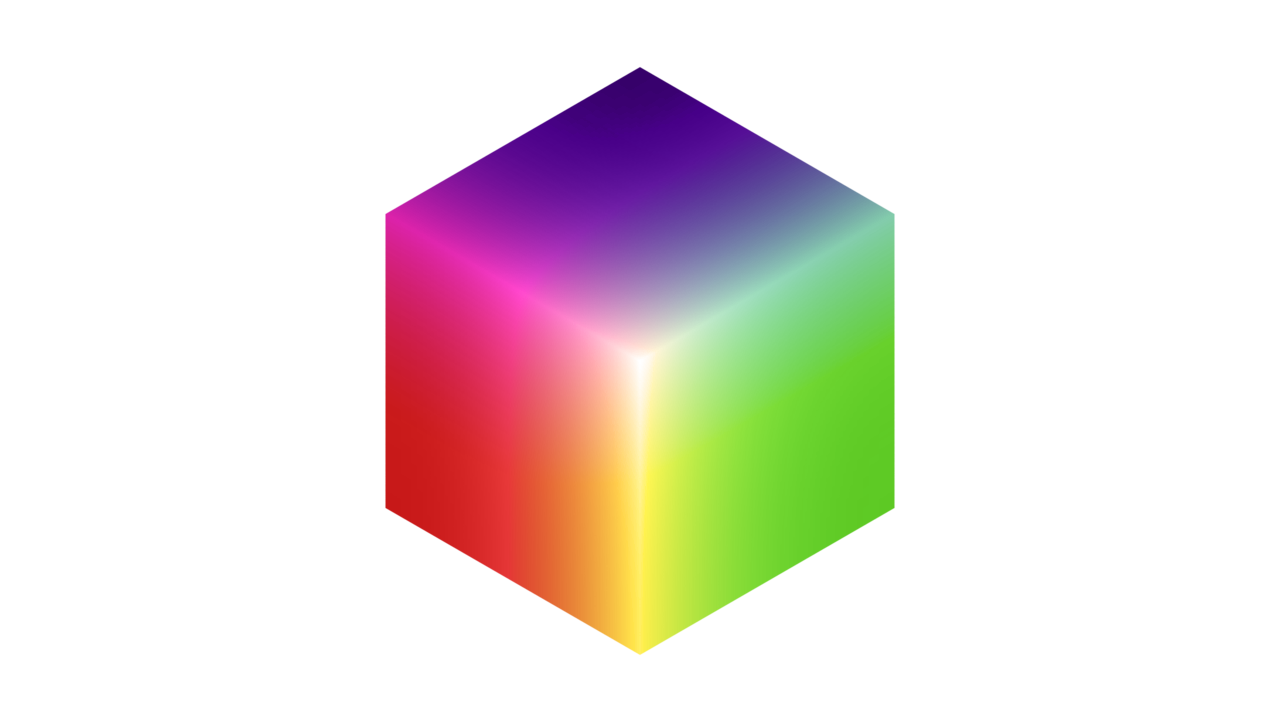
HSL
The RED::PostProcess::SetHSL function allows to change the Hue, Saturation and Lightness of the image. HSL is an alternative to RGB to describe colors based on a more intuitive cylindrical-coordinate representation.
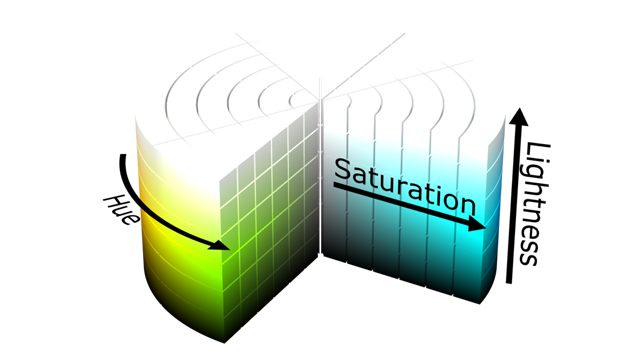
Hue Saturation Lightness color space <a href=”https://commons.wikimedia.org/wiki/File:HSL_color_solid_cylinder.png”>[Wikimedia Commons]</a>

Changing hue, saturation and lightness of the image
Levels and Gamma
Levels and gamma can be adjusted with the RED::PostProcess::SetLevels and RED::PostProcess::SetGamma functions. They allow to correct the image intensity and adjust the tonal range by scaling and clamping the histogram. The output levels remap the output color to another range from black to white, allowing color inversion for instance.
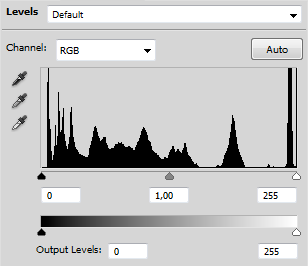
Typical levels adjustment tool
Curve
The curve tool transforms the input intensity. It is a common and easy way to apply intensity correction to the whole image. The RED::PostProcess::SetCurve function adds a curve point. The interpolation between points is done using Lagrange polynomials.
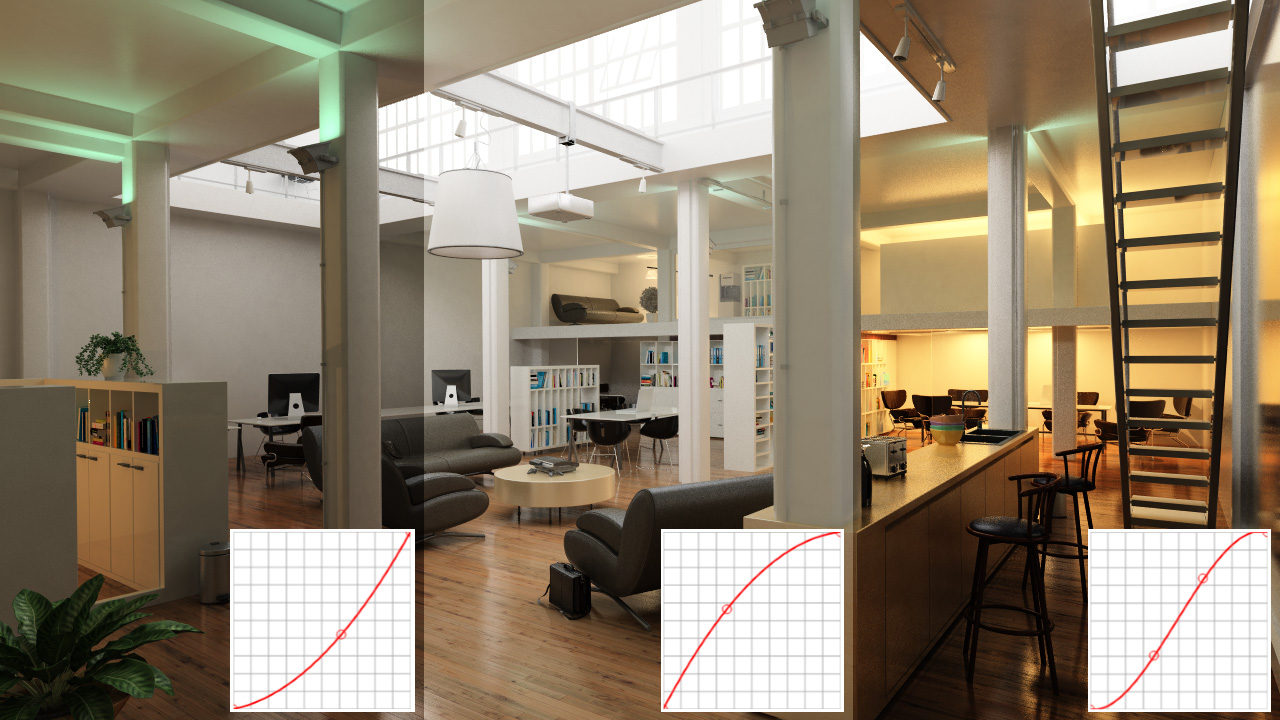
Commonly used curve shapes
Color Balance
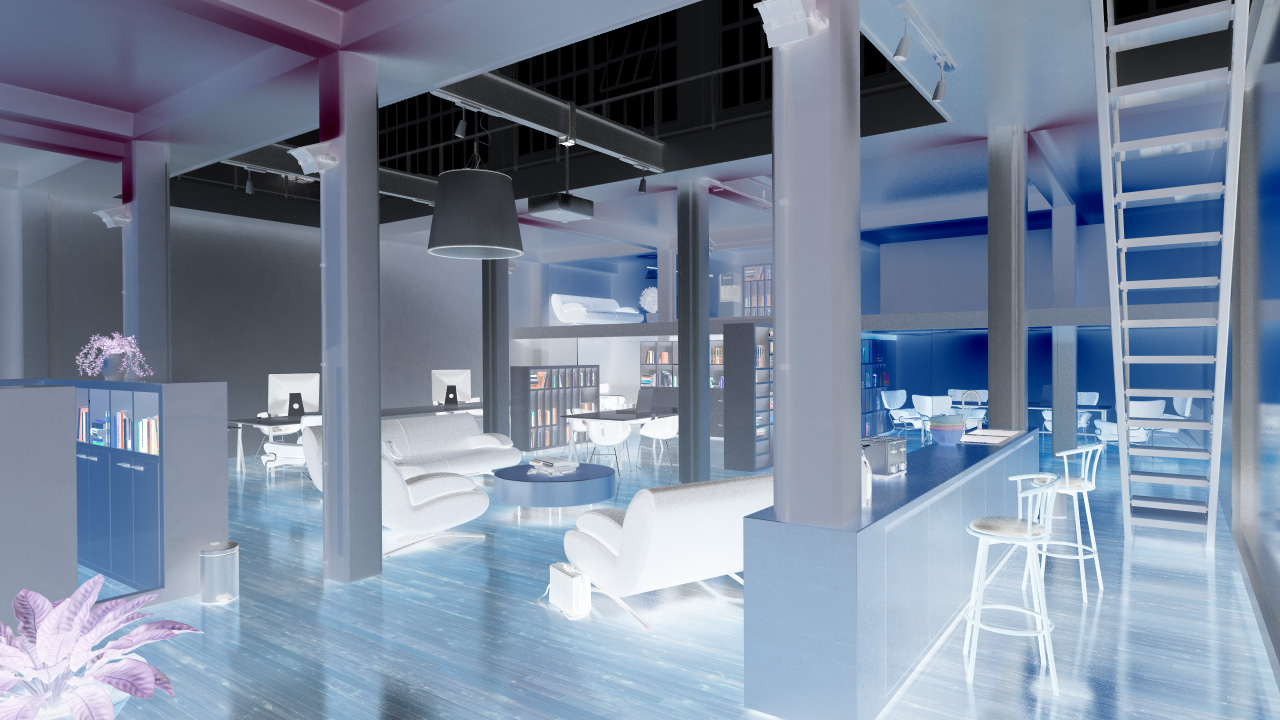
Color balance allows to adjust the image’s warmth by setting a white reference color: RED::PostProcess::SetWhiteReference.
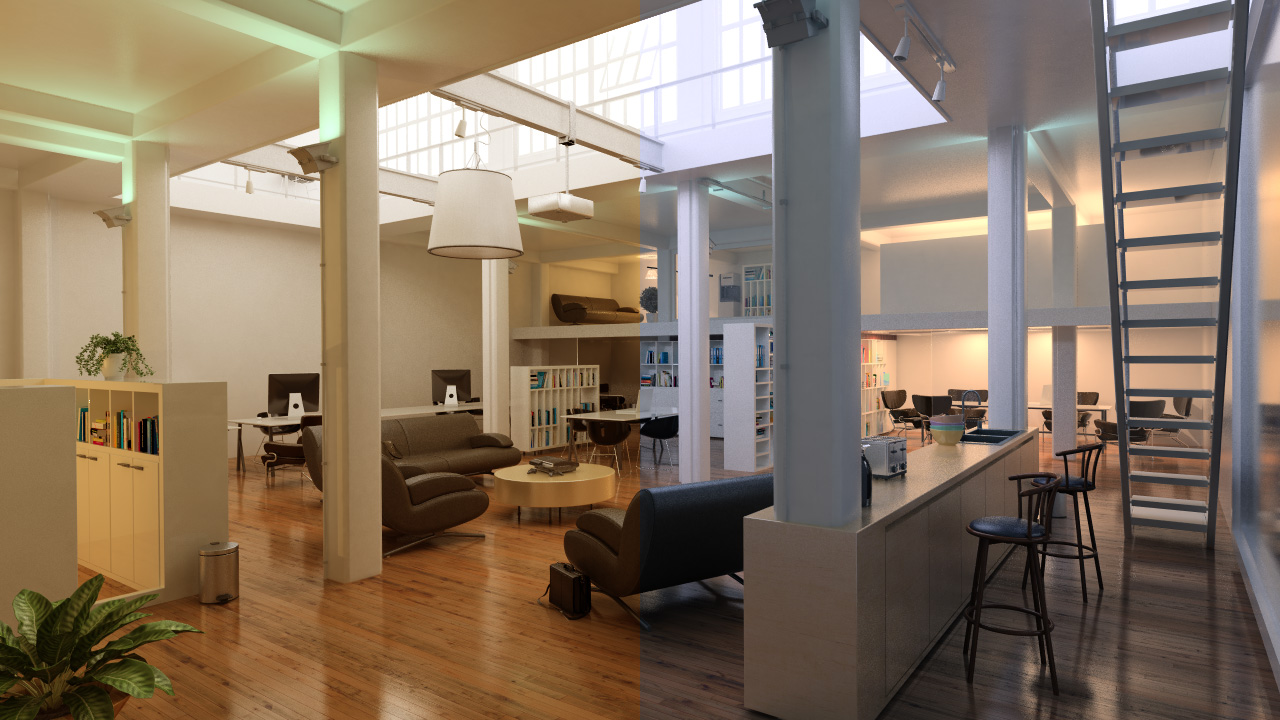
Two opposite white balances for the same image (warm and cold)
Inversion
Color inversion is done with the levels tool. Swapping output level values by mapping black to 1 (white) and white to 0 (black) performs an image inversion.
Inverted image
Threshold
Setting a color threshold means all the lower colors are set to black and all the higher colors are set to white. This effect can be performed using the HSL and levels tools. First a desaturation have to be done (saturation value to -1). Then input white and black levels must have the same value.
pp.SetHSL( 0.0f, -1.0f, 0.0f );         // Désaturation
pp.SetLevels( 0.5f, 0.5f, 0.0f, 1.0f ); // Levels
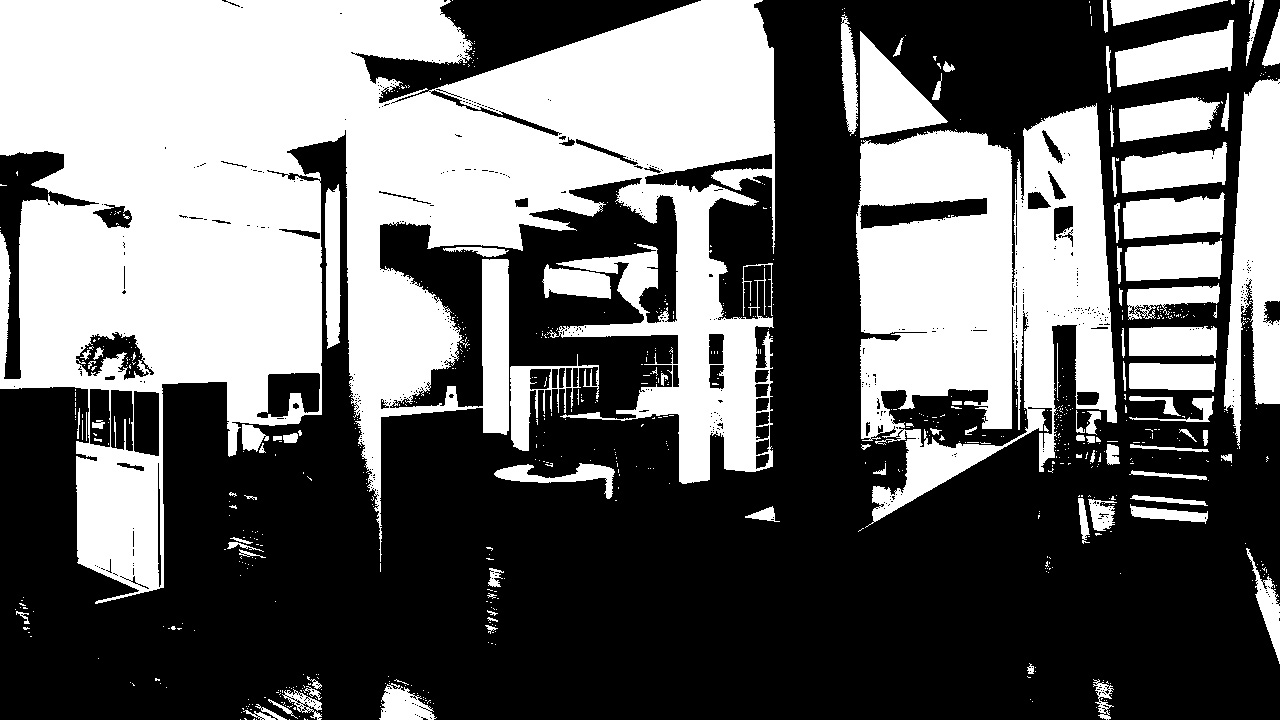
Threshold applied on the image
Filters
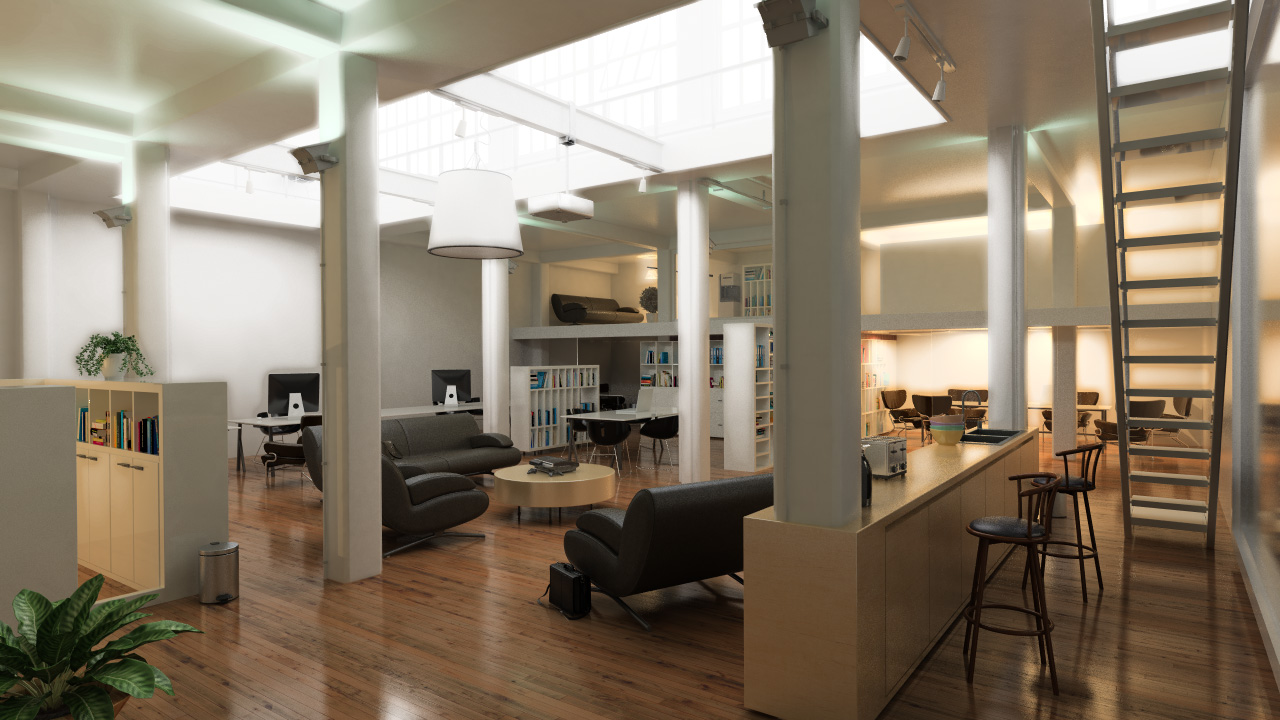
Sharpen
The sharpen tool (RED::PostProcess::SetSharpen) gives the ability to easily enhance the definition of the edges in the whole image.

Sharpen filter applied on a rendering (yes, this one is pretty subtle!)
Blur
The RED::PostProcess::SetBlur function acts inversly to the sharpen one and allows to smooth the whole image. Blur is performed with a gaussian filter. The radius of the filter can be specified from 1 to 5 pixels.
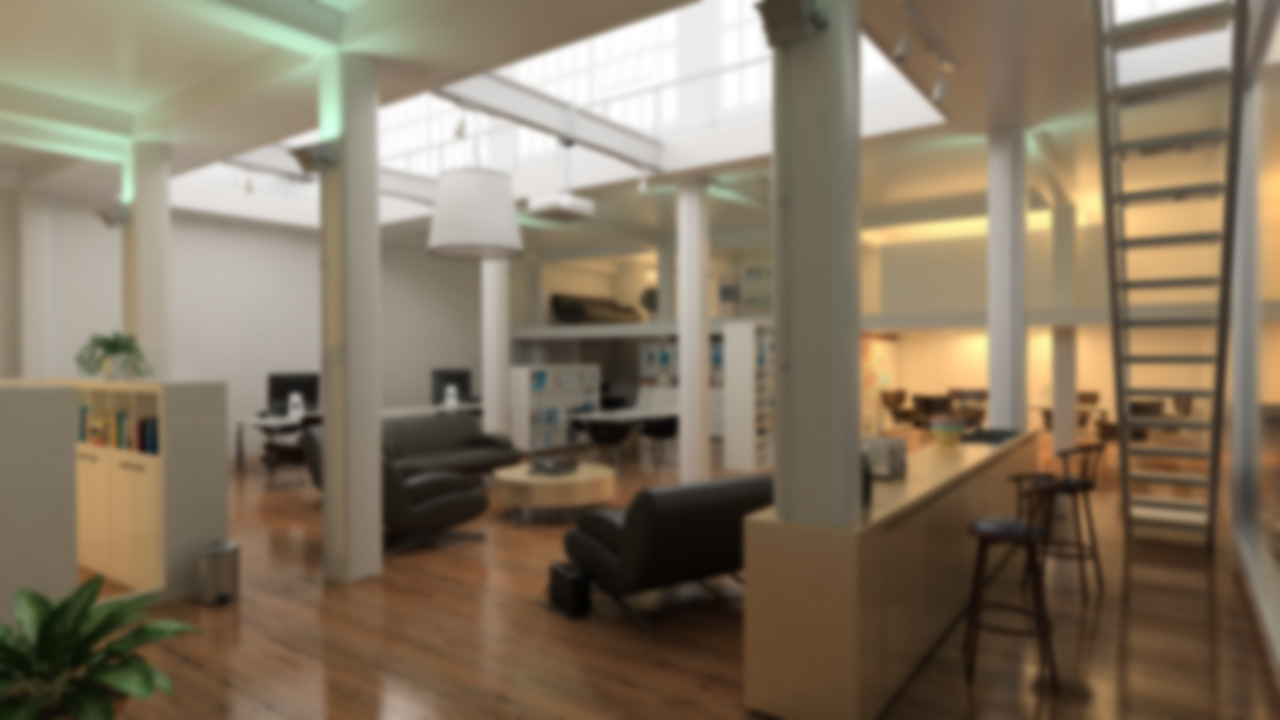
Blur filter
Glow
The Glow filter (RED::PostProcess::SetGlow) enhances the enlightened parts of the image by boosting and spreading the white values.
Glow filter (this one is not subtle at all!)
Depth Of Field
The DOF tool (RED::PostProcess::SetDOF) is a more complexe filter. Its purpose is to blur the image parts outside of the desired camera focus.
The first two distances describe the area in which the blur will decrease up to the focus zone. The last two describe the area in which the blur will increase from the focus zone to the maximum depth.
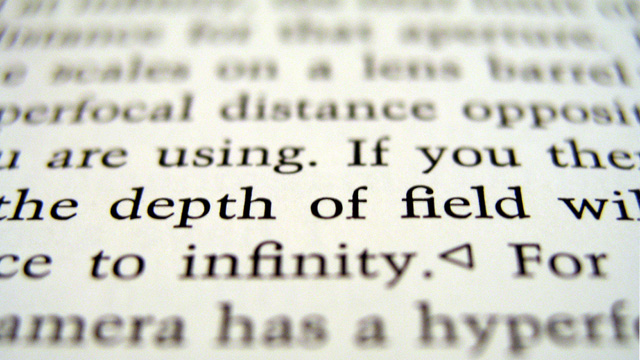
Depth Of Field `[Wikimedia Commons] <https://en.wikipedia.org/wiki/Image:DOF-ShallowDepthofField.jpg>`__