Rendering with HOOPS Luminate
Welcome! If you have reached this book, either you’re just curious or you have already gathered all the needed data to display something on screen (Assembling a Minimal HOOPS Luminate Application). You have probably defined some geometries to display (Building Basic Primitives) along with some materials (Building HOOPS Luminate Materials) and maybe some lights too (Light Shapes). So, in a word, you’re ready to draw now! So, let’s do it:
Rendering a Window Contents
// First, get our resource manager and access its interface.
RED::Object* resmgr = RED::Factory::CreateInstance( CID_REDResourceManager );
RED::IResourceManager* iresmgr = resmgr->As< RED::IResourceManager >();

// Close our transaction first, otherwise our changes won't be commited!
RC_TEST( iresmgr->EndState() );

// Assuming that 'window' is our HOOPS Luminate window address:
RED::IWindow* iwindow = window->As< RED::IWindow >();

// Rendering method (GPU rendering):
RC_TEST( iwindow->FrameDrawing() );

// Rendering method (CPU rendering or hybrid CPU / GPU rendering):
bool complete = false;
while( complete == false )
{
    RC_TEST( iwindow->FrameTracing( complete ) );
    // Refresh user interface, poll application events here.
}

// Rendering is over, start a new transaction to record changes:
iresmgr->BeginState();
The first important point here is about closing the current transaction before calling one of the RED::IWindow rendering methods. If the current transaction is not closed before drawing, then all changes done recorded during that transaction will be ignored. See the Transaction Management chapter for details on how transaction work in HOOPS Luminate.
Then, draw. Depending on the cluster’s rendering setup (Software Startup), one of the two methods indicated in the code above can be chosen. RED::IWindow::FrameDrawing is preferred for pure GPU accelerated rendering. RED::IWindow::FrameTracing is used for CPU side image processing using HOOPS Luminate’s software ray-tracer, possibly mixed with hardware GPU rendering.
Then, once drawn, re-open a transaction. All changes in the engine will fail if a transaction is not open to record changes.
Introduction
The very first important fact is that HOOPS Luminate is a hybrid rendering engine. It can process an image using software ray-tracing AND an image using the GPU at the same time, with one single rendering call. We detail this here: Hardware vs. Software Rendering. Reading this chapter is a must to understand the HOOPS Luminate rendering pipeline.
Then, this book is organized by rendering stage; so we’ll review in sequence:
| Render Type | Details | Illustrations |
|---|---|---|
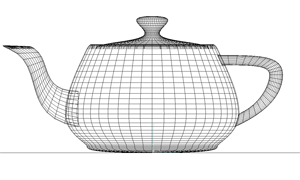
| Rendering 2D Datasets | This chapter is mostly dedicated to hardware rendering of 2D datasets using the GPU, but it also covers using the software ray-tracer that can also render 2D scenes with lines and points. |

|
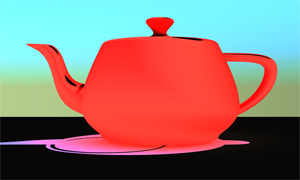
| Real-Time Rendering of 3D Datasets | Here we’ll focus on real-time 3D rendering, with a special mention to real-time lighting and shadowing. features here. |

|
| Software Rendering of 3D Datasets | This chapter is dedicated to the software ray-tracer embedded in Luminate. We’ll cover all its rendering |

|
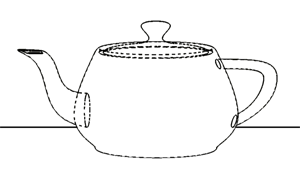
| Generating Vector Graphics | This chapter illustrates how Luminate can be used to produce a vector output instead of a raster output as a result of a rendering. This aims at providing analytical data suitable for printing purposes. |

|
| Post Processing | We’ll review how we can post-process an image using Luminate for various purposes here. |

|
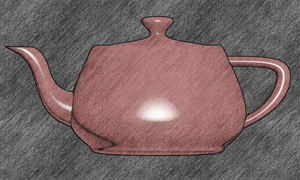
| Non Photo-Realistic Rendering | This chapter will provide an example of using Luminate to generate NPR stylized renderings. |

|
| Rendering Large Images | We’ll handle the problem of rendering very large images here. Those images don’t fit in the system memory, so rendering by tiles has to be put in place. We’ll see how Luminate answers this problem. |

|
Note that we don’t cover photo-realistic rendering techniques here. There’s a dedicated book on this topic: Rendering Photo-Realistic Images.

