Applying a Logo Over a Material’s Geometry
This tutorial illustrates how the material applied on a geometry can be modified to show extra decals or logos over it. The logos applied on the material can use a custom proprietary shading independent on the base material shading. The tutorial produces the image below:
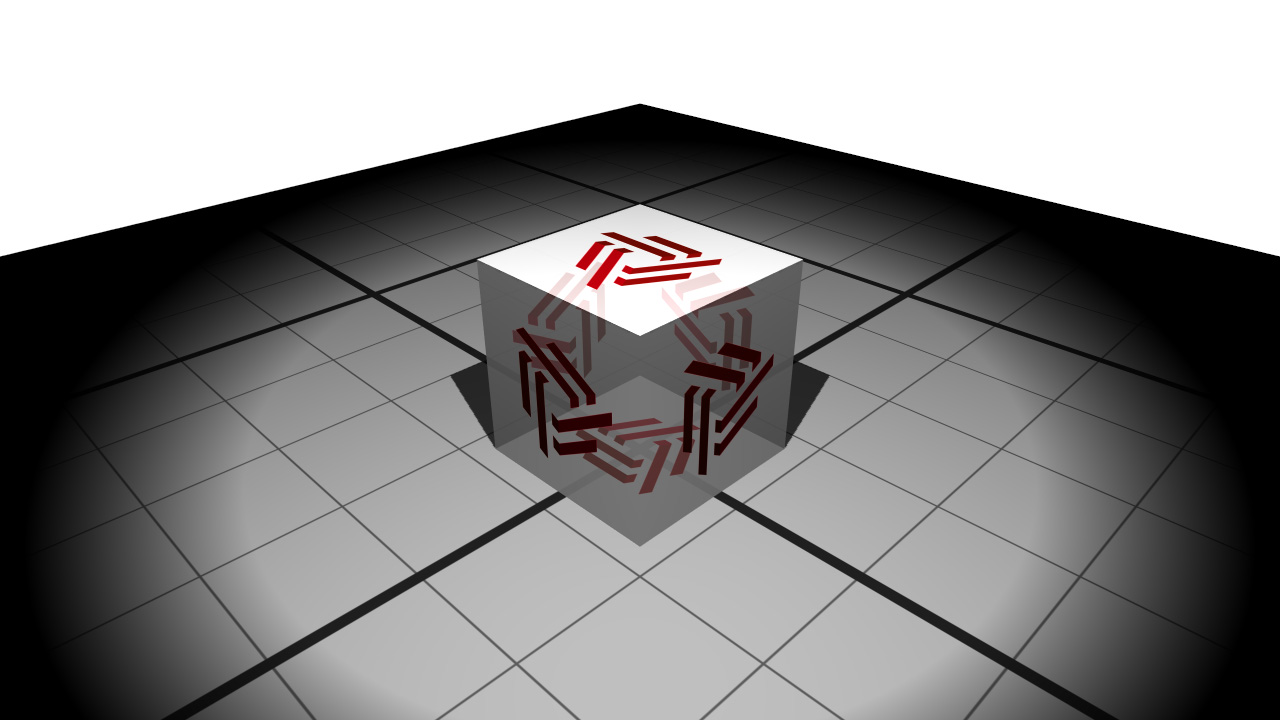
The cube material with an opaque logo applied onto it
Scene Setup
As usual, the scene used in this tutorial is not really complex. It is composed of a cube primitive on which a generic transparent material is applied. The important functions here are RED::IMeshShape::Box and RED::IMaterial::SetupGenericMaterial.
// Creating a cube:
RED::Object* cube = RED::Factory::CreateInstance( CID_REDMeshShape );
cube->SetID( "Cube" );

RED::IMeshShape* icube = cube->As< RED::IMeshShape >();
RC_TEST( icube->Box( RED::Vector3( 0.0, 0.0, 10.01 ), RED::Vector3( 10.0 ), state ) );

// Adding the cube to the scene:
RC_TEST( icamera->AddShape( cube, state ) );

// Creating a generic material:
RED::LayerSet photo = RED::LayerSet::ALL_LAYERS;
RED::LayerSet rt = RED::LayerSet::ALL_LAYERS;

RED::Object* material;
RC_TEST( iresmgr->CreateMaterial( material, state ) );
RED::IMaterial* imaterial = material->As< RED::IMaterial >();
RC_TEST( imaterial->SetupGenericMaterial( true, false,
                                        RED::Color::BLACK, NULL, RED::Matrix::IDENTITY, RED::MCL_TEX0,
                                        RED::Color::WHITE, NULL, RED::Matrix::IDENTITY, RED::MCL_TEX0,
                                        RED::Color::WHITE, NULL, RED::Matrix::IDENTITY, RED::MCL_TEX0,
                                        RED::Color::BLACK, NULL, RED::Matrix::IDENTITY, RED::MCL_TEX0, 0.0f,
                                        RED::Color::BLACK, NULL, RED::Matrix::IDENTITY, RED::MCL_TEX0, 0.0f,
                                        true, false,       NULL, RED::Matrix::IDENTITY, 1.0f, true,
                                        RED::Color::GREY,  NULL, RED::Matrix::IDENTITY, RED::MCL_TEX0, 0.0f,
                                                            NULL, RED::Matrix::IDENTITY, RED::MCL_TEX0, RED::MCL_USER0,
                                        &rt, &photo, resmgr, state ) );

// Assigning the material to the cube:
RED::IShape* ishape = cube->As< RED::IShape >();
RC_TEST( ishape->SetMaterial( material, state ) );
Applying a Logo
The logo application code is quite simple. Once the geometry material has been accessed and the logo loaded into a RED::IImage2D using the RED::ImageTools::Load function, then we can call RED::IMaterial::SetLogoMask to apply the logo over the material:
// Assigning the logo to the cube's material:
RED::Vector< RED::Object* > logo_mask;
RED::Vector< RED::Matrix > logo_matx;
RED::Vector< RED::MESH_CHANNEL > logo_uv;

RC_TEST( logo_mask.push_back( g_logo ) );
RC_TEST( logo_matx.push_back( RED::Matrix::IDENTITY ) );
RC_TEST( logo_uv.push_back( RED::MCL_TEX0 ) );

RC_TEST( imatr->SetLogoMask( logo_mask, logo_matx, logo_uv, true, RED::LayerSet::ALL_LAYERS, state ) );
The logo mapping method will use one of the available UV mapping channels existing in the geometry. In our example, this is the first and unique RED::MCL_TEX0 geometry channel that contains the planar mapping necessary to the appropriate display of the logo. Result of this logo application is showed on the right side of the image below:
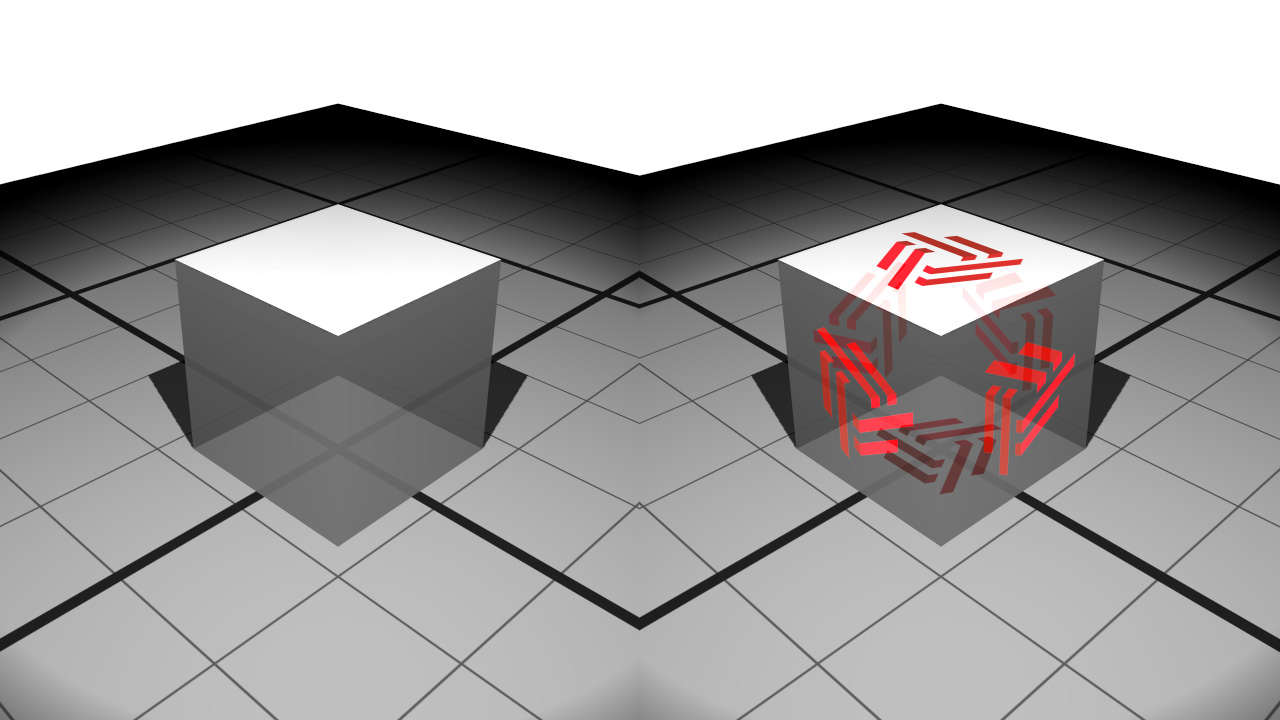
Application of a logo on the cube’s faces
Zooming on the image showing the logo will reveal that the logo itself is transparent. By default, the RED::IMaterial::SetLogoMask method will apply the logo and preserve the original material properties. Therefore, applying a logo over a transparent material can be used to change the opacity of the transparent materials and apply modifiers to that material.
However, it may be wishful to have opaque logos, or to control the shading of the logo blended in the existing geometry material. This is done in the next tutorial step.
Controlling the Logo Opacity
If we take a look at the alpha channel set by RED::IMaterial::SetLogoMask, we get the following image:
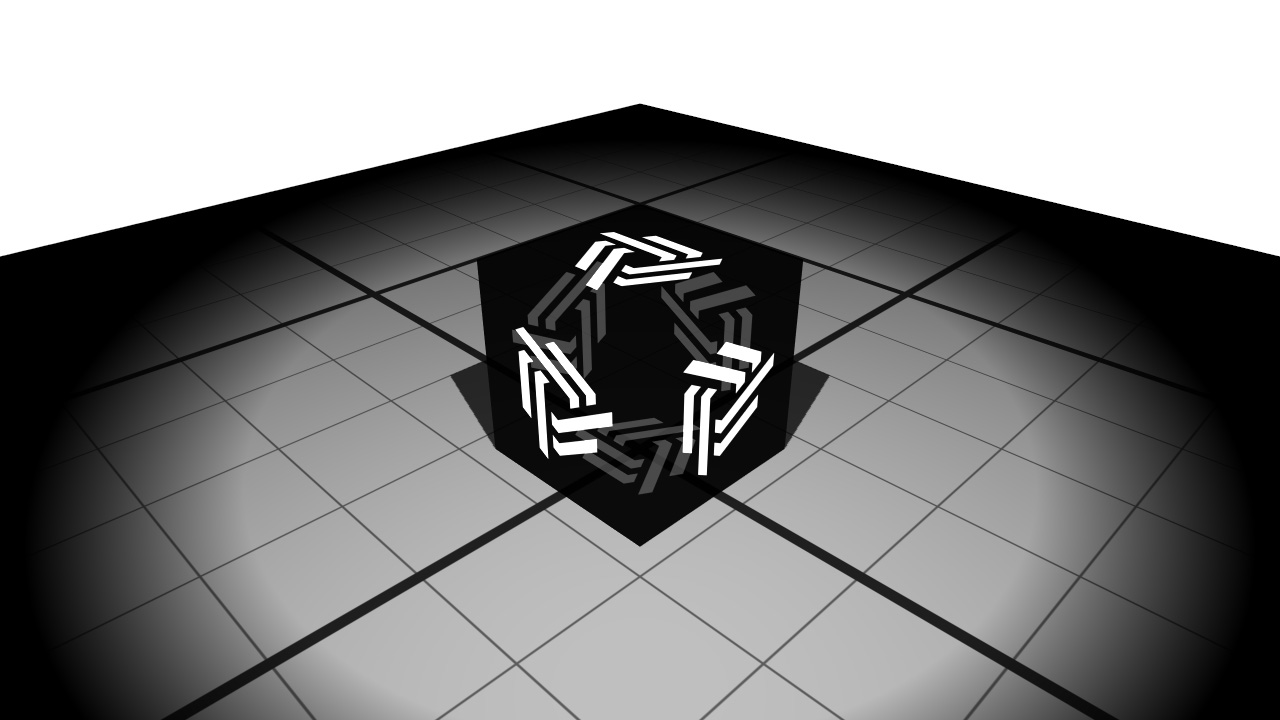
View of the alpha channel in the frame buffer
From this, we can apply any custom material setup to repaint our shading over the source material that has been modified by the application of the logos.
First, during the shading, we must preserve the existing alpha mask. This is where we have to draw. Thanks to RED::StateShader::SetColorMask, we can decide to preserve the alpha masking at each rendering pass.
RC_TEST( logostate.SetColorMask( true, true, true, false ) );
Then, the blending formula we’ll use to accumulate each shader is important. using RED::StateShader::DST_ALPHA will preserve the color on the logo and discard it outside of the logo (the alpha is black out of the logo): RED::StateShader::ONE_MINUS_DST_ALPHA will preserve the color outside of the logo and discard all information in the logo area.
RC_TEST( logostate.SetBlendingMode( RED::StateShader::CUSTOM,
                                RED::StateShader::DST_ALPHA,
                                RED::StateShader::ADD,
                                RED::StateShader::ONE_MINUS_DST_ALPHA ) );
So, if we add a RED::RenderShaderAmbient after the ‘logostate’ shader, we’ll see the ambient contribution on the logo and nothing outside of it. As we have no ambient contribution here, the result if black over the logo. Outside of the logo, the RED::StateShader::ONE_MINUS_DST_ALPHA preserves the destination color, so we continue to see through the material, while the color is set to black in the logo area.
Then, we have to accumulate lighting passes. This is done using the following blending formula:
RC_TEST( logostate_lit.SetBlendingMode( RED::StateShader::CUSTOM,
                                    RED::StateShader::DST_ALPHA,
                                    RED::StateShader::ADD,
                                    RED::StateShader::ONE ) );
We want to preserve the existing shading outside of the logo and inside the logo, and only accumulate lighting contribution inside the logo. Therefore, the RED::StateShader::DST_ALPHA term applied to the source color does the job: the accumulated Lambertian shader is discarded outside of the logo, while we keep all existing contribution, thanks to the RED::StateShader::ONE term applied to the framebuffer color. These two steps are illustrated below:
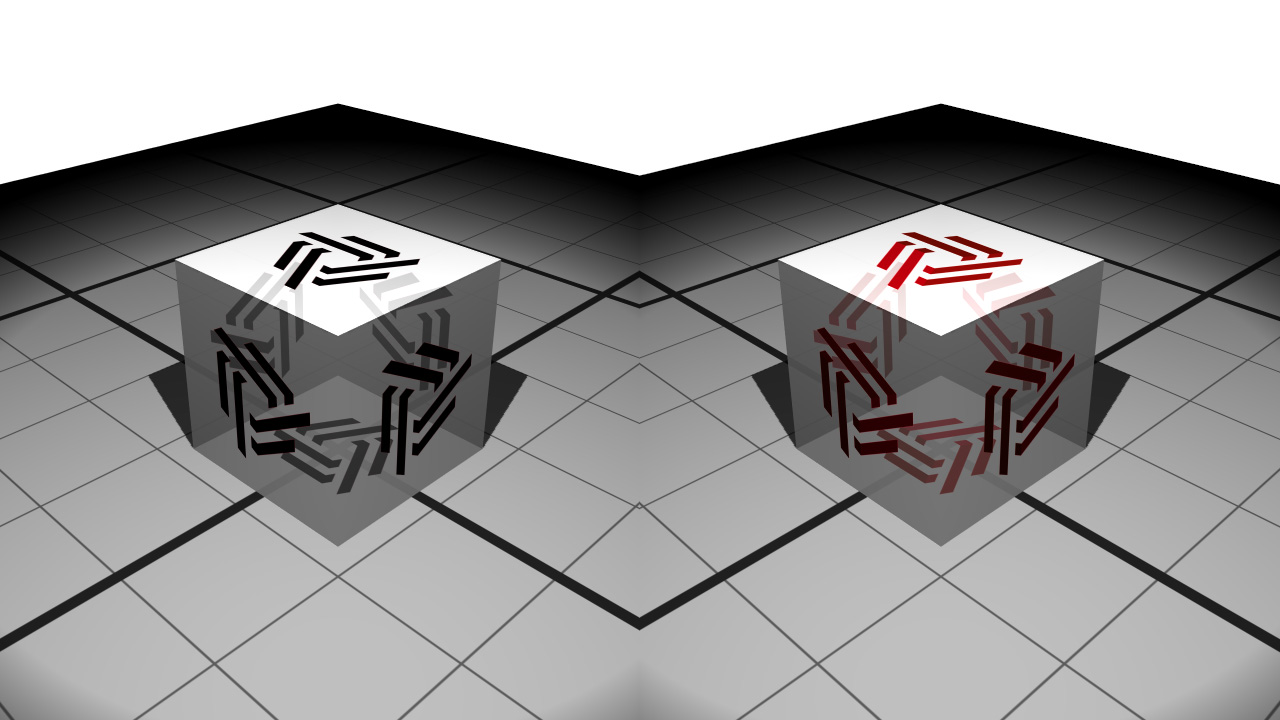
Ambient contribution over the logo on the left, Ambient + Lambertian lighting on the right
Logo Visualization on the GPU
So far, the tutorial was rendered on the CPU, but the application of logos can be used on the CPU and on the GPU. For identical settings, both results will look the same. The last tutorial step illustrates a simple real-time GPU setup with the logo. No GPU ray-tracing options besides the transparencies are set to preserve real-time performances on all types of hardware.
Visualizing Multiple Logos
The logo visualization code we have programmed above uses an ambient shader (RED::RenderShaderAmbient) plus a Lambertian shader for the lighting passes (RED::RenderShaderLambert):
RED::RenderShaderAmbient ambient( RED::MTL_PRELIT,
                              RED::Color::WHITE, g_logo, RED::Matrix::IDENTITY, RED::MCL_TEX0,
                              RED::Color::BLACK, NULL,   RED::Matrix::IDENTITY, RED::MCL_TEX0,
                              RED::Color::BLACK, NULL,   RED::Matrix::IDENTITY, RED::MCL_TEX0,
                              RED::Color::WHITE, NULL,   RED::Matrix::IDENTITY, RED::MCL_TEX0,
                              true, resmgr, rc );
RED::RenderShaderLambert lambert( RED::MTL_LIT,
                                RED::Color::WHITE, g_logo, RED::Matrix::IDENTITY, RED::MCL_TEX0,
                                RED::Color::WHITE, NULL,   RED::Matrix::IDENTITY, RED::MCL_TEX0,
                                NULL, RED::Matrix::IDENTITY, RED::MCL_TEX0, RED::MCL_USER0,
                                resmgr, rc );
The logo image ‘g_logo’ is used as a diffuse texture for the display of the logos. If we want to visualize multiple logos, we have to replace this texture by a composite image (RED::IImageComposite) to generate the appropriate diffusion image. The composite can be created with the RED::IResourceManager::CreateImageComposite method and setup using the function RED::IImageComposite::SetRenderShader with our RED::RenderShaderLogo parameter.
The RED::RenderShaderLogo takes as parameter the list of textures, matrices and uvs corresponding to the multiple logos.

