Real-Time Lights
Real-time lights features are implemented by the RED::ILightShape interface. The key item to realize about real-time lights is that none of these lights has an actual physical shape (exception made with the rectangular area light). We find the following light types here:
| Light Type | Description | Snapshot |
|---|---|---|
| Ambient Light | This a constant lighting term that can be added to the scene, mostly from low quality real-time environments. It’s not recommended in software rendering as it’s definitely not realistic.
|
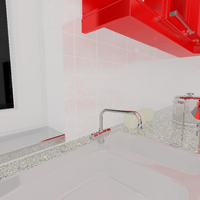
|
| Point Light | This is a centric light. Light is emitted from a single point.
|
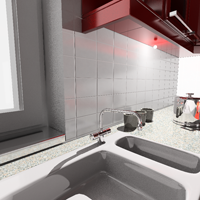
|
| Spot Light | This is a centric light. Light is emitted from a single point and attenuated with an angular falloff defined by one direction.
|
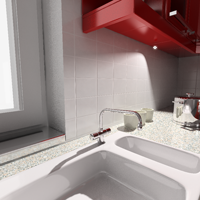
|
| Directional Light | This is a centric light. Light is emitted from a given direciton. The light effect zone has no limit.
|
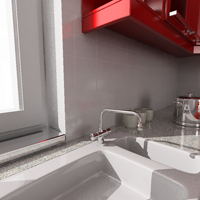
|
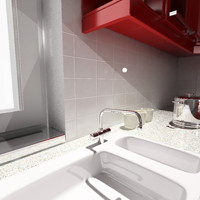
| Beam Light | This is a centric light. Light is emitted from a given direction and attenuated with a radial falloff defined from a given point.
|
|
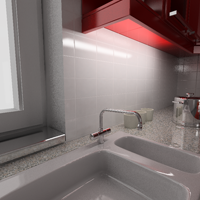
| Rectangular Area Light | This is the only real-time surfacic light. The light is emitted from a rectangular surface.
|
|
Choosing between Ray-Traced Shadows and Shadow Maps
HOOPS Luminate has several shadowing methods available, as illustrated in the doc Light Shapes under the section Available Shadowing Methods. Generally speaking, real-time lights are used in…real-time applications. Therefore any fast shadowing method is preferred. In this case, shadow maps should be selected. Therefore, spot lights and beam lights are the two types of lights that have the best shadow mapping support and that should be selected.
Point lights also support shadow mapping, but this is a 6 passes process (one rendering pass for each face of the cube). Therefore, it can be quite slow and should be avoided whenever possible. Directional lights, ambient lights and rectangular area lights have no shadow mapping support.
The alternative - on the GPU - can be to use ray-traced shadows, thanks to HOOPS Luminate’s hardware ray-tracer. All real-time lights can cast ray-traced shadows (except the ambient light of course). Ray-traced shadows are significantly slower than shadow maps. Generally speaking, ray-traced shadows render at interactive frame-rates, compared to true real-time performance of shadow maps. But for that extra performance price, the quality is better, of course.
Selecting between shadow maps or ray-traced shadows is done that way:
// Access a light shape interface:
RED::ILightShape* ilight = light->As< RED::ILightShape >();

// Enable shadow mapping (turns on shadow casting mode automatically):
RC_TEST( ilight->SetShadowMapping( true, iresmgr->GetState() ) );

// Enable ray-traced shadows (turn off shadow mapping, but keep shadow casting on):
RC_TEST( ilight->SetShadowMapping( false, iresmgr->GetState() ) );
RC_TEST( ilight->SetRenderMode( RED::RM_SHADOW_CASTER, 1, iresmgr->GetState() ) );

// Disable shadow casting for all methods
RC_TEST( ilight->SetRenderMode( RED::RM_SHADOW_CASTER, 0, iresmgr->GetState() ) );
The API contains a little trick here: there’s a shadow casting flag AND a shadow mapping flag. If the shadow casting flag is on (RED::RM_SHADOW_CASTER), then the light will cast ray-traced shadows OR it’ll cast shadow maps if shadow mapping is turned on.
Configuring Shadow Mapping
All details on shadow mapping can be found there: Shadow Mapping Detailed. This paragraph points to the control methods that exist in the RED::ILightShape API to setup shadow mapping properly for the needs of an application:
RED::ILightShape::SetShadowMapResolution: Set the accuracy of the shadow map.RED::ILightShape::SetShadowMapCustomRangeorRED::ILightShape::SetShadowMapAutoRange: control the depth effect range of the shadow map.RED::ILightShape::SetShadowMapBlur,RED::ILightShape::SetShadowMapFilteringandRED::ILightShape::SetShadowMapPolygonOffset: control the blurriness and biasing of the generated shadows.RED::ILightShape::SetShadowMapSpotAngle,RED::ILightShape::SetShadowMapBeamRadius: Control the shadow mapping effect for spots and beam. For these types of lights, the lit area of the light can be larger than the area into which the shadow map effect is concentrated.

