Transparency
This simple tutorial shows how to use GPU accelerated ray-traced transparency in HOOPS Luminate. Two topics are covered here:
- Creation of transparent materials using built-in material creation helpers available through the
RED::IMaterial interface- Creation of a transparent custom GLSL shader based material
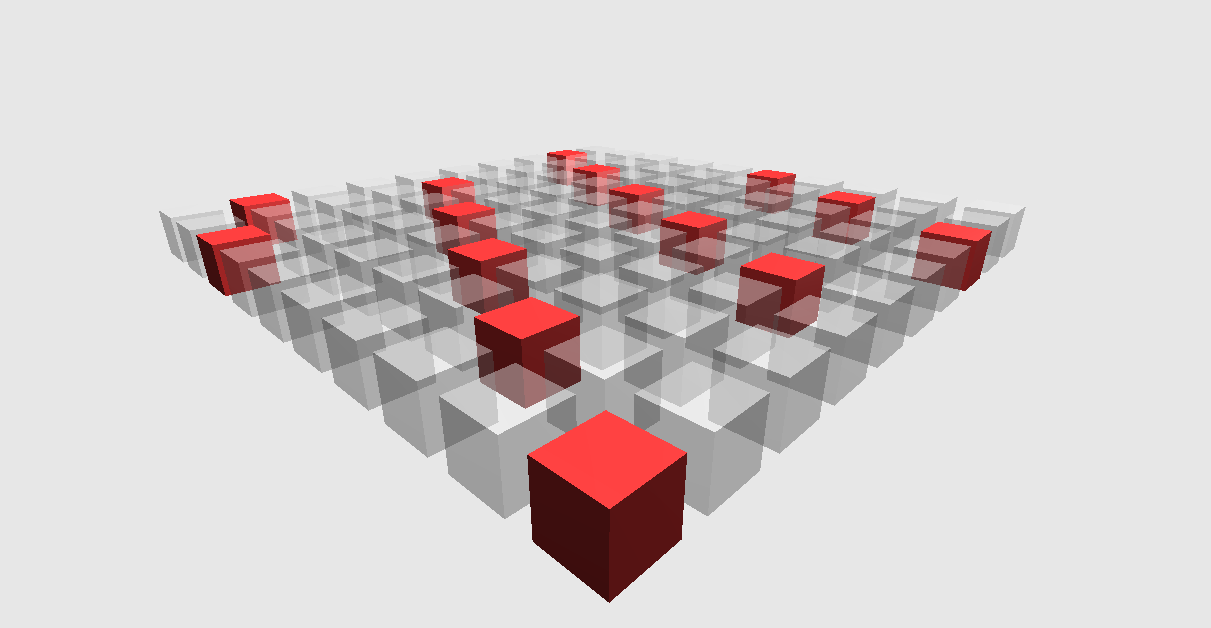
Transparency produced by custom shaders.
Enabling the Ray-Tracer
Turning on the GPU ray-tracer is just a matter of changing an option value, as shown below:
RED::IOptions* ioptions = viewpoint->As< RED::IOptions >();
RC_TEST( ioptions->SetOptionValue( RED::OPTIONS_RAY_TRANSPARENCY, 4, iresmgr->GetState() ) );
The ray-tracer depth will rule how deep rays will be propagated forward.
Using Built-In Transparent Materials
The creation of transparent materials is straightforward, BUT, two constraints must be enforced, otherwise the material will be refractive and not transparent:
- The IOR must be 1.0
- Fresnel must be disabled
If any of these two conditions is not met, the material will NOT be transparent. The setup with a generic material is shown below for example:
RC_TEST( imatr->SetupGenericMaterial(       false, false,                                                                     // Single sided, NO FRESNEL!
                                  RED::Color::BLACK, NULL, RED::Matrix::IDENTITY, RED::MCL_TEX0,                    // Emissive
                                  RED::Color::BLACK, NULL, RED::Matrix::IDENTITY, RED::MCL_TEX0,                    // Ambient
                                  RED::Color( 0.3f ), NULL, RED::Matrix::IDENTITY, RED::MCL_TEX0,                   // Diffuse
                                  RED::Color::BLACK, NULL, RED::Matrix::IDENTITY, RED::MCL_TEX0, 10.f,              // Specular
                                  RED::Color::BLACK, NULL, RED::Matrix::IDENTITY, RED::MCL_TEX0, 0.0f,              // Reflection
                                  false, false, NULL, RED::Matrix::IDENTITY,                                        // Environment
                                  1.0f, true, RED::Color( 0.4f ), NULL, RED::Matrix::IDENTITY, RED::MCL_TEX0, 0.0f, // Opacity, NO IOR!
                                  NULL, RED::Matrix::IDENTITY, RED::MCL_TEX0, RED::MCL_TEX0,                        // Bump
                                  &RED::LayerSet::ALL_LAYERS, NULL,                                                 // Layersets
                                  resmgr, iresmgr->GetState() ) );
Transparency using Custom GLSL Shaders
This part of the tutorial implements a simple transparency equation, based on custom shaders. It’s way similar to the internal setup of built-in materials.
The transparency equation is OUTPUT_COLOR = 0 + ( 1 - transpar ) * DST_COLOR + transpar * AMBIENT + transpar * DIFFUSE + SPECULAR.
It’s produced in turn by 3 GLSL shaders, one for each pass, as illustrated in the tutorial source code. Note that we must manually call RED::StateShader::SetSortedTransparency to tell HOOPS Luminate that this shader needs to be ray-traced.
Matching Numerical Accuracies
Custom transparency shaders are rendered mixed with HOOPS Luminate GPU ray-tracing shaders. Consequently, both shaders must use the same numerical pipeline, otherwise z-fighting artifacts might appear.
The default HOOPS Luminate built-in GPU ray-tracer pipeline uses double precision matrices that are calculated by HOOPS Luminate (see RED::RenderCode high definition matrices) and rendered by ARB shaders. The numerical accuracy of these matrices may differ from the numerical accuracy of those used by GLSL shaders.
Consequently, HOOPS Luminate adds an option called RED::OPTIONS_RAY_TRANSPARENCY_FFP_GPU to force the internal HOOPS Luminate ray-tracer to use OpenGL’s legacy Fixed Function Pipeline. This makes it compatible with GLSL’s ftransform() calls, and can be used to avoid z-fighting artifacts that would occur otherwise.

