Importing Geometries
This tutorial extends the previous Loading a Simple Landscape tutorial. After loading the landscape, we’ll setup a full house model over it for a real-time review. Please note that this tutorial does not cover the making of the house, which is covered by other related tutorials.
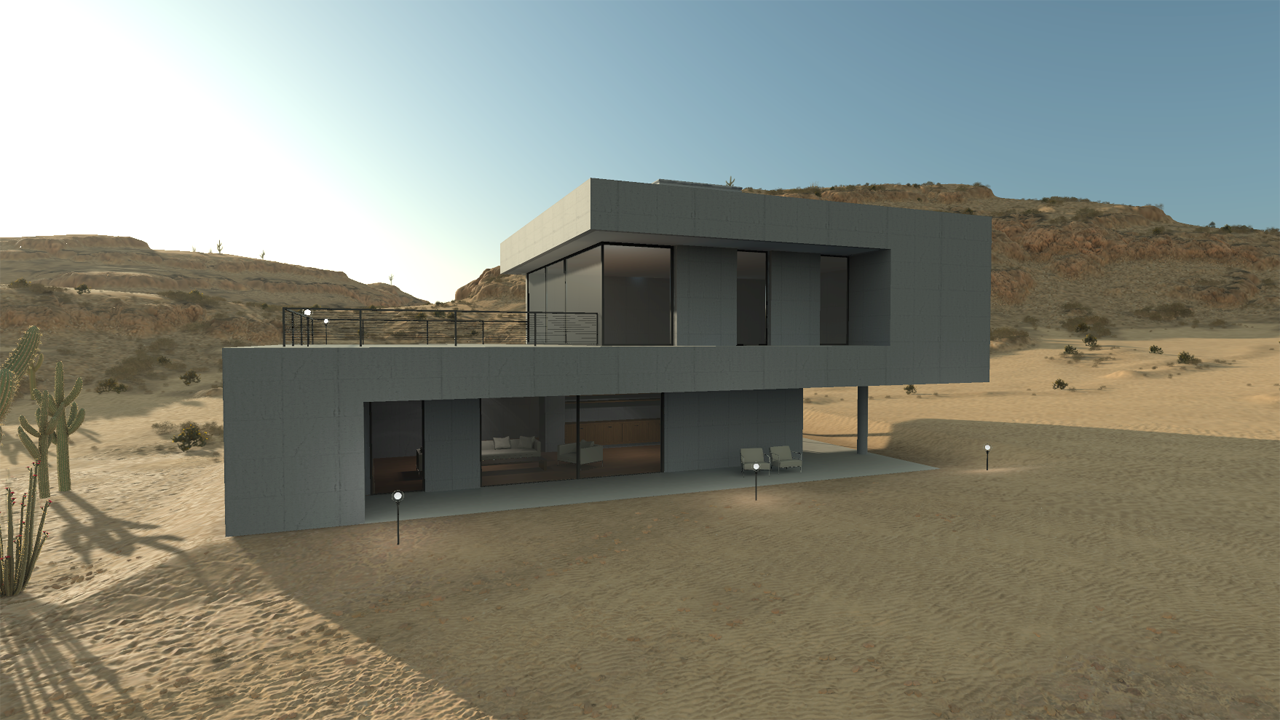
Overview of the imported house
For those who are in 3D for a long time, you should recognize this model quite easily ;) The model itself is quite small (so that it’s not too heavy as a tutorial) and features:
- Around 400K triangles
- 18 lights (12 IES spots indoor, 6 omni lights outdoor)
- A dozen of complete materials with diffuse / specular / bump maps
From this, we use ART to setup:
- Dynamic global illumination caches. These caches react to the sun & sky lighting variation over a day & night cycle
- Dynamic reflection probes. Similarly, reflection probes are sensitive to day & night cycles. Both spherical and box probes can be defined. Reflection probes can be blended together
- Dynamic lights: lights can support IES profiles and can be rendered dynamically with shadows or they can be baked
- Landscape integration fields: these fields are maps calculated by ART that are useful to smoothly blend the house within its environment by digging in the landscape
- Shading integration fields: these fields ensure that the house shading will fit within its surrounding landscape
Finally, the model is packaged as a single .red file ready to use in any application.
Loading a “Ready to View” Geometry
The needed code to load a geometry is quite straightforward. Compared to the previous landscape tutorial, we add the geometry loading using the ART::IAssetManager::LoadGeometry call and we do the placement of the geometry on the landscape using the ART::IPlanet::AddGeometry method:
// Load our landscape:
RED::Object* atlas;
unsigned int context;
RED::Vector< RED::Object* > cameras;
RC_TEST( iassetmgr->LoadAtlas( atlas, cameras, context, "../Resources/atlas_Desert.red", REDartProgressCB, (void*)0x1 ) );

// Setup our atlas. Note that you can't setup an atlas with a started world. Do it before or stop the world:
RC_TEST( iearth->SetAtlas( atlas ) );

// Start the world:
RC_TEST( iworld->Start( window, REDartProgressCB, NULL ) );

// We have three cameras here: one is for the house, the second for the observer and the last one for the ground:
if( cameras.size() < 3 )
    RC_TEST( RED_FAIL );

// Get our positioning matrix for the ground. Ground geometries are referenced from the central matrix of the editor's
// terrain which is reproduced below from a given camera position:
RED::Matrix matx, tgt_matx;
const RED::Matrix& cmatx2 = cameras[ 2 ]->As< ART::ICamera >()->GetMatrix();
RED::Vector3 cpos = cmatx2.GetTranslation();
RC_TEST( iearth->GetTangentAxisSystem( tgt_matx, &( cpos._x ) ) );
matx.SetColumn( 0, tgt_matx.GetColumn( 1 ) );
matx.SetColumn( 1, -tgt_matx.GetColumn( 0 ) );
matx.SetColumn( 2, tgt_matx.GetColumn( 2 ) );
matx.SetTranslation( cpos );

// Loading our ground:
RED::Object* ground;
RC_TEST( iassetmgr->LoadGeometry( ground, "../Resources/House_ground.red", REDartProgressCB, NULL ) );
RC_TEST( iearth->AddGeometry( ground, matx ) );

// Get our positioning matrix for the house:
const RED::Matrix& cmatx1 = cameras[ 1 ]->As< ART::ICamera >()->GetMatrix();
cpos = cmatx1.GetTranslation();
RC_TEST( iearth->GetTangentAxisSystem( matx, &( cpos._x ) ) );

// Loading our geometry:
RED::Object* geometry;
RC_TEST( iassetmgr->LoadGeometry( geometry, "../Resources/House.red", REDartProgressCB, NULL ) );
RC_TEST( iearth->AddGeometry( geometry, matx ) );

// Set the view using the observer camera:
RC_TEST( iobserver->SetParentCelestialBody( earth ) );
RC_TEST( iobserver->SetFromCamera( cameras[ 0 ] ) );
The landscape was saved with several camera positions, providing us coordinate informations to position entities over it. We use the camera position to get a tangent space coordinate system to setup our geometry on a horizontal ground plane at that camera position. Geometries have an automatic ground landing mode that can be triggered using ART::IGeometry::SetAutomaticSetOnGround. When activated a geometry’s origin is automatically adjusted to the landscape altitude at the geometry position. That way, a model can be dropped anywhere and still keep a clean interaction with its surrounding environment. We can see the effect of this feature below:
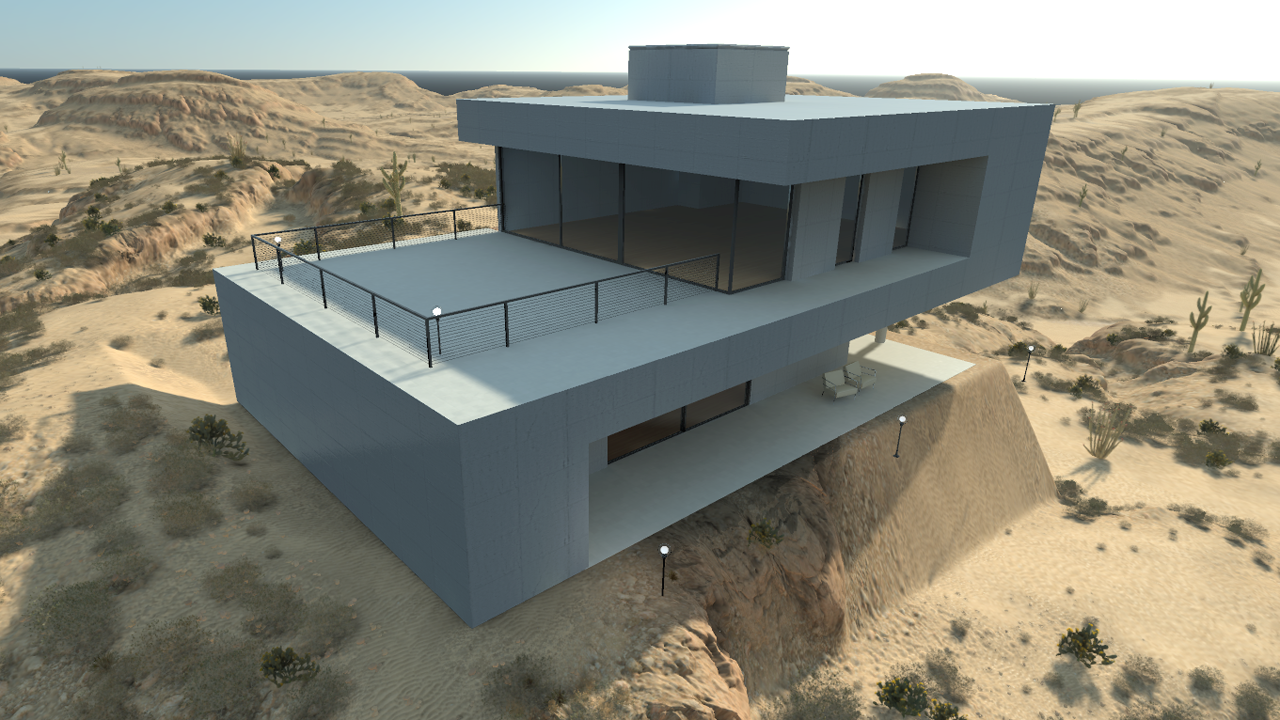
Well, anywhere means anywhere…
Key Graphic Features
Let’s review some details of the graphic features loaded with the imported geometry. For each feature, we have a dedicated tutorial that’ll show how to build the corresponding graphical asset usable by ART:
- Scene graph import and optimization: ART needs to process source data to optimize them for the display. This is done following this example: Building a Geometry - Part 1 - Loading a Source Scene
- Then, we need to construct GI caches and ambient occlusion caches. This is mandatory for a complete perception of the scene in its environment. This is detailed here: Building a Geometry - Part 2 - Setting Up a GI Cache
- We may need some lights: Building a Geometry - Part 3 - Adding Lights
- Then, we also need to simulate reflections for reflective geometries. This require setting up reflection probes: Building a Geometry - Part 4 - Adding Reflection Probes
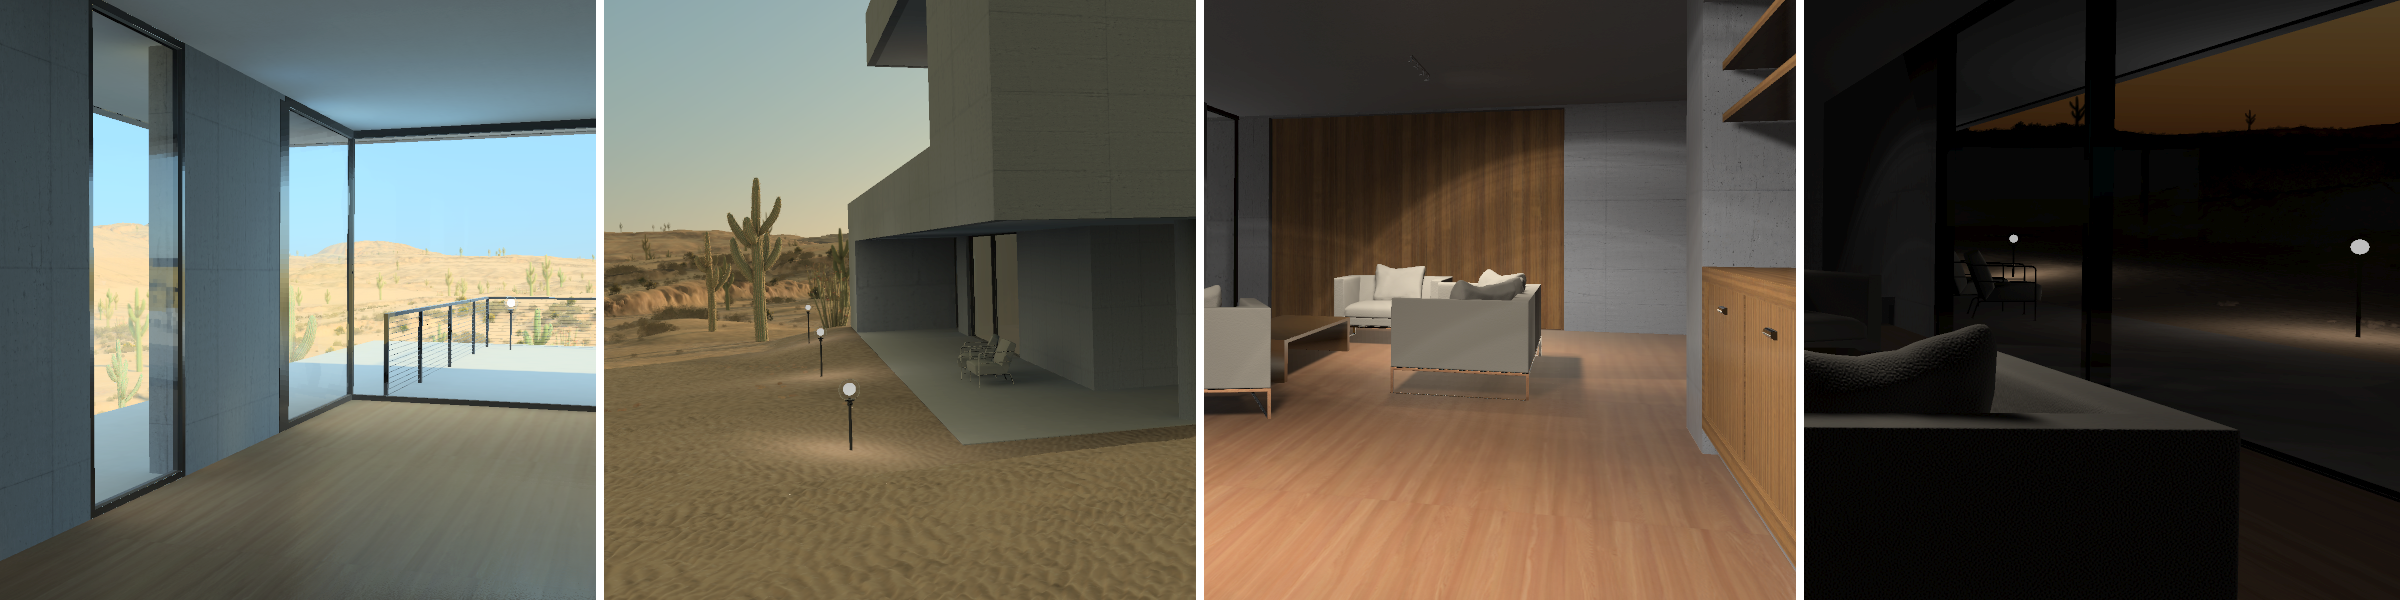
Some graphical features of the loaded geometry.
In addition to the listed features above, we’d like to pinpoint the importance of the contextual integration of a loaded geometry: the geometry can be seen from the inside, looking through windows and see something that “makes sense” because it’s in a complete 3D environment. Similarly, it can be looked at from the outside toward the inside and remain coherent, still because it’s fully integrated in a 3D environment.
Day & night cycles work due to the dynamic caches and probes that have been setup and the calibration of the tonemapping provide the necessary adjustment to control the visual feedback we get from the scene.

