Setup a Composite Image
Introduction
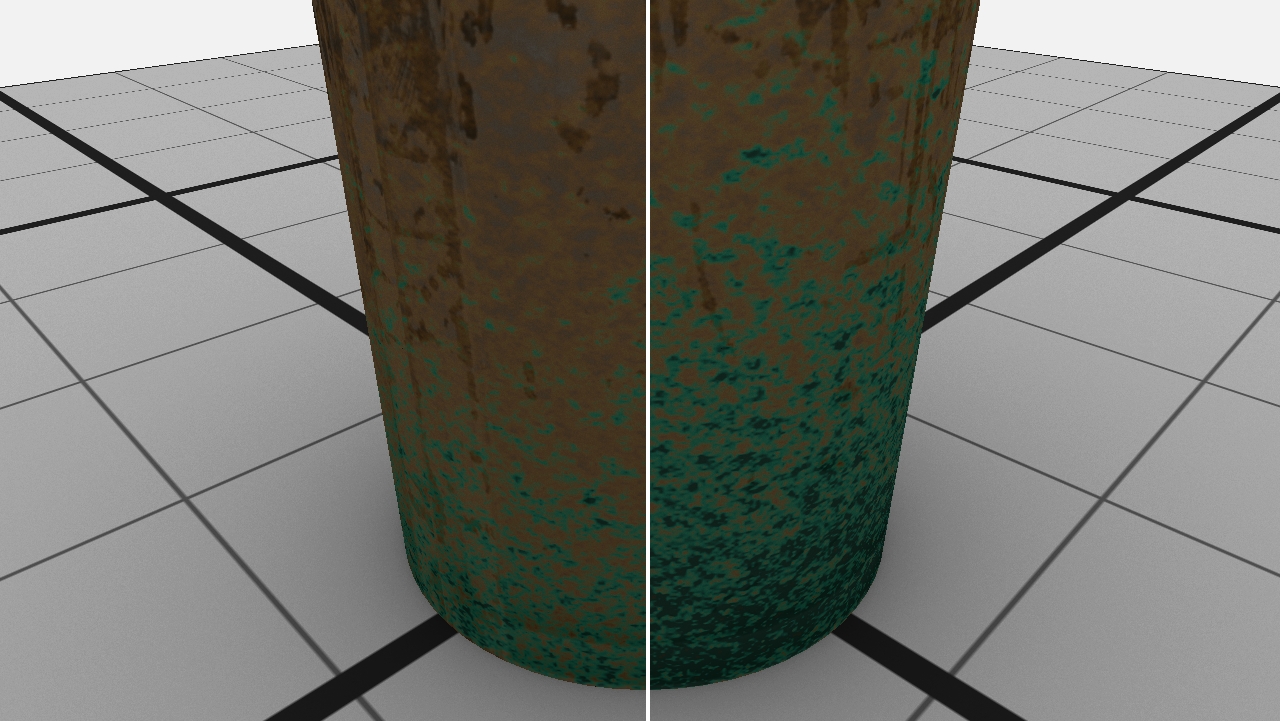
Composite images are screen-space textures with dynamic content (see Composite Images). We’ll illustrate their use here with a simulated, texture-based, oxidation process.
Description
The scene is made of a cylinder on top of a plane lit by the sky. The cylinder receives a generic material with a composite image set in the diffuse component.
Let’s start by creating the composite image:
// Create a composite image for the diffuse component of the cylinder.
RED::Object* diffuse_comp;
RC_TEST( iresmgr->CreateImageComposite( diffuse_comp, iresmgr->GetState() ) );

RED::IImageComposite* icomp = diffuse_comp->As< RED::IImageComposite >();

RC_TEST( icomp->SetRenderShader( render_shader, true, iresmgr->GetState() ) );
RC_TEST( icomp->SetRenderShader( render_shader, false, iresmgr->GetState() ) );

RC_TEST( icomp->SetFormat( RED::FMT_RGBA, iresmgr->GetState() ) );
Two shaders are needed to setup the composite image, one for direct visualization and another one for indirect visualization. Here, we use the software renderer which makes no difference between direct and indirect visualization (contrary to the hardware-based renderer). That’s why we can safely pass the same shader twice to the composite image.
Note
The format of the composite image is mandatory as it defines the format of the buffer that will be used to render the composite image prior to its use (here RED::FMT_RGBA).
Now that our image is initialized, we can directly use it as input to our generic material creation call:
// Apply a generic material to the cylinder.
RED::Object* mat;
RC_TEST( iresmgr->CreateMaterial( mat, iresmgr->GetState() ) );

RED::IMaterial* imat = mat->As< RED::IMaterial >();

RED::LayerSet ls = RED::LayerSet::ALL_LAYERS;
RC_TEST( imat->SetupGenericDiffuseMaterial( false,
                                            RED::Color::GREY, diffuse_comp, RED::Matrix::IDENTITY, RED::MCL_TEX0,
                                            &ls, NULL, app::GetResourceManager(), iresmgr->GetState() ) );
We won’t describe the shader here as it’s out of the scope of this tutorial. To make it short, it acts as a modulation shader where the original cylinder diffuse texture is blended on-the-fly with a dynamically generated procedural oxidation texture. Each time the user clicks on the ‘plus’ button, the next oxidation state is computed and applied to the cylinder.

Two successive states of the cylinder oxidation.
The reader interested in how to write custom software shader can find more information in The CPU Programming Pipeline.

