Using the HOOPS Luminate CLI Wrapper in a WPF Application in C#
In this tutorial, we will see how to use the HOOPS Luminate CLI wrapper in a simple WPF application in C#. We will initialize RED, setup a simple interactive scene and close everything.
Thanks to the HOOPS Luminate CLI wrapper, all the native C++ HOOPS Luminate functions are also accessible in managed .NET code like C#. This tutorial is written in C#.
Using the HOOPS Luminate wrapper is very simple. All you need to do is to add the REDCliWrapper.dll library in the references list of the WPF project.
Note
The HOOPS Luminate wrapper is a mixed-mode assembly. Therefore in order to bind it correctly with the .NET framework 4.0 and newer, you have to set the app.config flag like so:
<startup useLegacyV2RuntimeActivationPolicy="true">
  <supportedRuntime version="v4.0"/>
</startup>
Initializing RED
First things first, HOOPS Luminate uses a window to draw everything. We can’t directly use the main window of the WPF application since it is managed by the WPF system. Fortunately, WPF allows to create a control hosting a new WIN32 window that RED will be able to use. The full code is not copied here but here are the main points:
- override the HwndHost class of the WPF system
- override its BuildWindowCore and DestroyWindowCore methods. Create and destroy the new WIN32 window here
- create an instance of this class and set it as child of the main window
From here we have a hwnd handle and we can initialize HOOPS Luminate (resource manager and window).
// Create the resource manager:
_resmgr = RCLI.Factory.CreateInstance(RCLI.DEFINE.RCLI_CID_REDResourceManager);
if (_resmgr == null)
  RC_TEST(RCLI.RED_RC.RED_ALLOC_FAILURE);
RCLI.IResourceManager iresmgr = (RCLI.IResourceManager)_resmgr.As(RCLI.IResourceManager.GetClassID());

// Read the license from a text file:
string[] licenceData = System.IO.File.ReadAllLines("../Private/CSharpSampleLicense.txt");

// Add the license:
RCLI.ILicense ilicense = (RCLI.ILicense)_resmgr.As(RCLI.ILicense.GetClassID());
RC_TEST(ilicense.SetLicense(licenceData[0], uint.Parse(licenceData[1])));

// Create the RED window:
RCLI.WindowRenderInfo winfo = new RCLI.WindowRenderInfo();
winfo.SetHardwareAntiAlias(4);

RCLI.RED_RC rc;
_window = RCLI.Factory.CreateREDWindow(_resmgr, hWnd, (uint)this.Width, (uint)this.Height, winfo, out rc);
RC_TEST(rc);
if (_window == null)
  RC_TEST(RCLI.RED_RC.RED_ALLOC_FAILURE);
RCLI.IWindow iwin = (RCLI.IWindow)_window.As(RCLI.IWindow.GetClassID());
Then we can setup the VRL and camera:
// Setup the default VRL:
RCLI.Object vrl;
RC_TEST(iwin.GetDefaultVRL(out vrl));

RCLI.IViewpointRenderList ivrl = (RCLI.IViewpointRenderList)vrl.As(RCLI.IViewpointRenderList.GetClassID());

RC_TEST(ivrl.SetClearColor(RCLI.Color.LIGHT_GREY, state));

// Create a viewpoint:
_viewpoint = RCLI.Factory.CreateInstance(RCLI.DEFINE.RCLI_CID_REDViewpoint);
if (_viewpoint == null)
  RC_TEST(RCLI.RED_RC.RED_ALLOC_FAILURE);
RCLI.IViewpoint ivp = (RCLI.IViewpoint)_viewpoint.As(RCLI.IViewpoint.GetClassID());

RC_TEST(iwin.InsertViewpoint(_viewpoint, state));

double x = Math.Sin(_ori_theta) * Math.Cos(_ori_phi);
double y = Math.Sin(_ori_theta) * Math.Sin(_ori_phi);
double z = Math.Cos(_ori_theta);

RCLI.Vector3 sight = new RCLI.Vector3(x, y, z);
sight.Normalize();
RCLI.Vector3 eye = new RCLI.Vector3(0.0, 0.0, 20.0) - sight * 100.0;
RCLI.Vector3 top = RCLI.Vector3.ZAXIS;
RCLI.Vector3 right = sight.Cross2(top);
right.Normalize();
top = right.Cross2(sight);

RC_TEST(ivp.SetEye(eye, state));
RC_TEST(ivp.SetViewingAxis(sight, top, right, state));
The scene is composed of a cube sligthly rotated around the Z axis thanks to a transform node.
// Create a transform node:
RCLI.Object trans = RCLI.Factory.CreateInstance(RCLI.DEFINE.RCLI_CID_REDTransformShape);
if (trans == null)
  RC_TEST(RCLI.RED_RC.RED_ALLOC_FAILURE);
RCLI.ITransformShape itrans = (RCLI.ITransformShape)trans.As(RCLI.ITransformShape.GetClassID());

// Set the node matrix:
RCLI.Matrix matx = new RCLI.Matrix();
RC_TEST(matx.RotationAxisMatrix(RCLI.Vector3.ZERO, RCLI.Vector3.ZAXIS, 0.5));
RC_TEST(itrans.SetMatrix(matx, state));

// Add the node to the scene:
RC_TEST(ivp.AddShape(trans, state));

// Create a cube:
RCLI.Object cube = RCLI.Factory.CreateInstance(RCLI.DEFINE.RCLI_CID_REDMeshShape);
if (cube == null)
  RC_TEST(RCLI.RED_RC.RED_ALLOC_FAILURE);
RCLI.IMeshShape icube = (RCLI.IMeshShape)cube.As(RCLI.IMeshShape.GetClassID());

RC_TEST(icube.Box(new RCLI.Vector3( 0.0, 0.0, 20.0), new RCLI.Vector3(20.0), state));

// Create a diffuse material to set on the cube:
RCLI.Object mat_cube;
RC_TEST(iresmgr.CreateMaterial(out mat_cube, state));
if (mat_cube == null)
  RC_TEST(RCLI.RED_RC.RED_ALLOC_FAILURE);
RCLI.IMaterial imat = (RCLI.IMaterial)mat_cube.As(RCLI.IMaterial.GetClassID());

RCLI.LayerSet rtls = RCLI.LayerSet.ALL_LAYERS;

RC_TEST(imat.SetupGenericDiffuseMaterial(false,
  RCLI.Color.RED, null, RCLI.Matrix.IDENTITY, RCLI.MESH_CHANNEL.MCL_TEX0,
  rtls, null, _resmgr, state));

RCLI.IShape cubeshape = (RCLI.IShape)cube.As(RCLI.IShape.GetClassID());
RC_TEST(cubeshape.SetMaterial(mat_cube, state));

// Add the cube to the scene:
RC_TEST(itrans.AddChild(cube, RCLI.DEFINE.RCLI_RED_SHP_DAG_NO_UPDATE, state));
A light needs to be added to the scene. Otherwise nothing is seen.
// Create a spot light with shadows:
RCLI.Object light = RCLI.Factory.CreateInstance(RCLI.DEFINE.RCLI_CID_REDLightShape);
if (light == null)
  RC_TEST(RCLI.RED_RC.RED_ALLOC_FAILURE);
RCLI.ILightShape ilight = (RCLI.ILightShape)light.As(RCLI.ILightShape.GetClassID());

RCLI.Vector3 lightpos = new RCLI.Vector3(100, 100, 100);
RCLI.Vector3 lightdir = new RCLI.Vector3(0.0, 0.0, 20.0) - lightpos;
float[] att = new float[7] { 1.0f, 0.0f, 0.0f, 0.0f, 0.0f, 0.0f, 0.0f };
RC_TEST(ilight.SetPointLight(RCLI.ATTENUATION.ATN_NONE, att, lightpos, RCLI.Color.WHITE, RCLI.Color.WHITE, state));
RC_TEST(ilight.SetSpotLight(lightpos, lightdir, RCLI.Vector3.ZAXIS, (float)Math.PI * 0.2f, (float)Math.PI * 0.1f, 0.0f, state));
RC_TEST(ilight.SetShadowMapping(true, state));
RC_TEST(ilight.SetShadowMapBlur(10, state));
RC_TEST(ilight.SetShadowMapResolution(1024, state));
RC_TEST(ilight.SetShadowMapPolygonOffset(5.0f, 2.0f, state));

// Add the light to the scene:
RC_TEST(ivp.AddShape(light, state));
The Rendering Function
The HOOPS Luminate rendering function can be called in the OnRender() callback of the main window. OnRender() is triggered each time InvalidateVisual() is called. Here we can close the transaction, draw the scene and start a new transaction.
RCLI.IWindow iwin = (RCLI.IWindow)_window.As(RCLI.IWindow.GetClassID());
RCLI.IResourceManager iresmgr = (RCLI.IResourceManager)_resmgr.As(RCLI.IResourceManager.GetClassID());

// Close the current transaction:
RC_TEST(iresmgr.EndState());

// Render the scene:
RC_TEST(iwin.FrameDrawing());

// Open a new transaction:
iresmgr.BeginState();
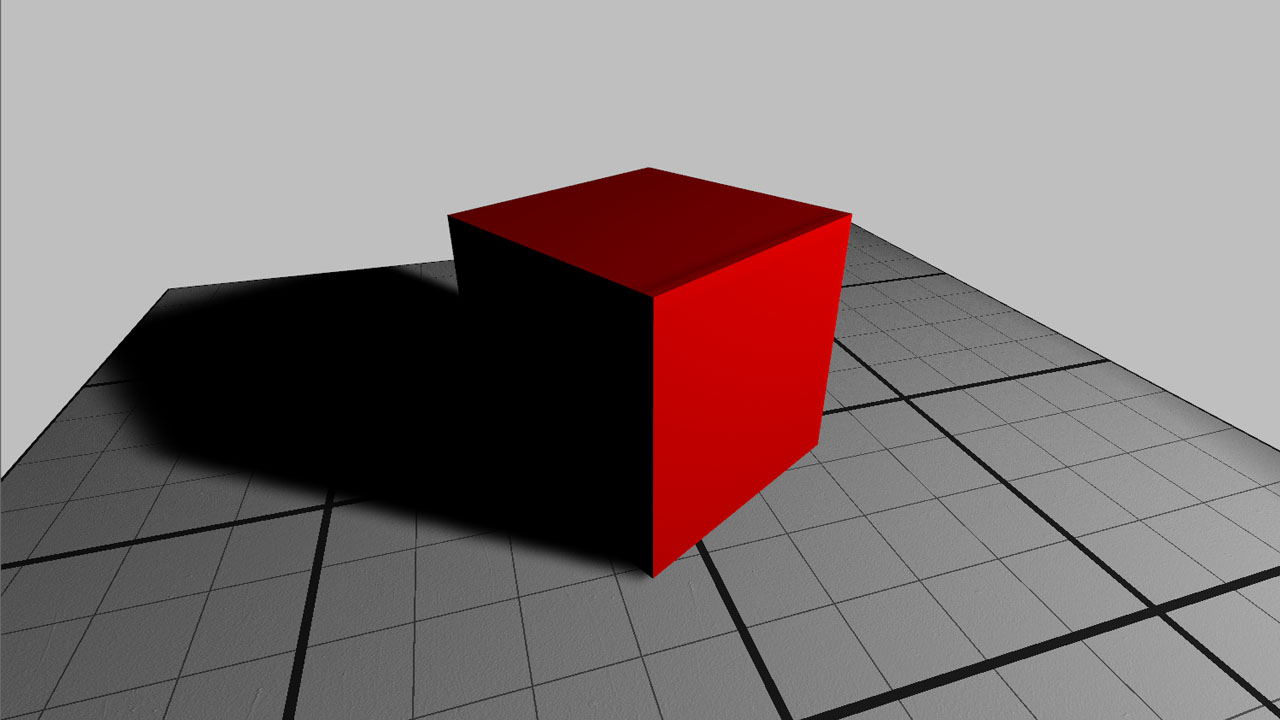
The tutorial scene after calling FrameDrawing.
Updating the Camera
Now we will interact with the mouse to move the viewpoint around the scene.
We choose to work with the WPF input system. Another solution could have been to use the WIN32 input system via the WIN32 control host.
We add a delegate on the MouseMove event of the main window. In this delegate, the mouse state is checked and the RED viewpoint is moved with RCLI.IViewpoint.SetViewingAxis(). Don’t forget to call InvalidateVisual() to refresh the window and it’s done!
Destroying RED
Finally the HOOPS Luminate cleanup can be done (in the main window closing callback for instance) by deleting the resource manager:
RCLI.IResourceManager iresmgr = (RCLI.IResourceManager)_resmgr.As(RCLI.IResourceManager.GetClassID());
RCLI.State state = iresmgr.GetState();

RC_TEST(RCLI.Factory.DeleteInstance(_resmgr, state));

