Stereoscopic Display
This tutorial demonstrates the stereoscopic capabilities of HOOPS Luminate with NVidia Quadro GPU (quad buffered OpenGL stereo).
There are several prerequisites for running this application:
- Having a GPU supporting quad buffered OpenGL stereoscopy (NVidia Quadro series)
- Using the appropriate stereo glasses like the NVidia 3D Vision kit
- Using a 3D Vision compatible monitor with a refresh rate of 120Hz
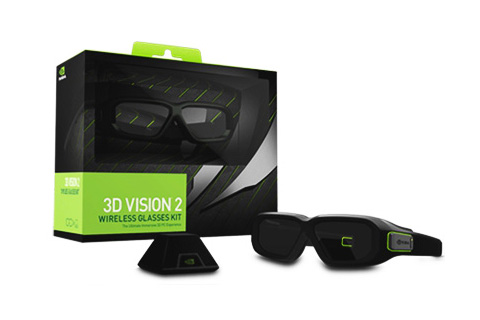
The NVidia 3D Vision kit
For further details about the NVidia 3D Vision products, please go to the NVidia official page.
Enabling HOOPS Luminate Stereroscopy
Stereoscopic display is automatically handled by HOOPS Luminate. No need to duplicate the viewpoints nor to write complex code. Therefore the tutorial scene is very simple:
- A single
RED::IWindow…- Handling a single
RED::IViewpointRenderList…- Containing a single
RED::IViewpoint…- Handling the scenegraph.
At startup, the window must be created with the stereoscopic option enabled using a RED::WindowRenderInfo object. In the RFK framework, this option is transmitted to RED::Factory::CreateREDWindow via a parameter of the RFK::TutorialApplication::MainLoop function.
// Activate the stereo display at engine startup:
// This will be given to the RED::Factory::CreateREDWindow method.
RED::WindowRenderInfo winfo;
winfo.SetStereo( true );

// Run the application in default GPU loop mode.
return RFK::TutorialApplication::MainLoop( "Tutorial - Stereoscopy", RFK::LM_ACTIVE, 500.0, &winfo );
Note
If your graphic card does not support stereoscopy, the function will most likely fail with the RED_DRV_NO_PIXEL_FORMAT error code.
Once the stereoscopy is enabled, we can control it in real-time using the RED::IViewpointRenderList::SetStereo function:
// Set the stereo parameters:
//  - Eye interpupillary distance: 5cm
//  - Convergence plane distance: 1m
RC_TEST( ivrl->SetStereo( 0.05f, 1.0f, iresmgr->GetState() ) );
The first parameter is the IPD (Inter Pupillar Distance) in scene units. Depending on people, it varies from 5cm to 7cm. The second parameter allows to adjust the convergence plane distance in the scene. The objects behind the plane will appear behind the screen. The objects in front of the plane will appear in front of the screen (see Stereoscopy for further details).
Note
The camera near plane is set at the same distance as the stereo convergence plane. This ensures that the scene objects will not ‘go out’ of the screen and cross the screen borders.
And that’s it! These only two functions allow to display any scene in stereoscopic 3D. Time to wear you 3D glasses!
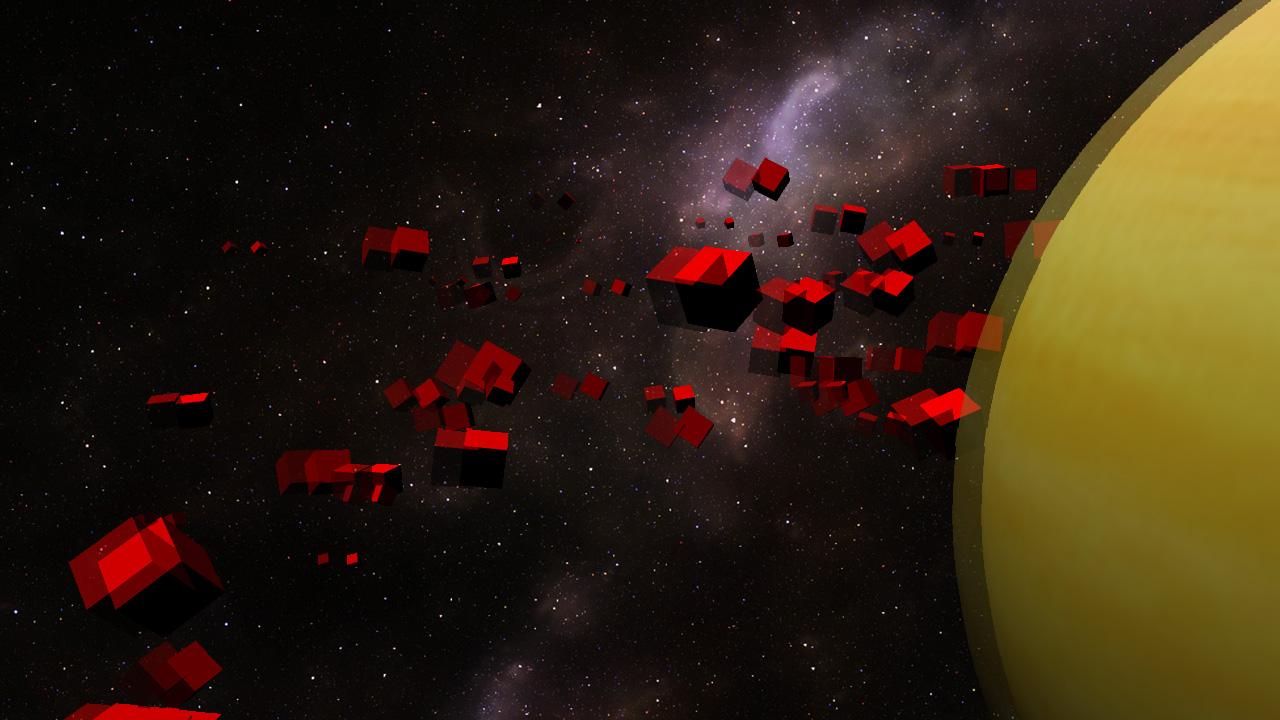
Tutorial screen without stereo glasses